WEEK 14
PREPARING FOR SUBMISSION
NEW SOUNDS FOR EACH OBJECT
My objective is to find sounds that are related to each of the categories (landmark, overhead bridge etc.) and can effectively connect the users to the respective category. I made a mind map of each category and the words that I associate with them.
-

Home:
- Comfortable
- Pleasant
- Inviting
- Calm
- Belonging
- Relaxed -

Overhead bridge:
- Connection
- Pass over
- Hallowed
- Narrow
- Two-way
- Tottering -

Landmark:
- Recognised
- Historical significance
- Incredible
- Iconic
- Stunning -

Pedestrian crossing:
- Walking
- Crossing
- Safe
Using these keywords, I searched for sound effects that could complement them.


SOUND INSTRUCTIONS
At first I was thinking that the sound for each object could be the direct names of the objects, eg. a landmark has the sound “landmark”. However, this could make it too easy for the child. This might lead them to spend more time memorising the object and how they look.
-

Home:
The object for “home” represents the building you live in. “Home” has the sensory cues of (sound) for sound and (sound) for vibration.
-

Overhead bridge:
The object for “overhead bridge” represents overhead bridges used for pedestrians to cross a road or highway safely. “Overhead bridge” has the sensory cues of (sound) for sound and (sound) for vibration.
-

Landmark:
The object for “landmark” represents an object or feature of a landscape or town that is easily seen and recognised from a distance. “Landmark” has the sensory cues of: (sound) for sound and (sound) for vibration.
-

Pedestrian crossing:
The object for “pedestrian crossing” represents a specified part of a road where pedestrians have the right to cross. “Pedestrian crossing” has the sensory cues of (sound) for sound and (sound) for vibration.
-

Street:
The object for “street” represents the public roads in your area.
-

Instruction 1:
Memorise what each object represents by playing a memory game with the cards. Look at the object on the card and say what it represents before revealing the answer on the back. If you are correct, continue to the next object. If you are wrong, leave the card beside and go back and try again after you finish the rest of the objects.
-

Instruction 2:
Ask a family member to find a map of your neighbourhood. Use this map to note where each category of Home, Overhead bridge, Landmarks, Pedestrian crossing and Street is and place the represented objects on the board. Touch the objects to memorise their location and what they represent.
-

Instruction 3:
There are two sets of objects and sensory cues. You have the option to switch on them based on your preferences and needs.
Editing the Sounds in Premiere Pro
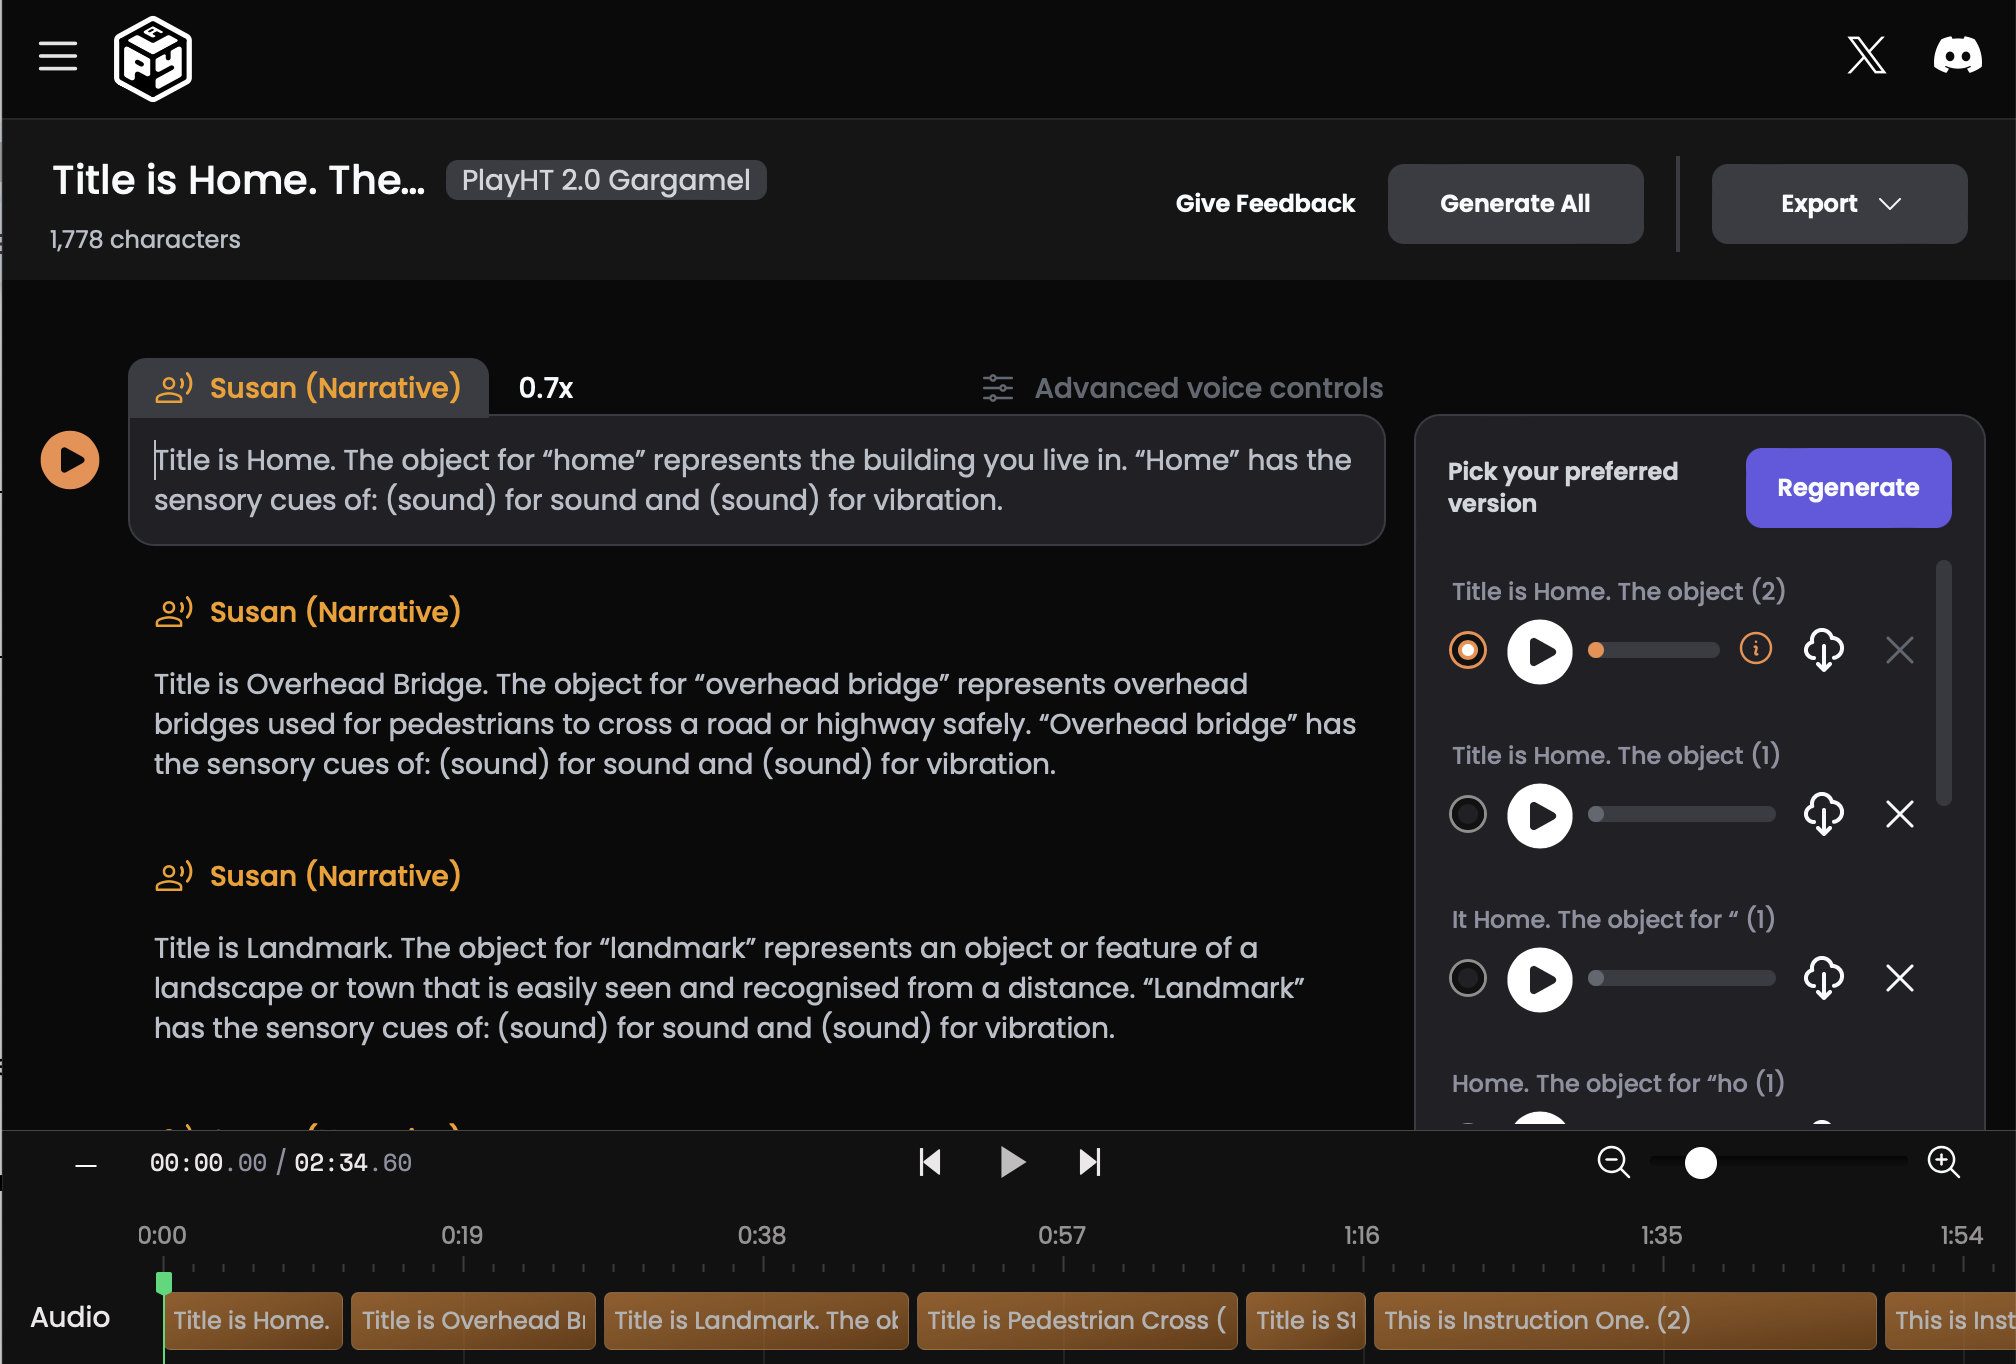
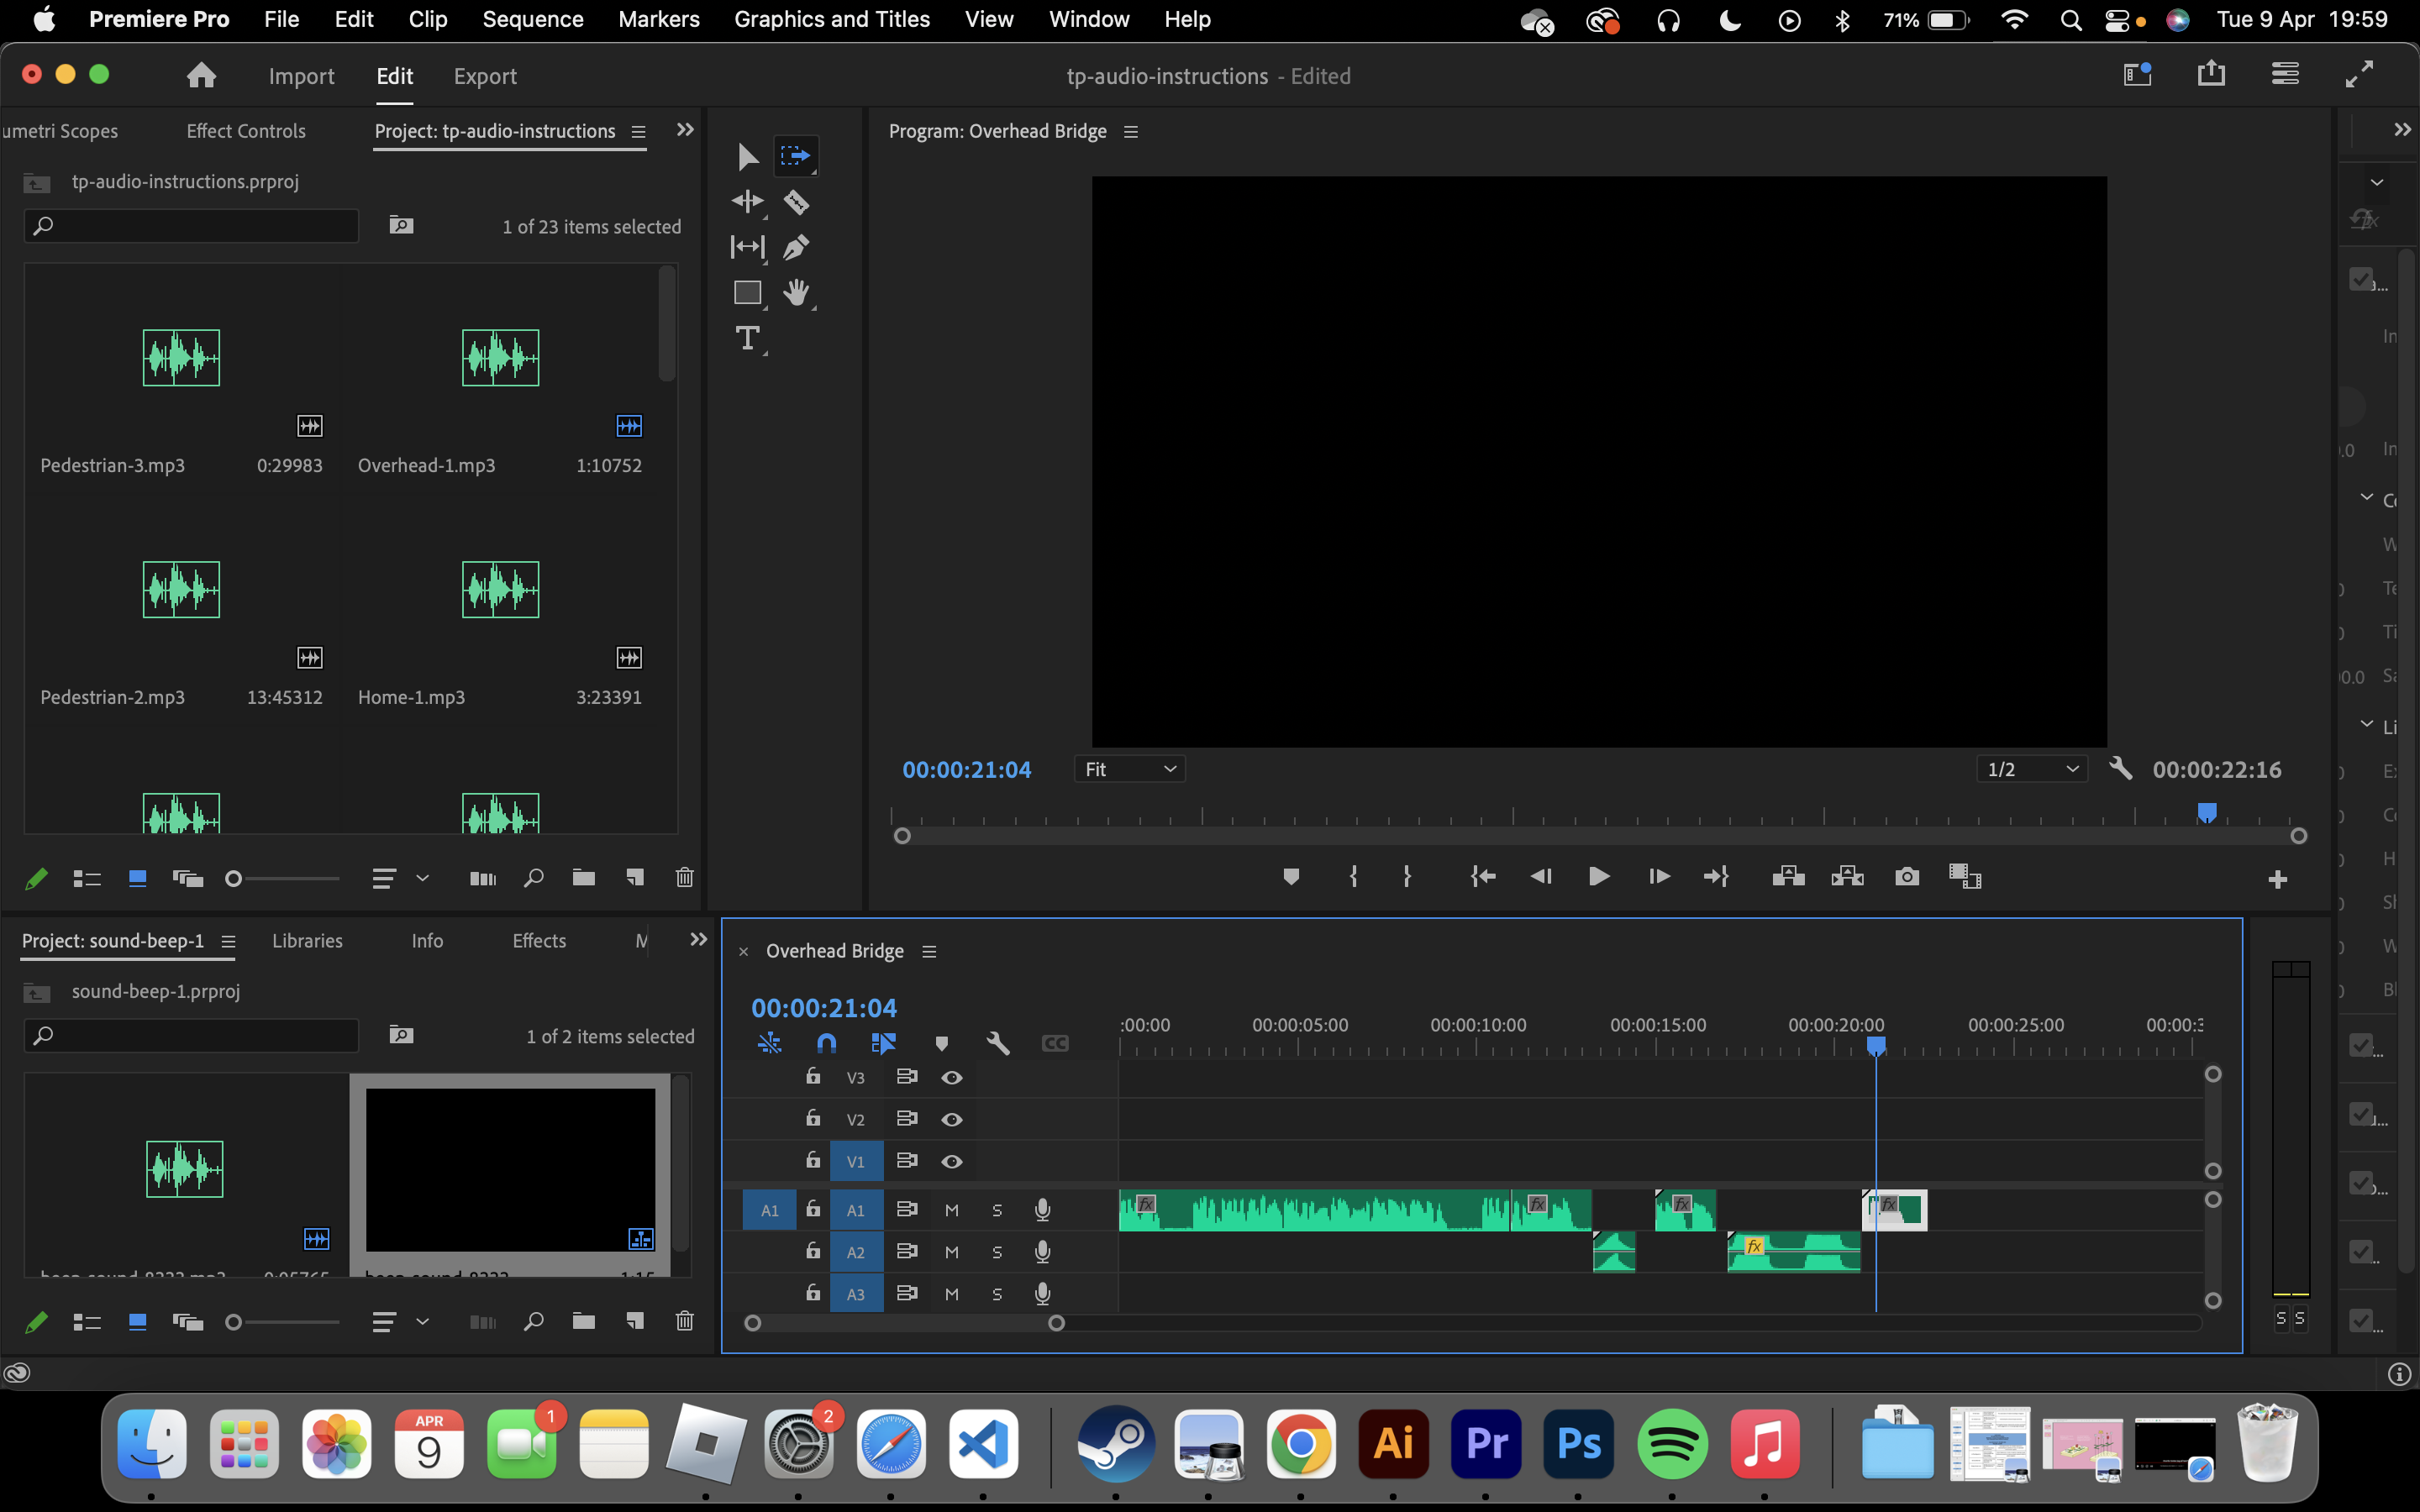
For the written instructions, I utilised an AI voice generator to convert the text into spoken instructions. One challenge I encountered was that the generator occasionally made incorrect outputs. For instance, a phrase like ““Pedestrian crossing” has the sensory cues of (sound) for sound and (sound) for vibration.” was mistakenly rendered as “Pedestrian crossing” has the sensory cues of (sound) for sound for (sound) of vibration.” Despite this issue, I managed to solve it by dissecting the words in Premiere Pro to make sure the sentence structure of each instruction was correct.
I put the recordings together in Premiere Pro. This process was easy and fast.
Putting it into the board was also easy.

INSTRUCTION BOARD
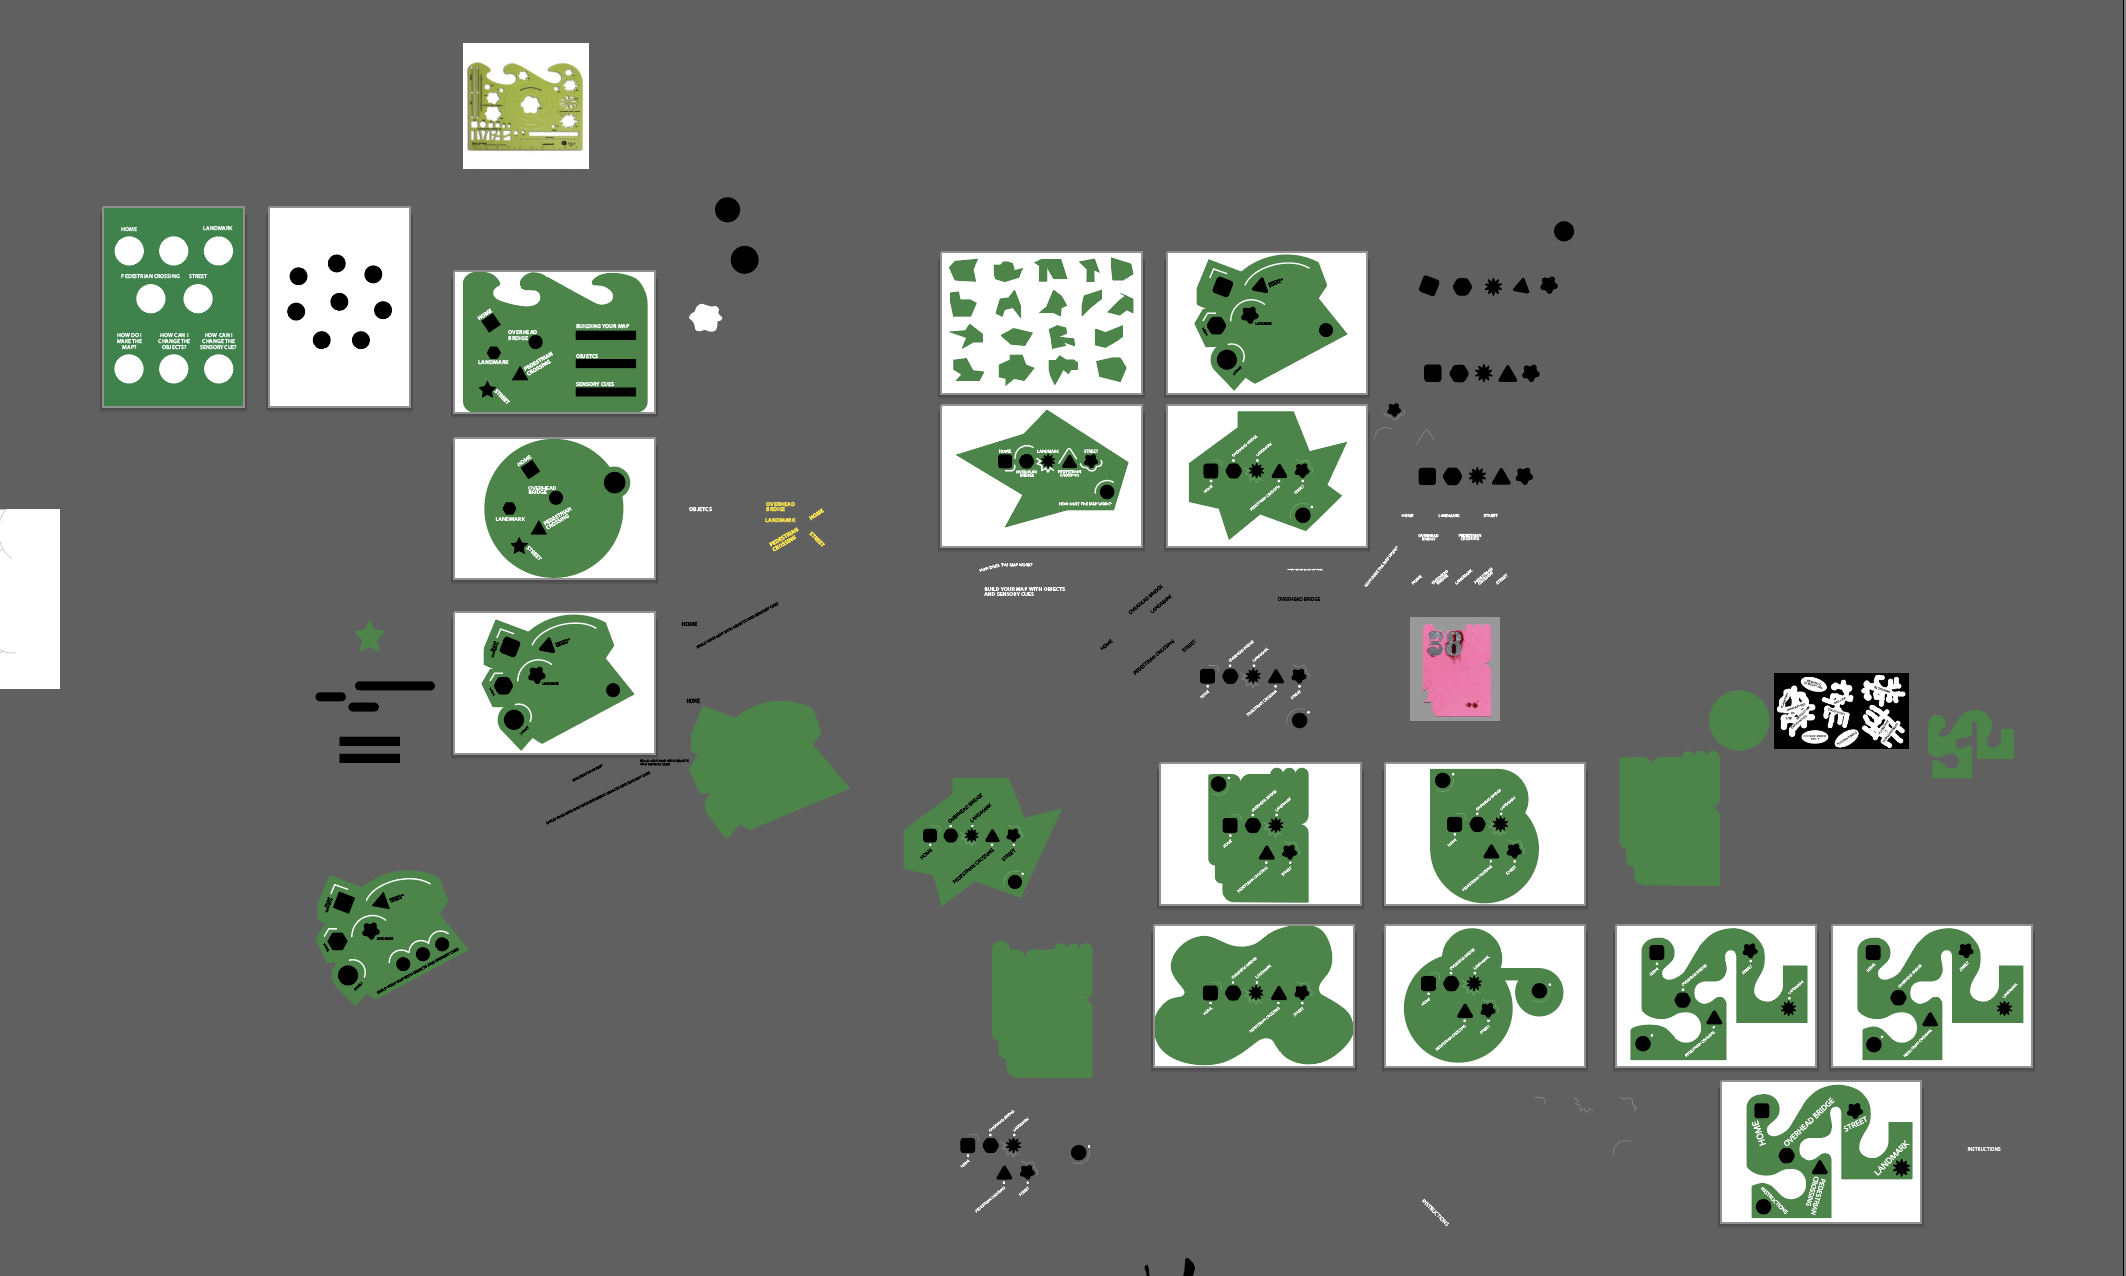
The process involves experimenting with different layouts, fonts, and sizes to make it suitable for the visually impaired.
-
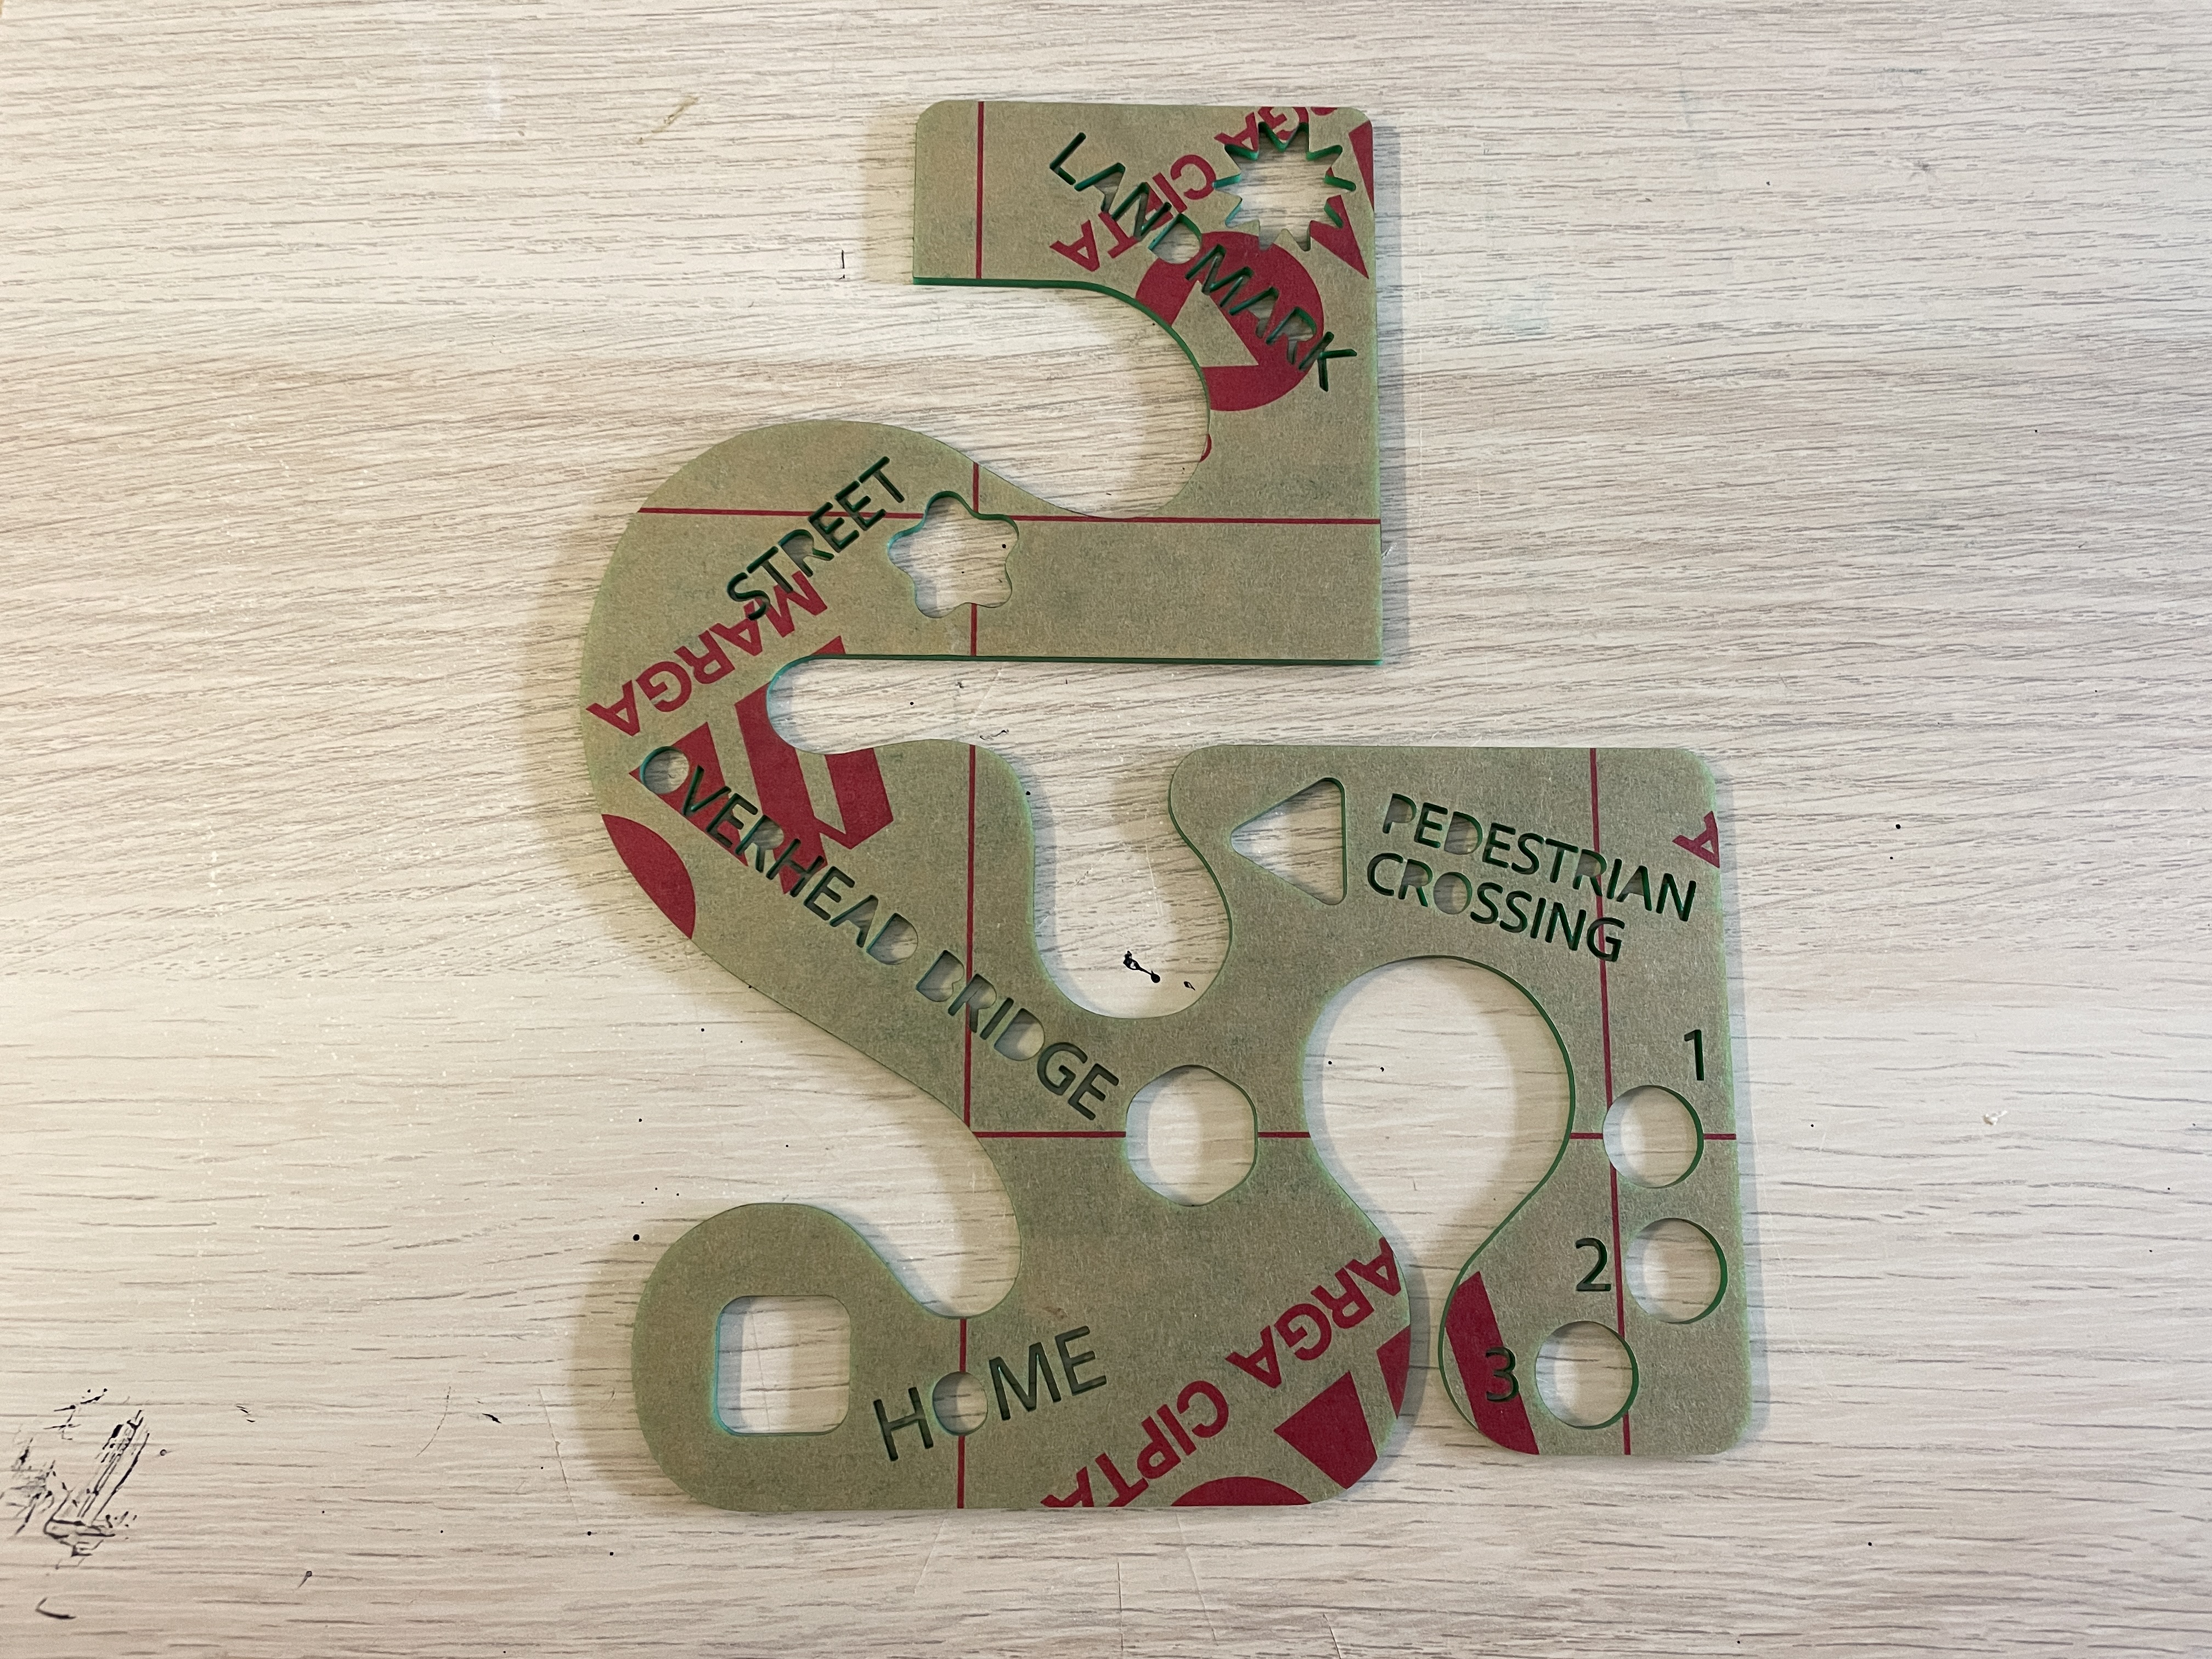
Process 1. The acrylic sheet went through a round of laser cutting.
-
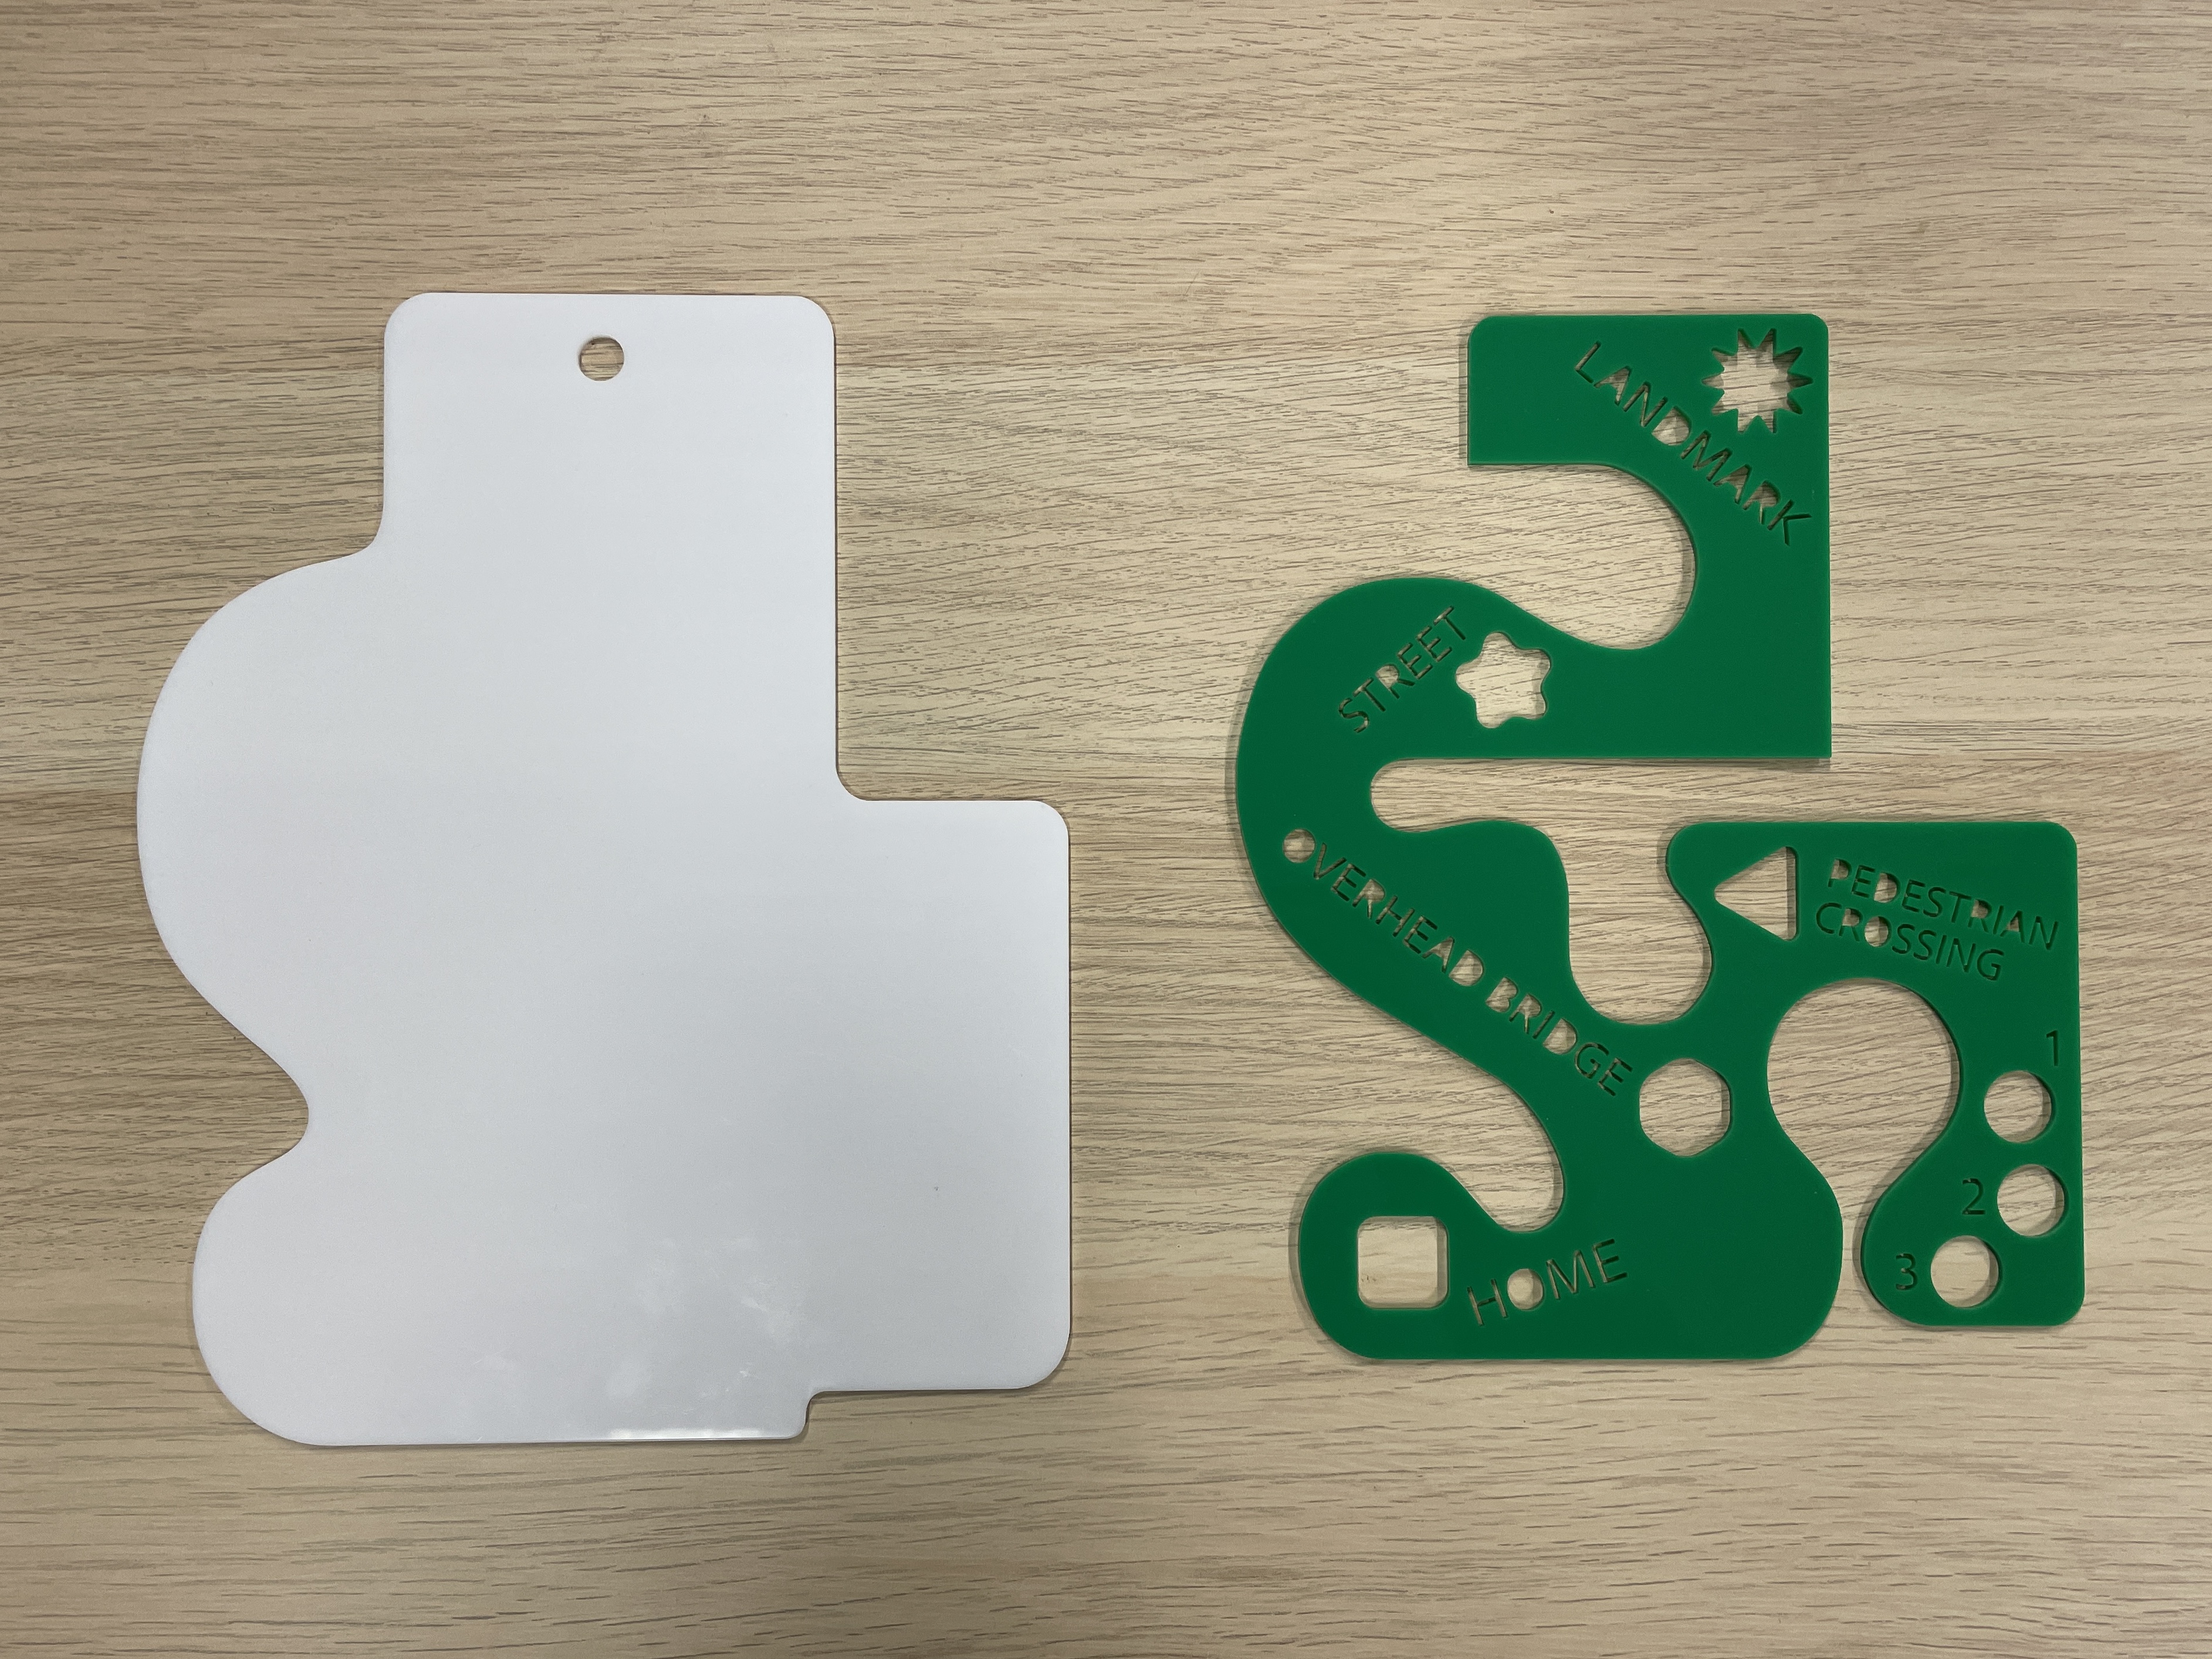
Process 1. There are two layers—the white acrylic sheet will be below and include the audio circuit.
-
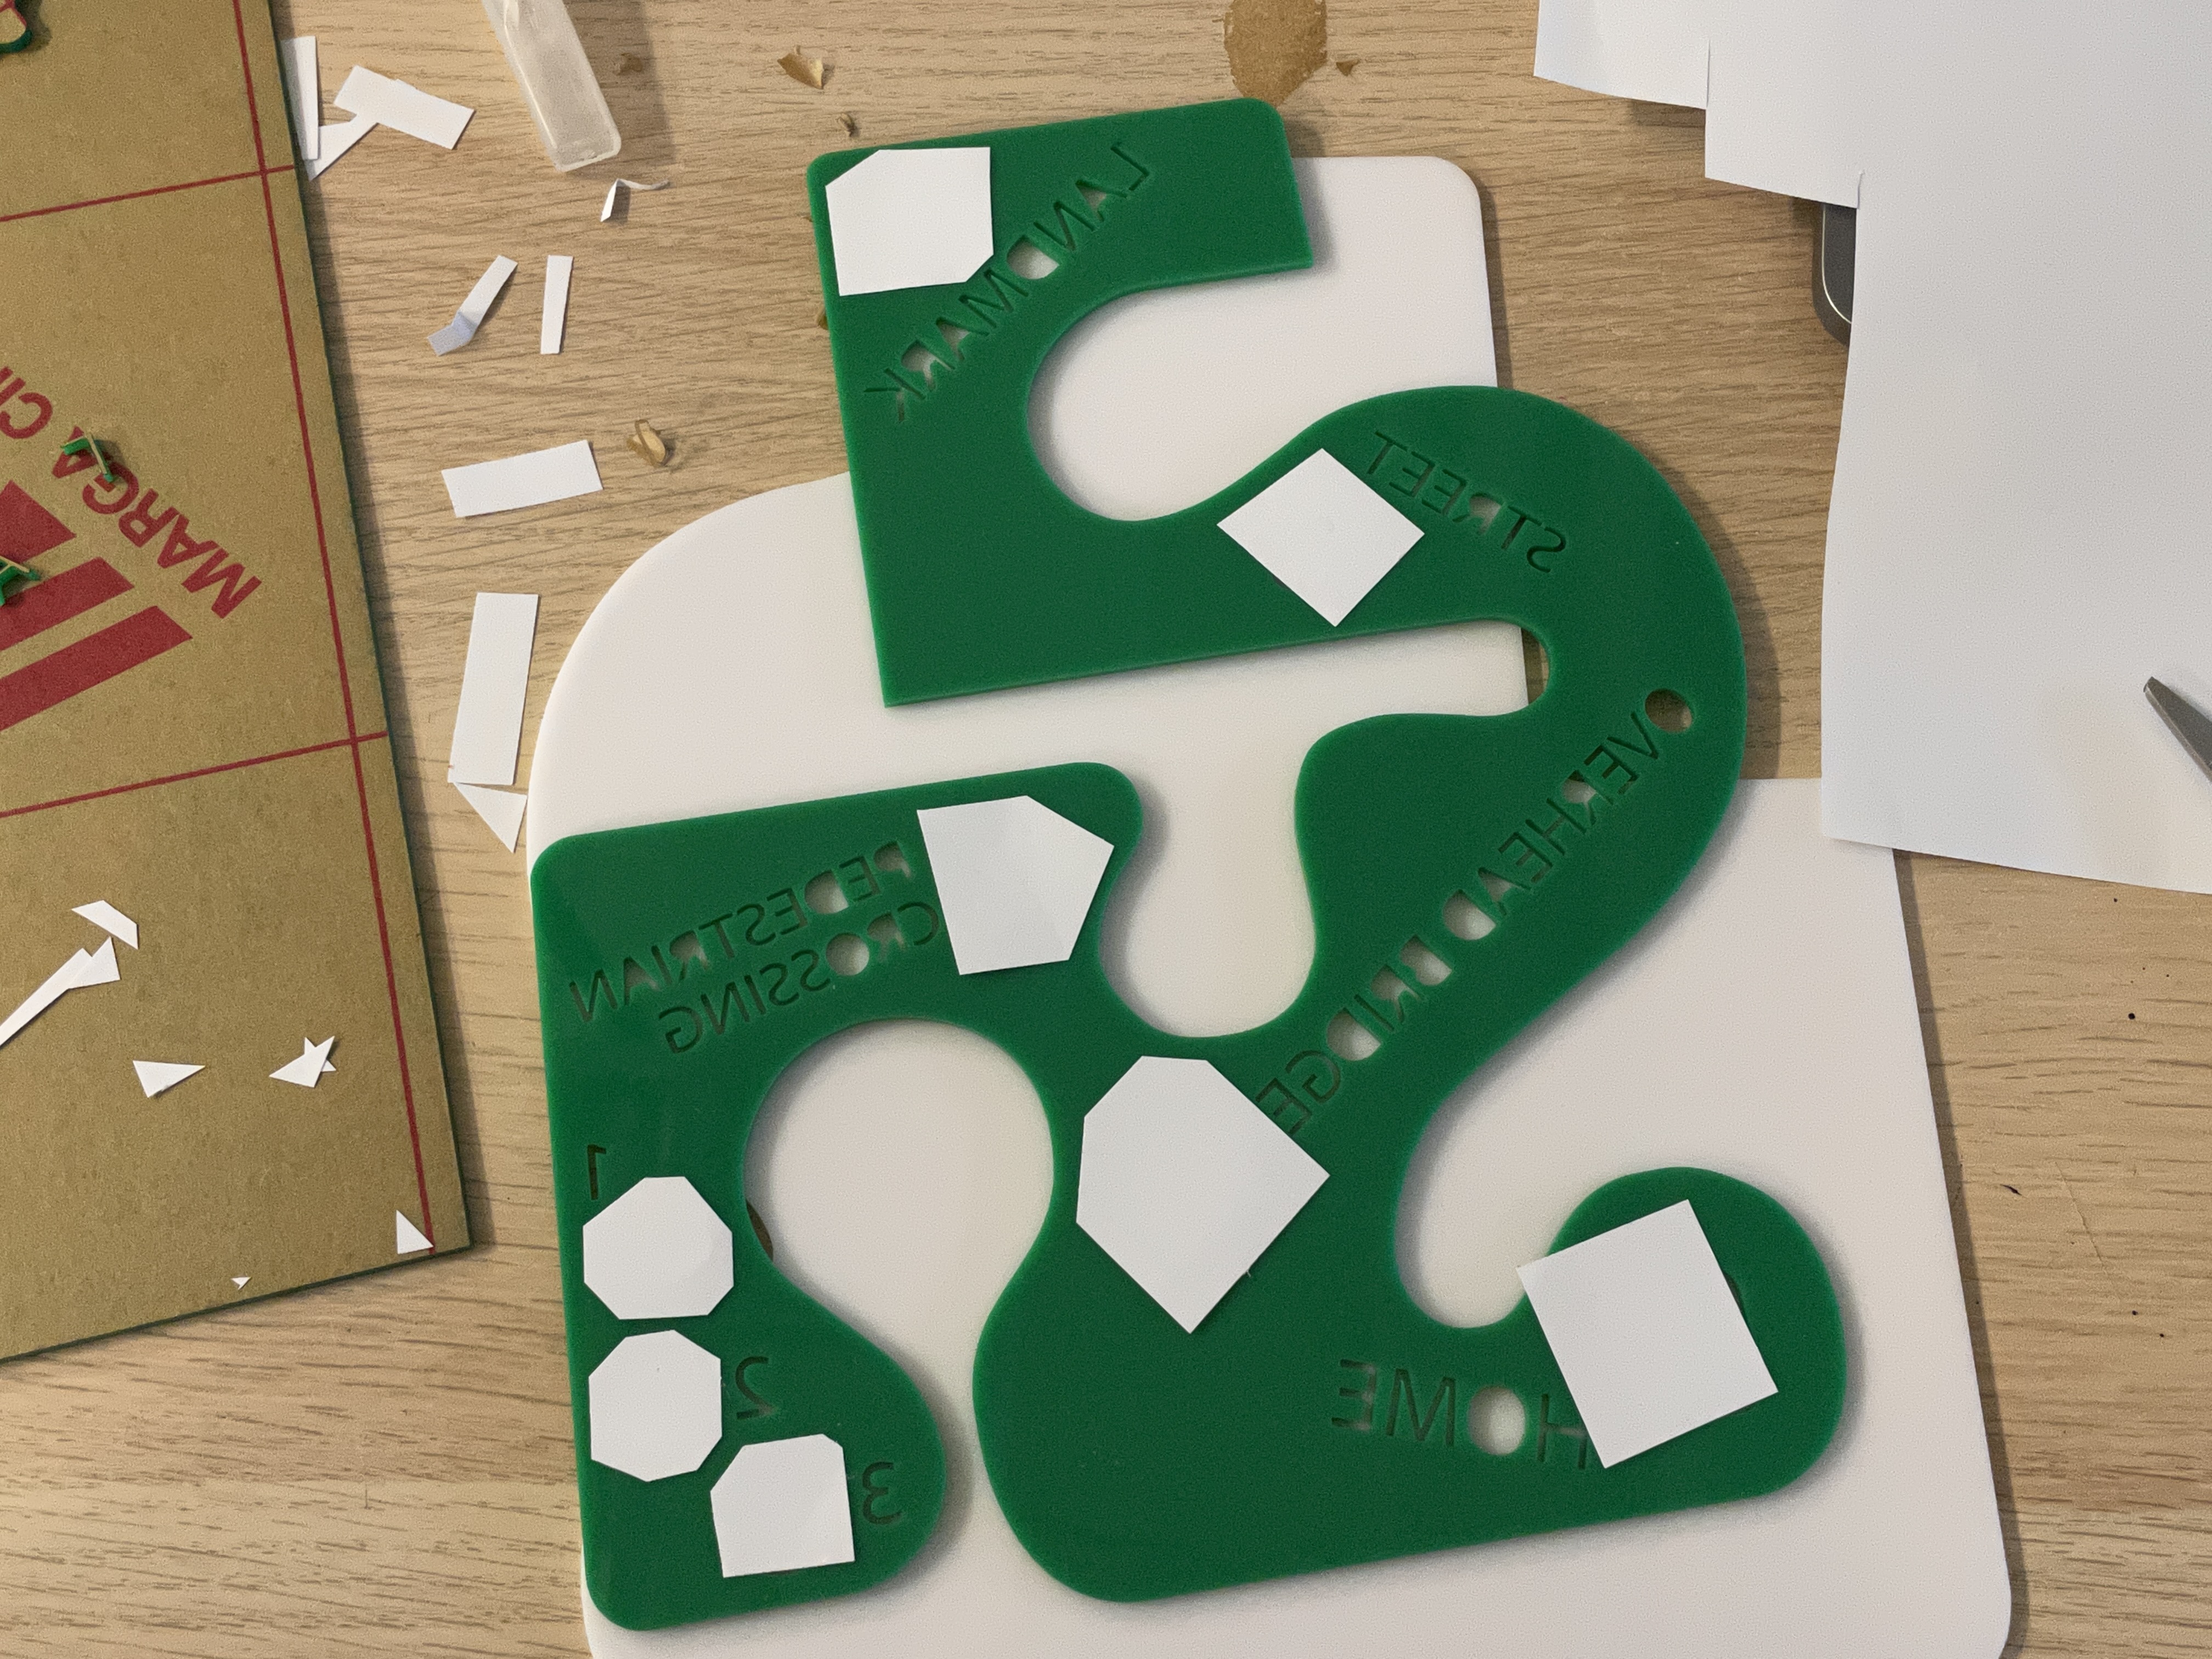
Process 1. Cutting out paper to fit the size of each shape.
-
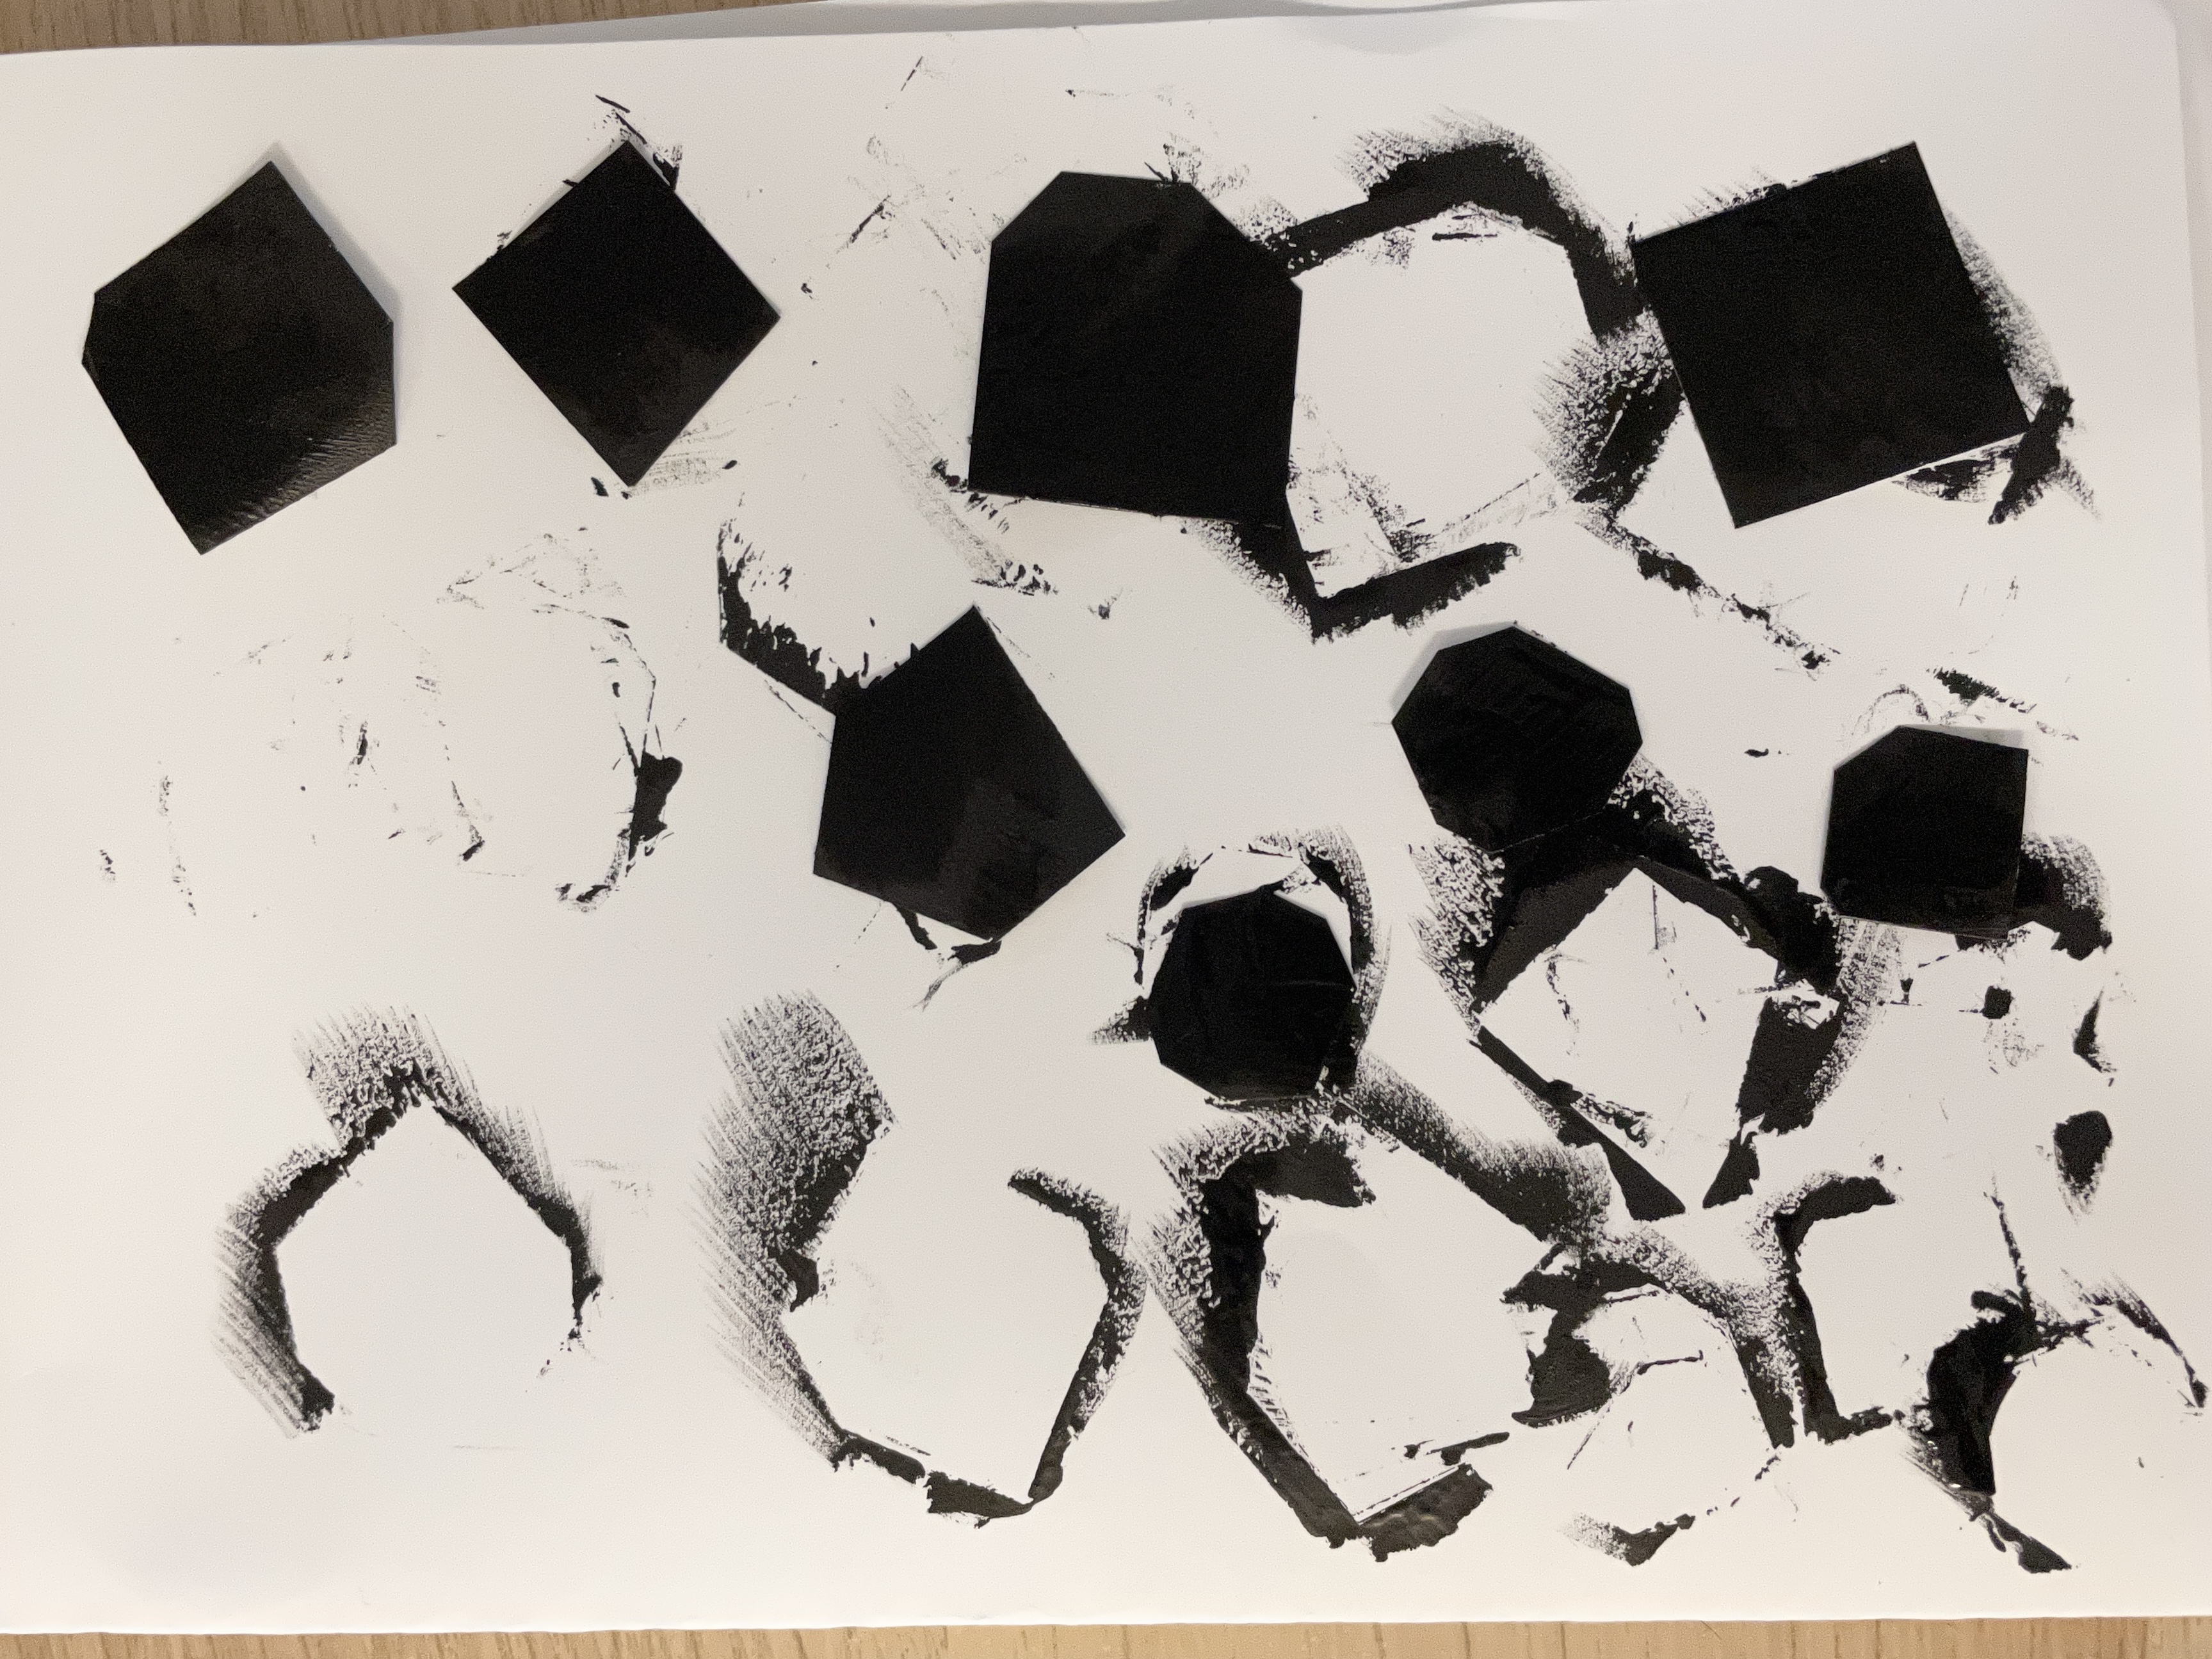
Process 1. Painted with conductive paint.
-
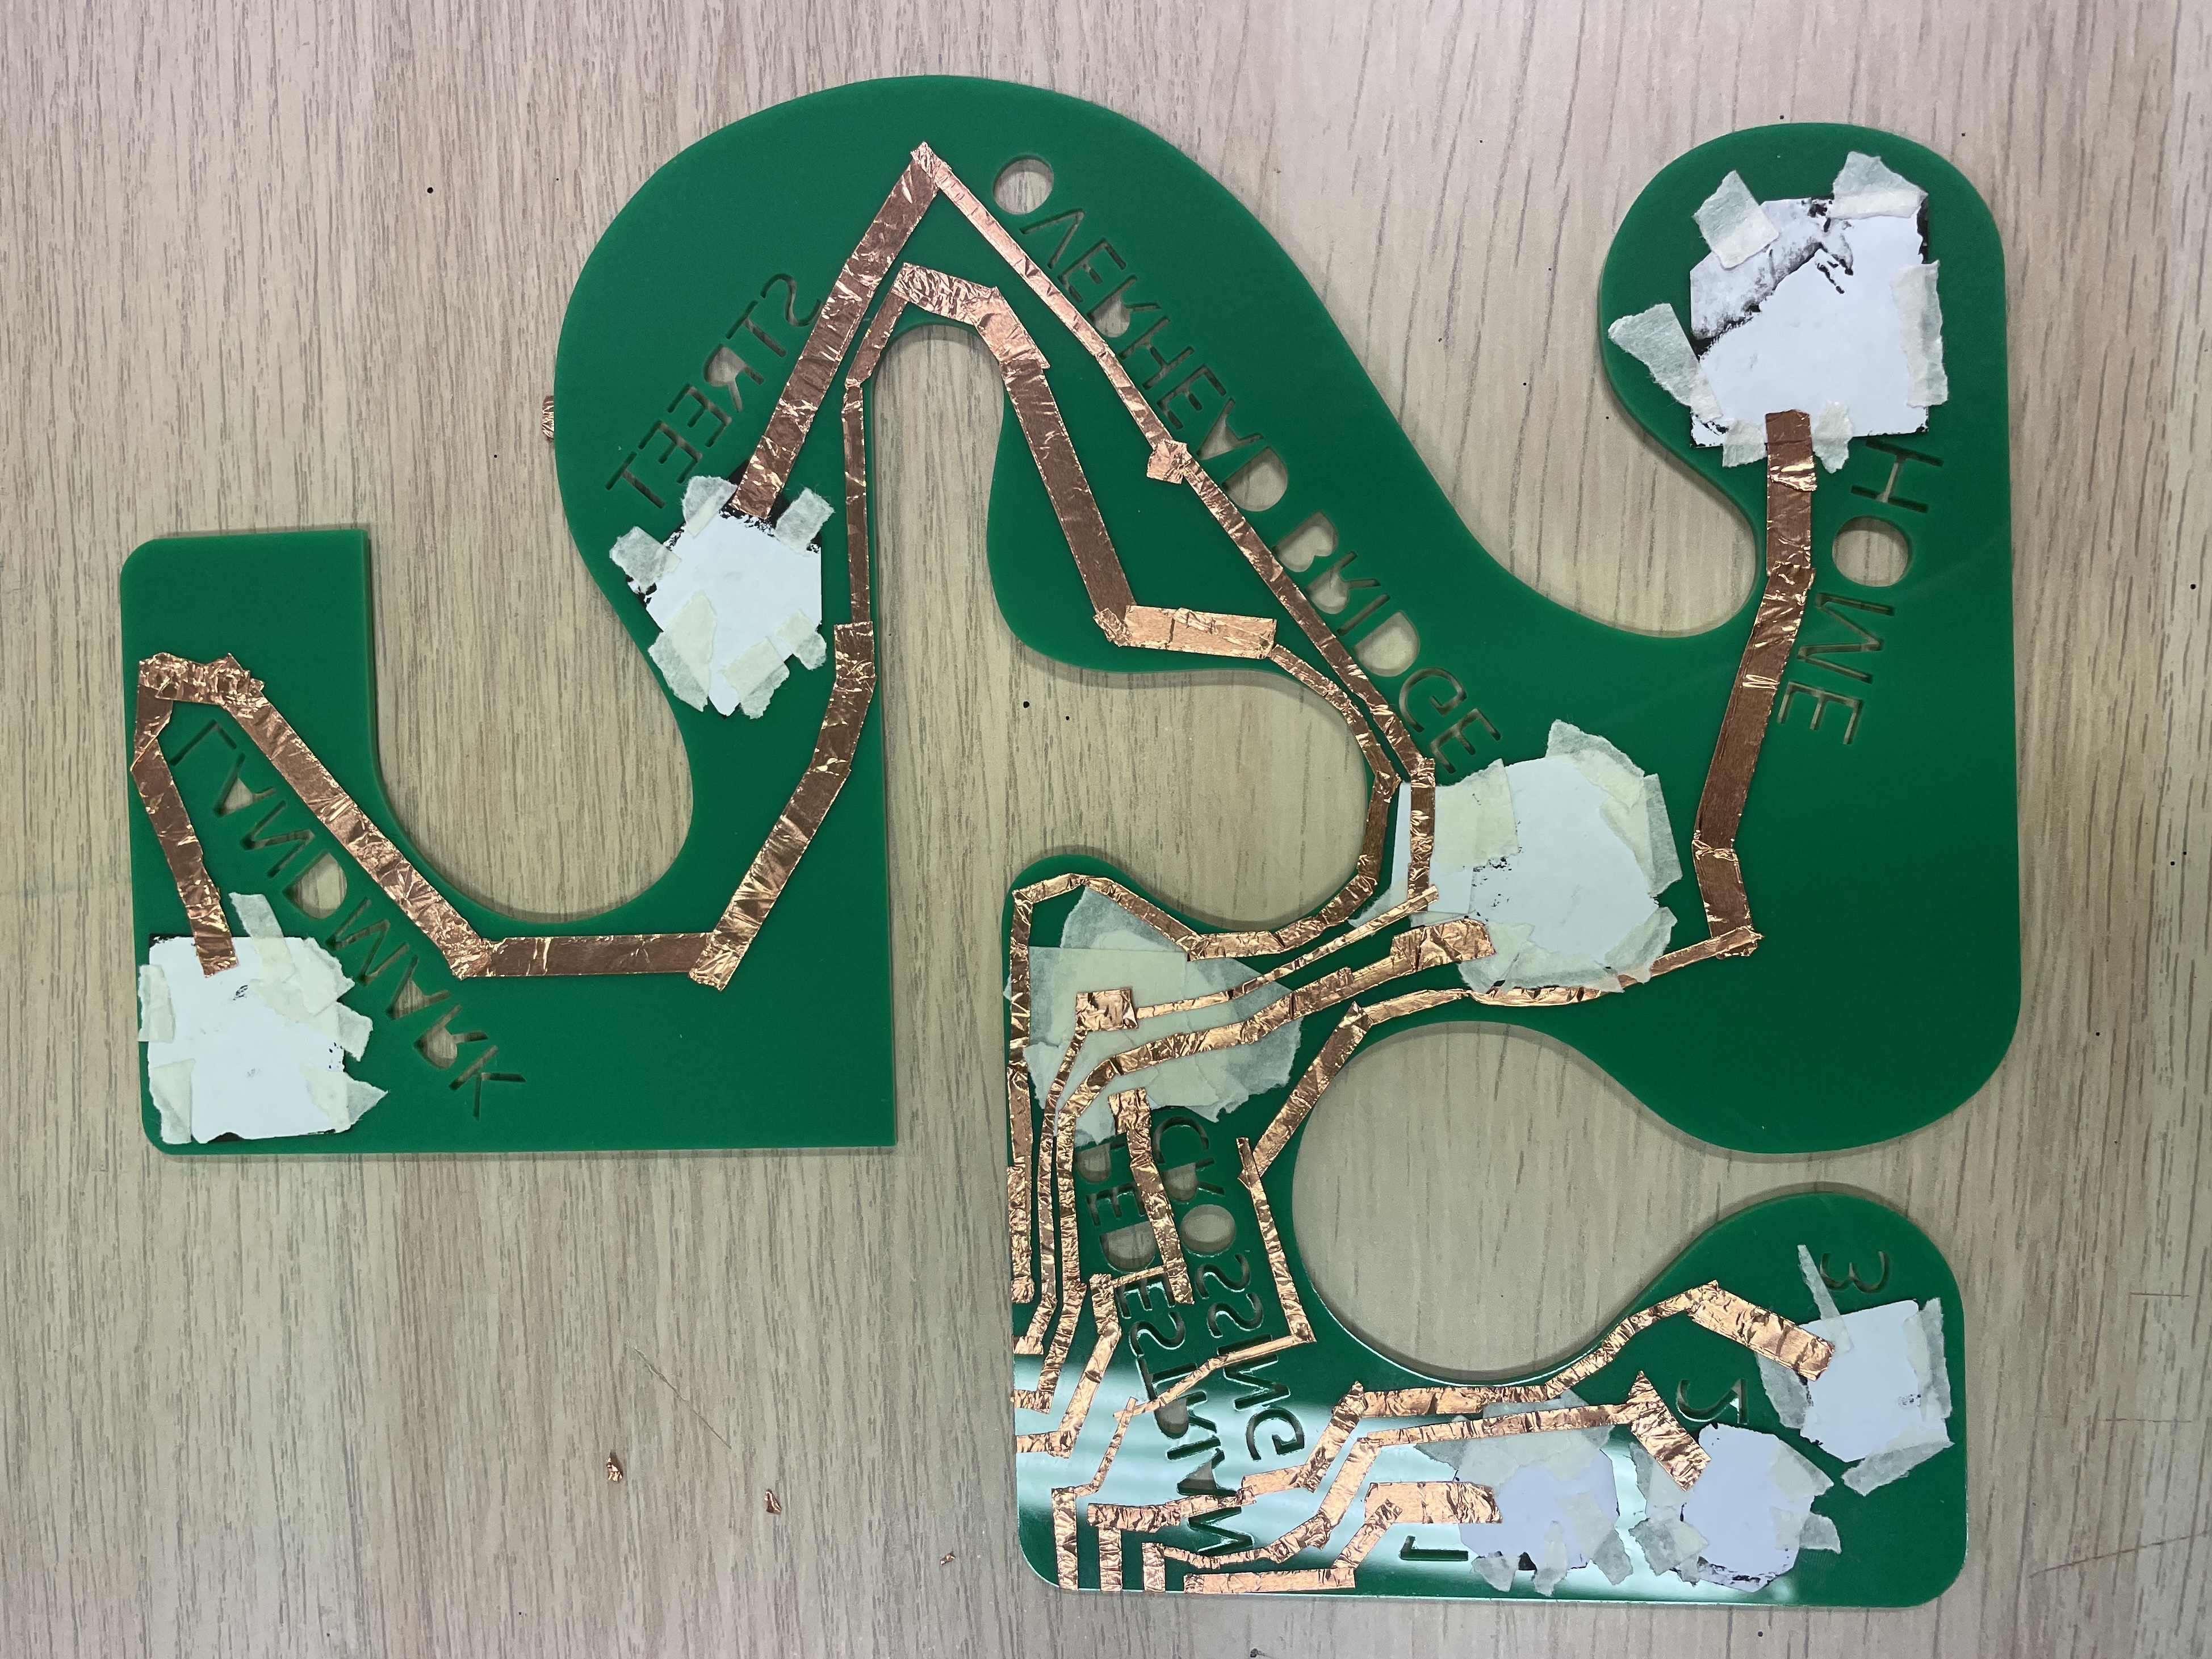
Process 1. The circuit made with copper tape.
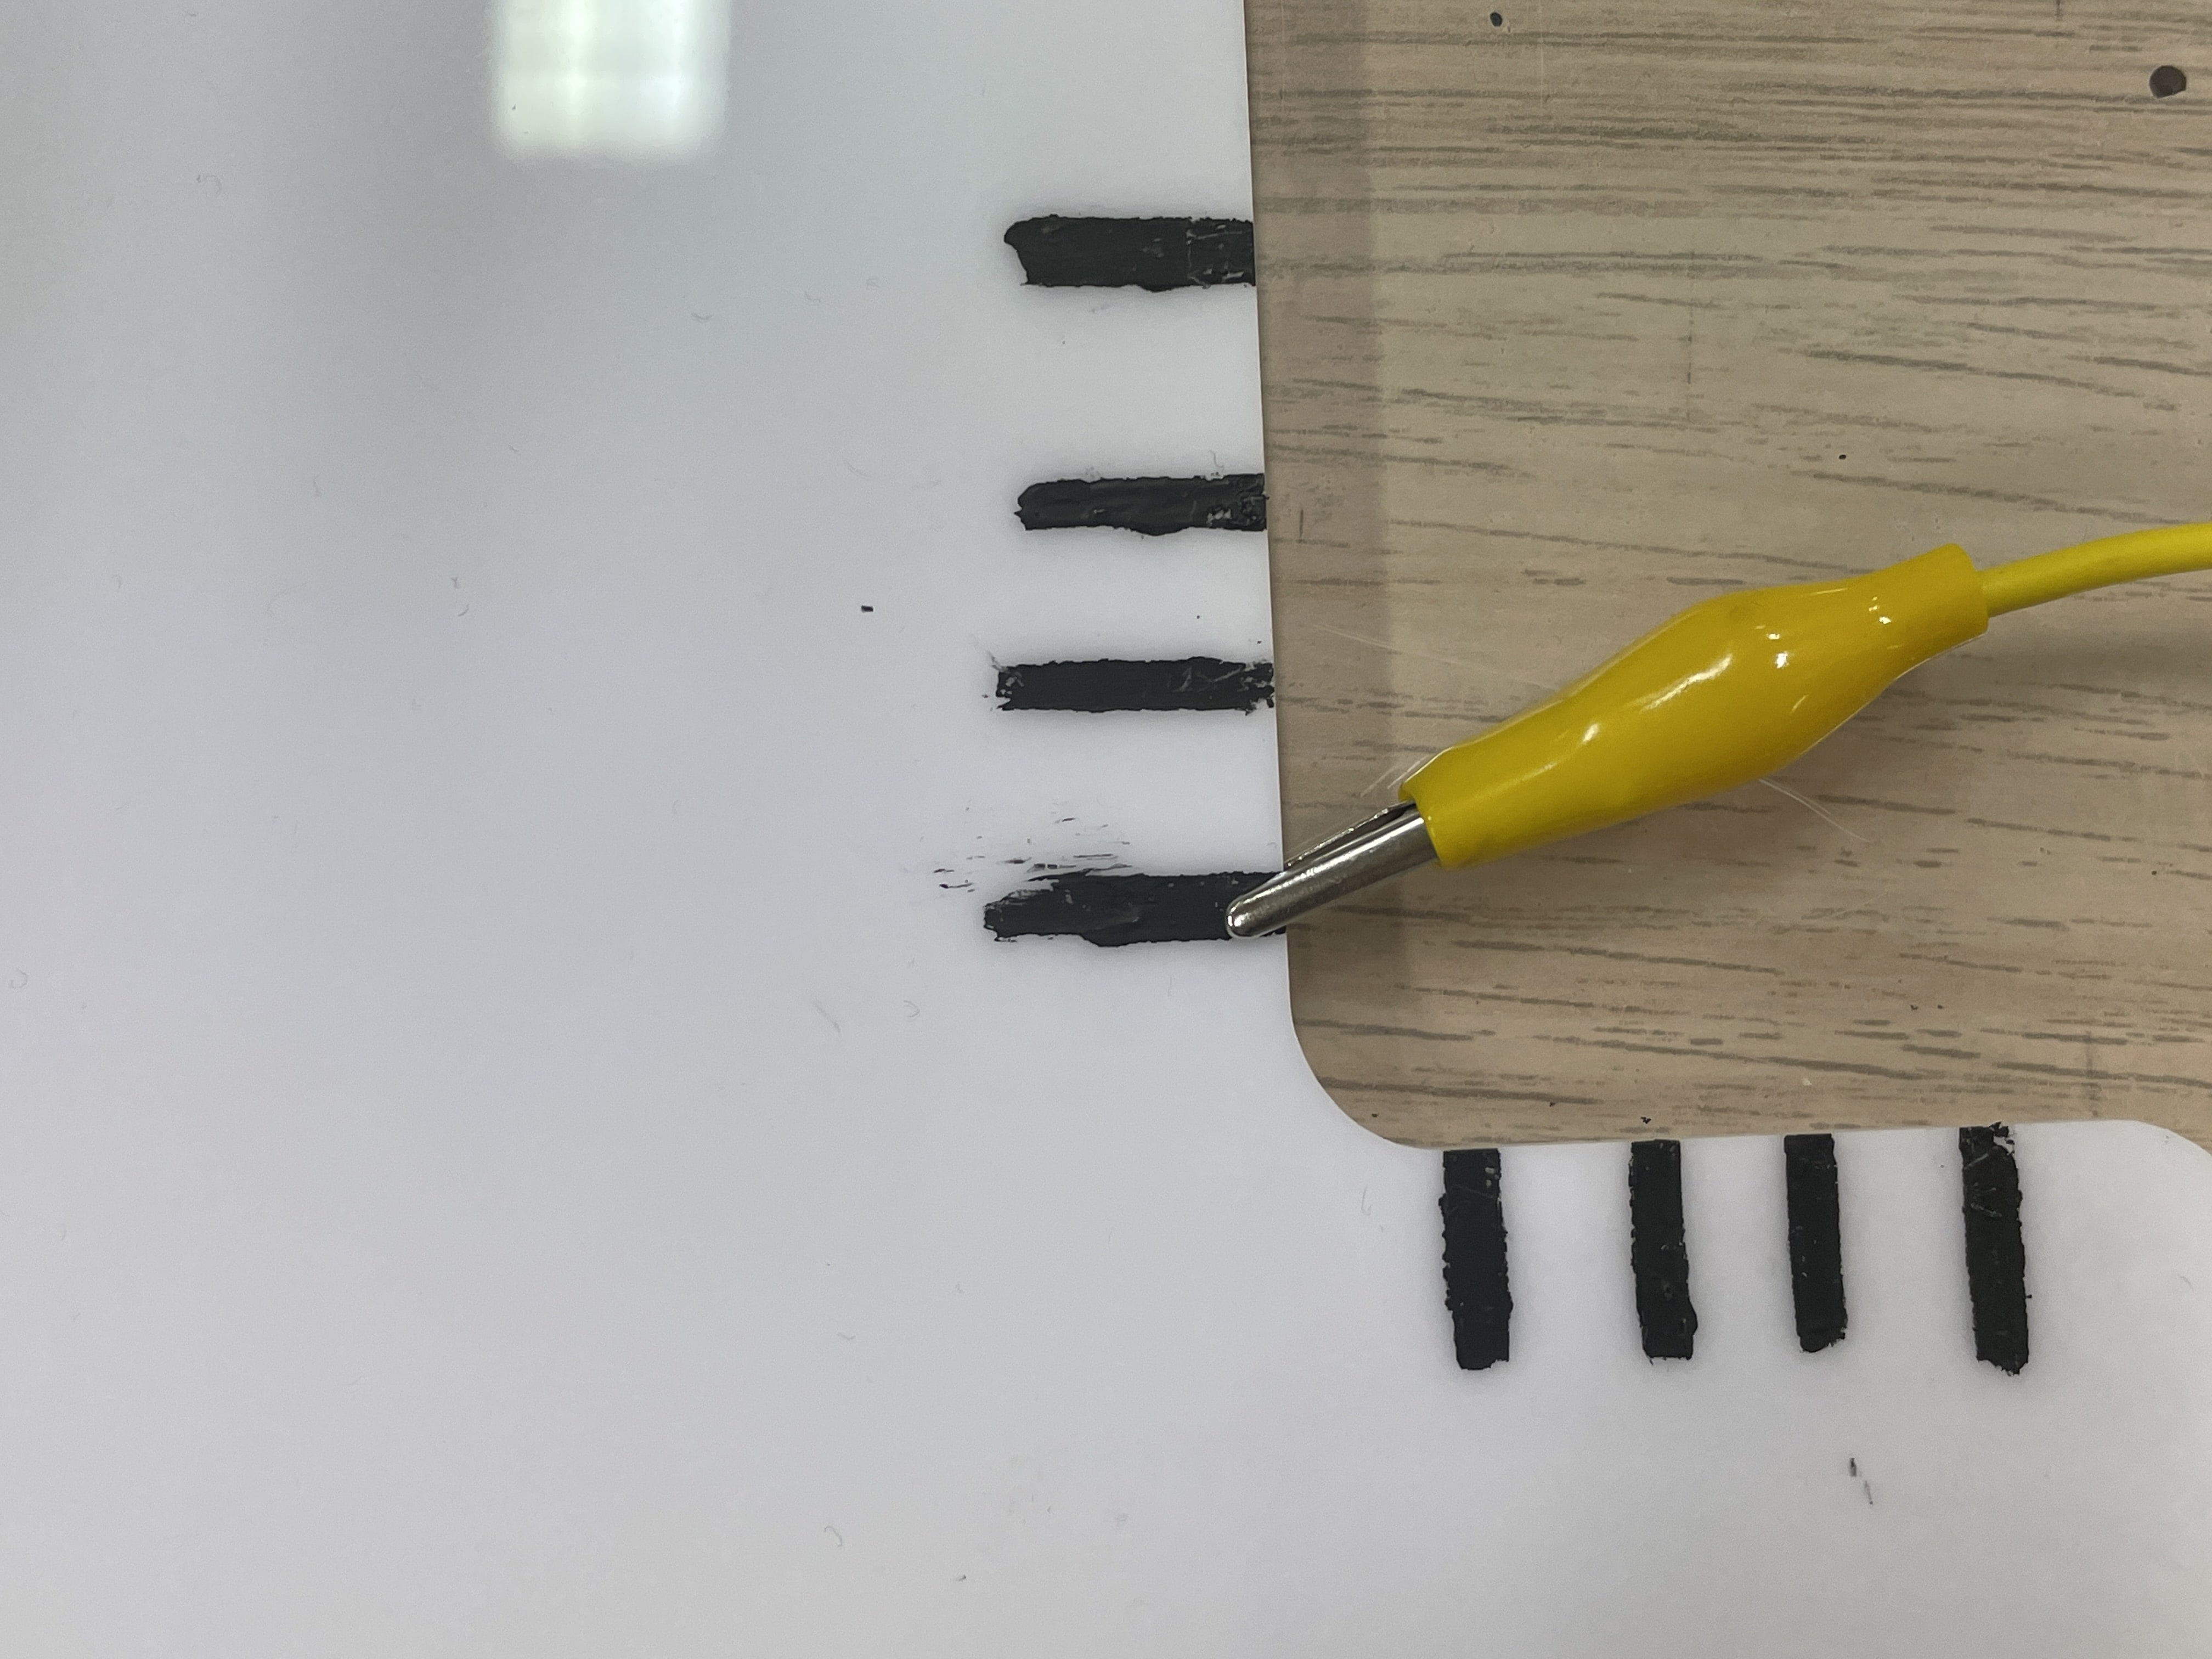
When attempting to activate the sounds by pressing the buttons, it didn’t fully work. The buttons would activate the wrong instruction, or not play anything at all. Upon looking at the circuit, I suspected that the issue stemmed from the messy circuit, leading to errors.
-
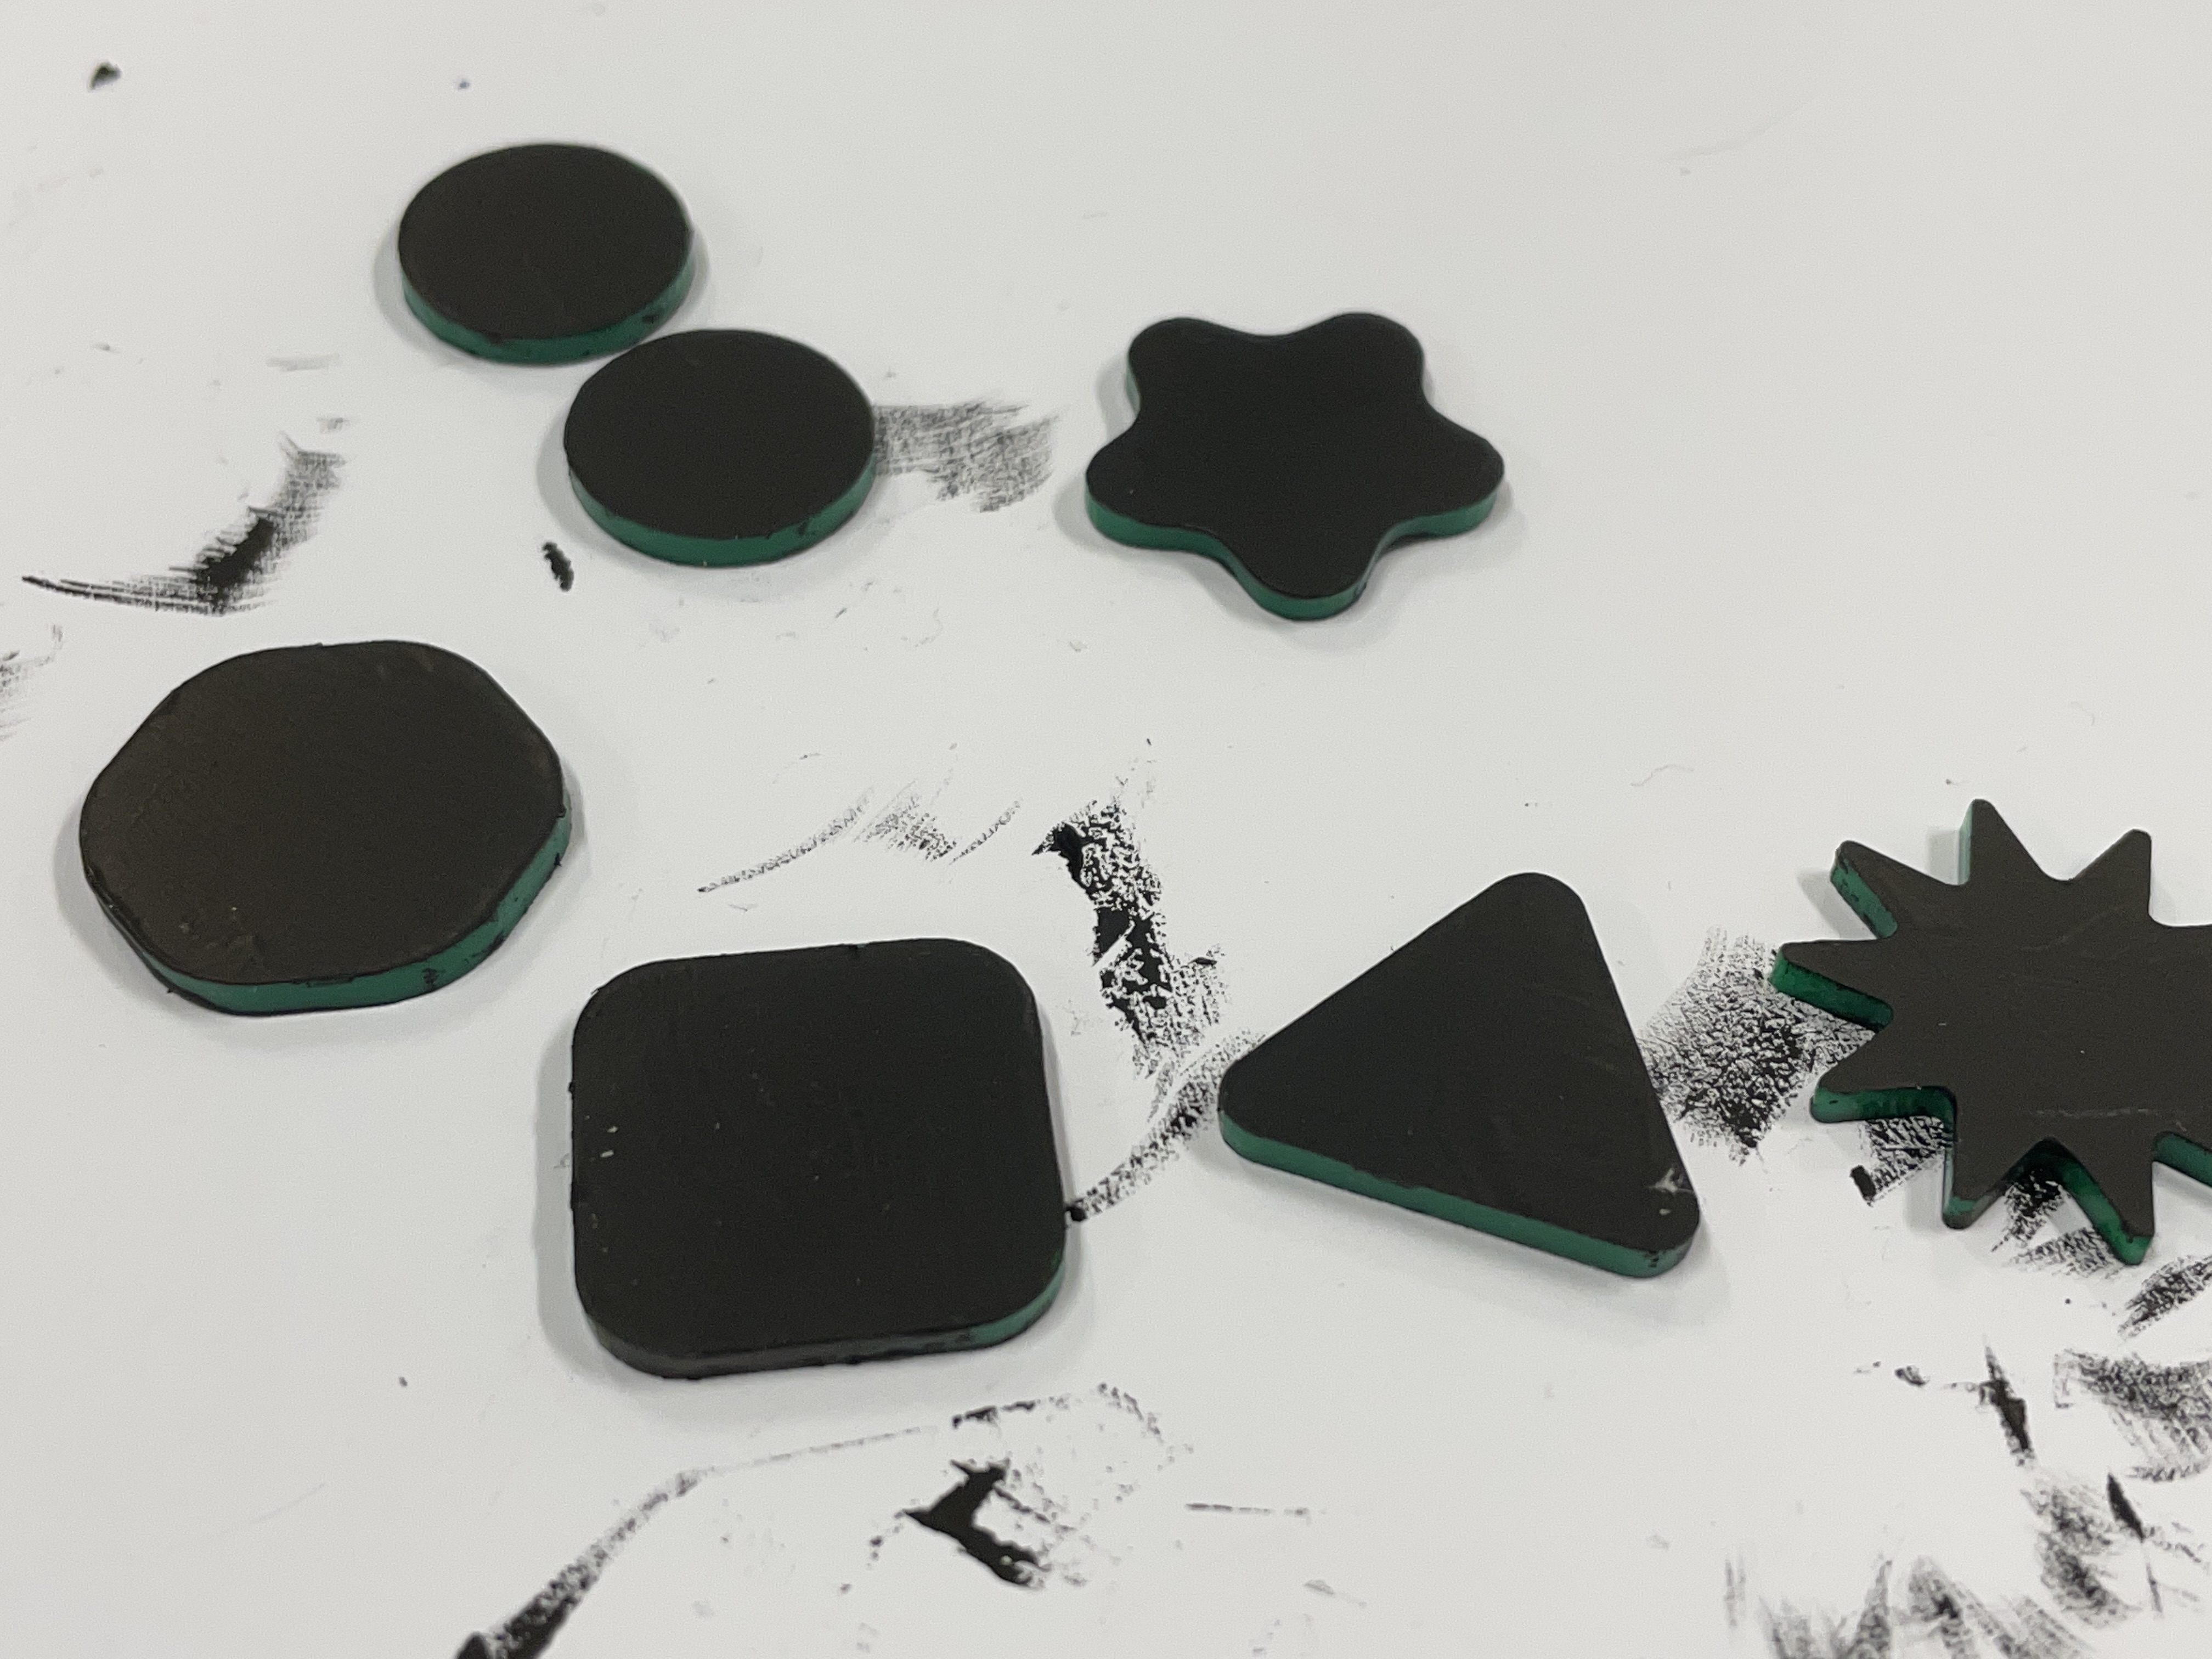
Process 2. The paper touch pads got switched out with the cut-out shapes to make the interaction between the user and the button more firm.
-
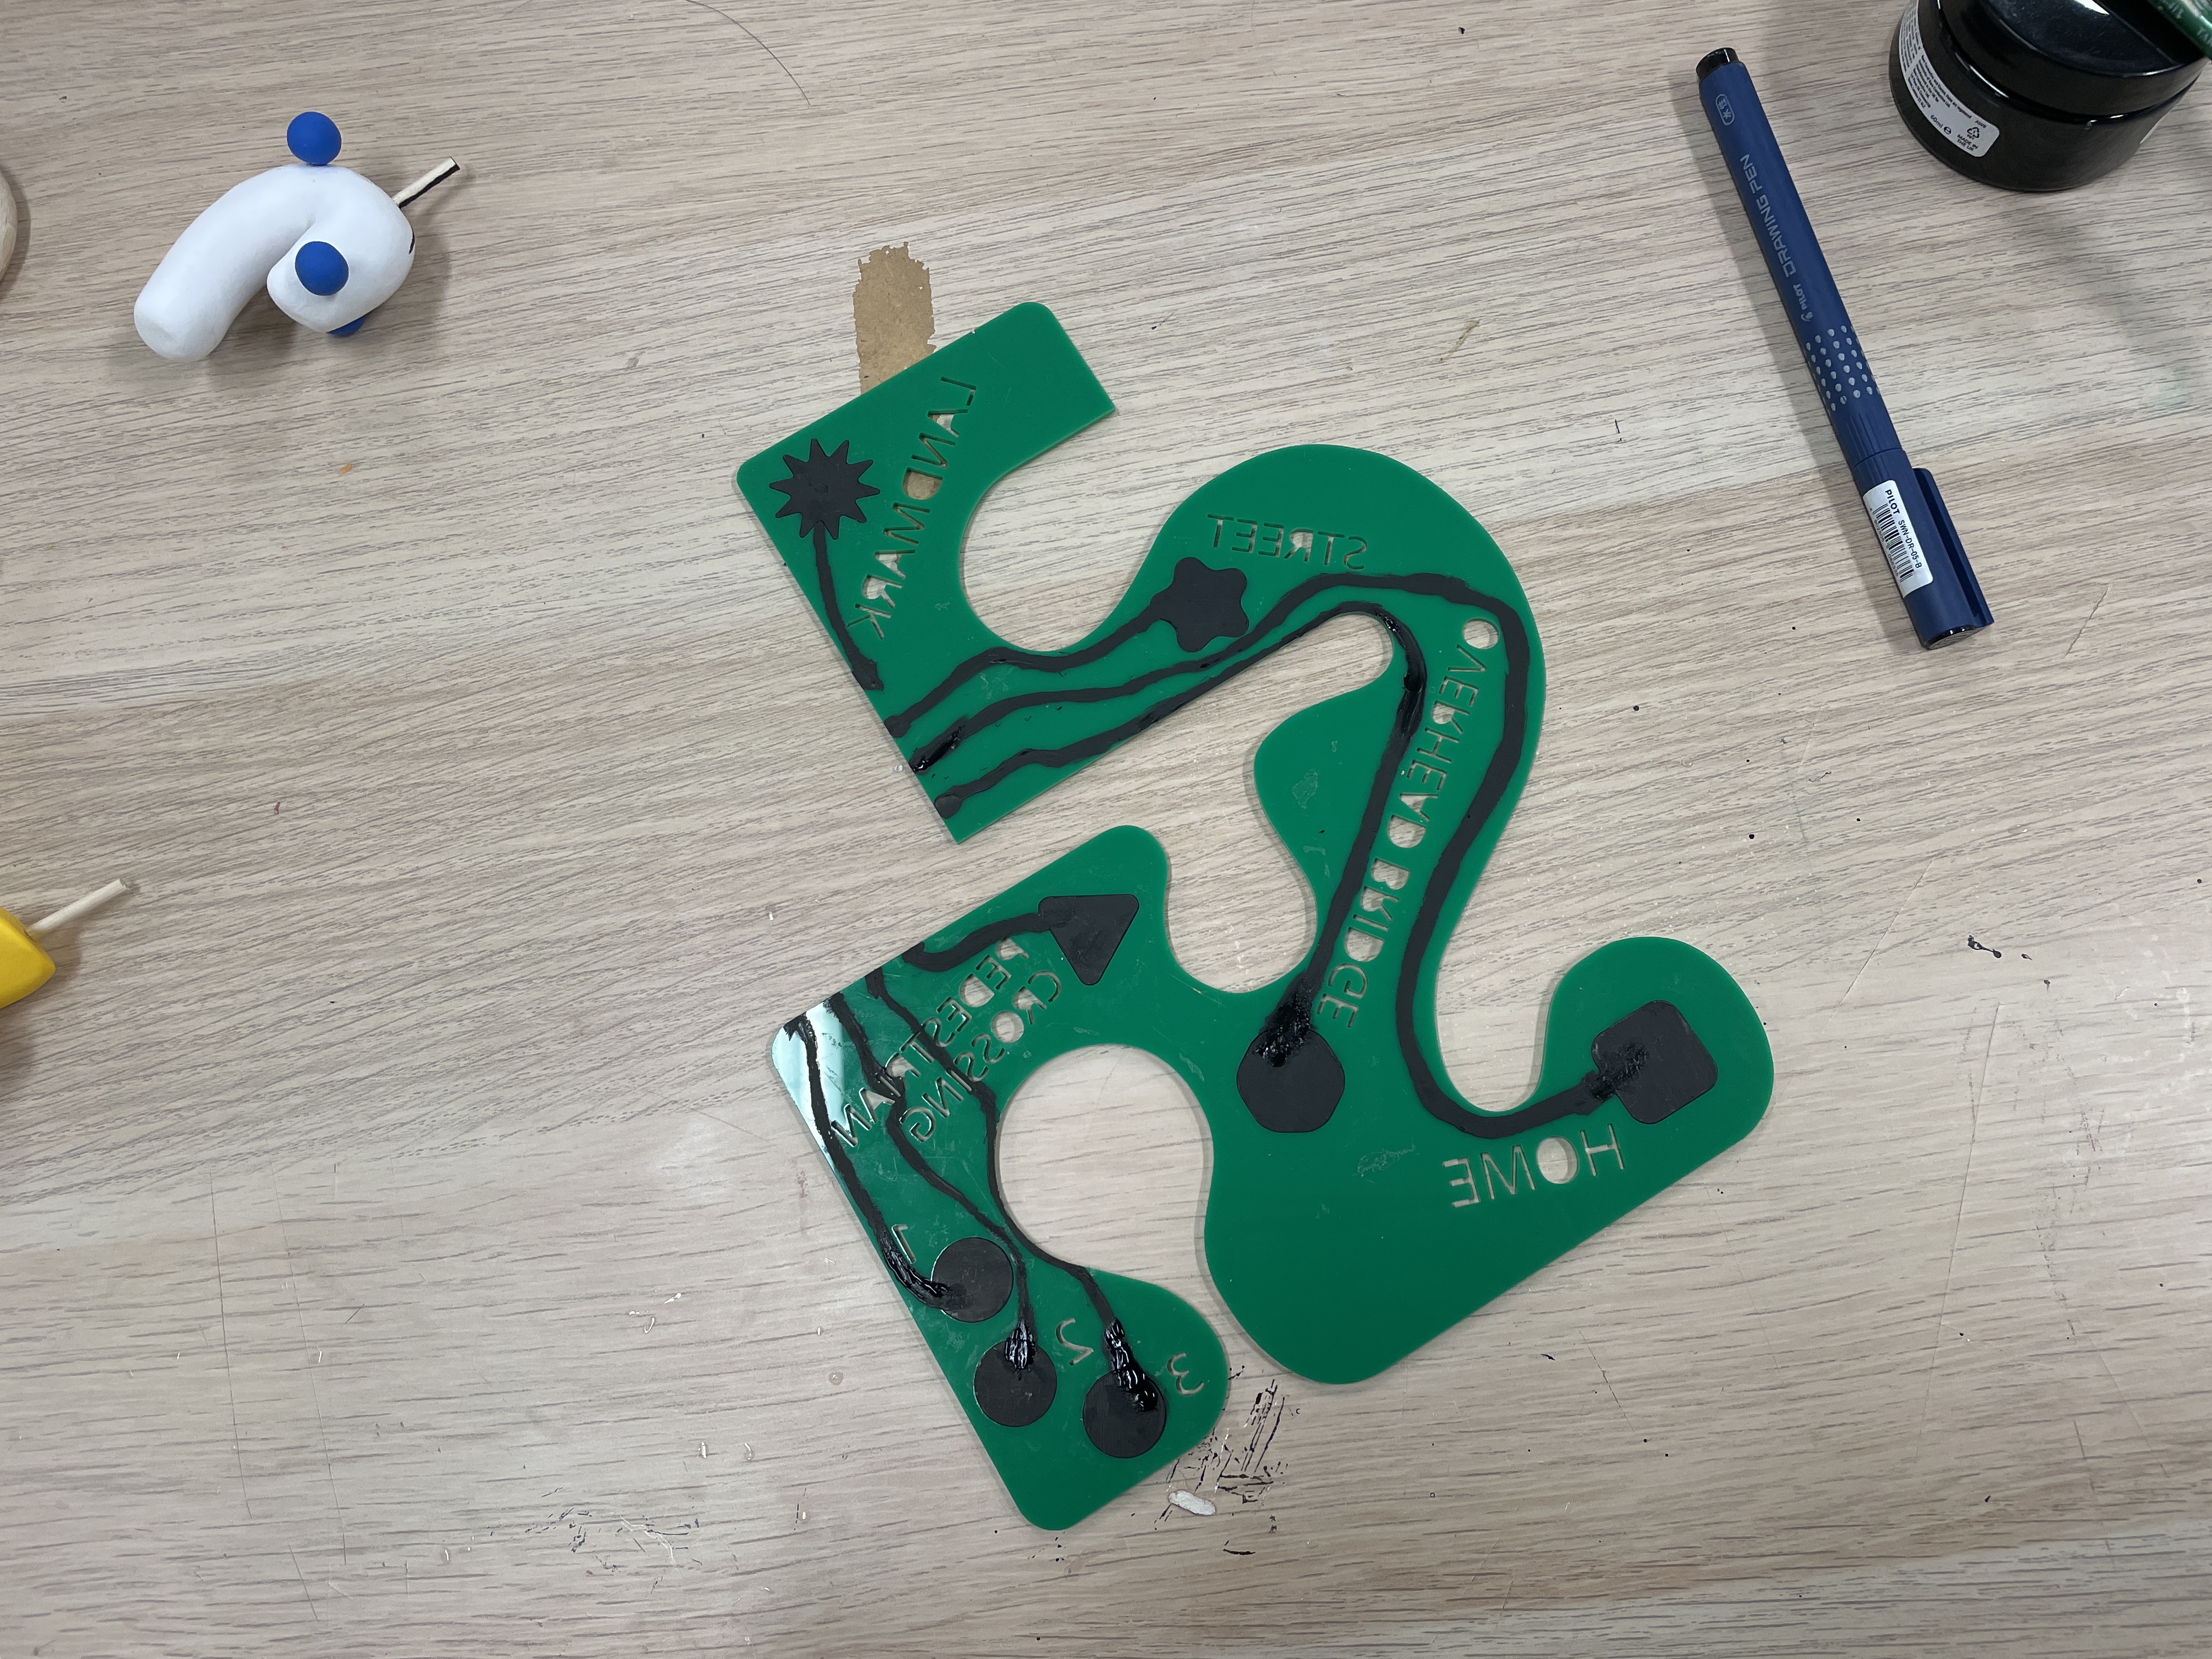
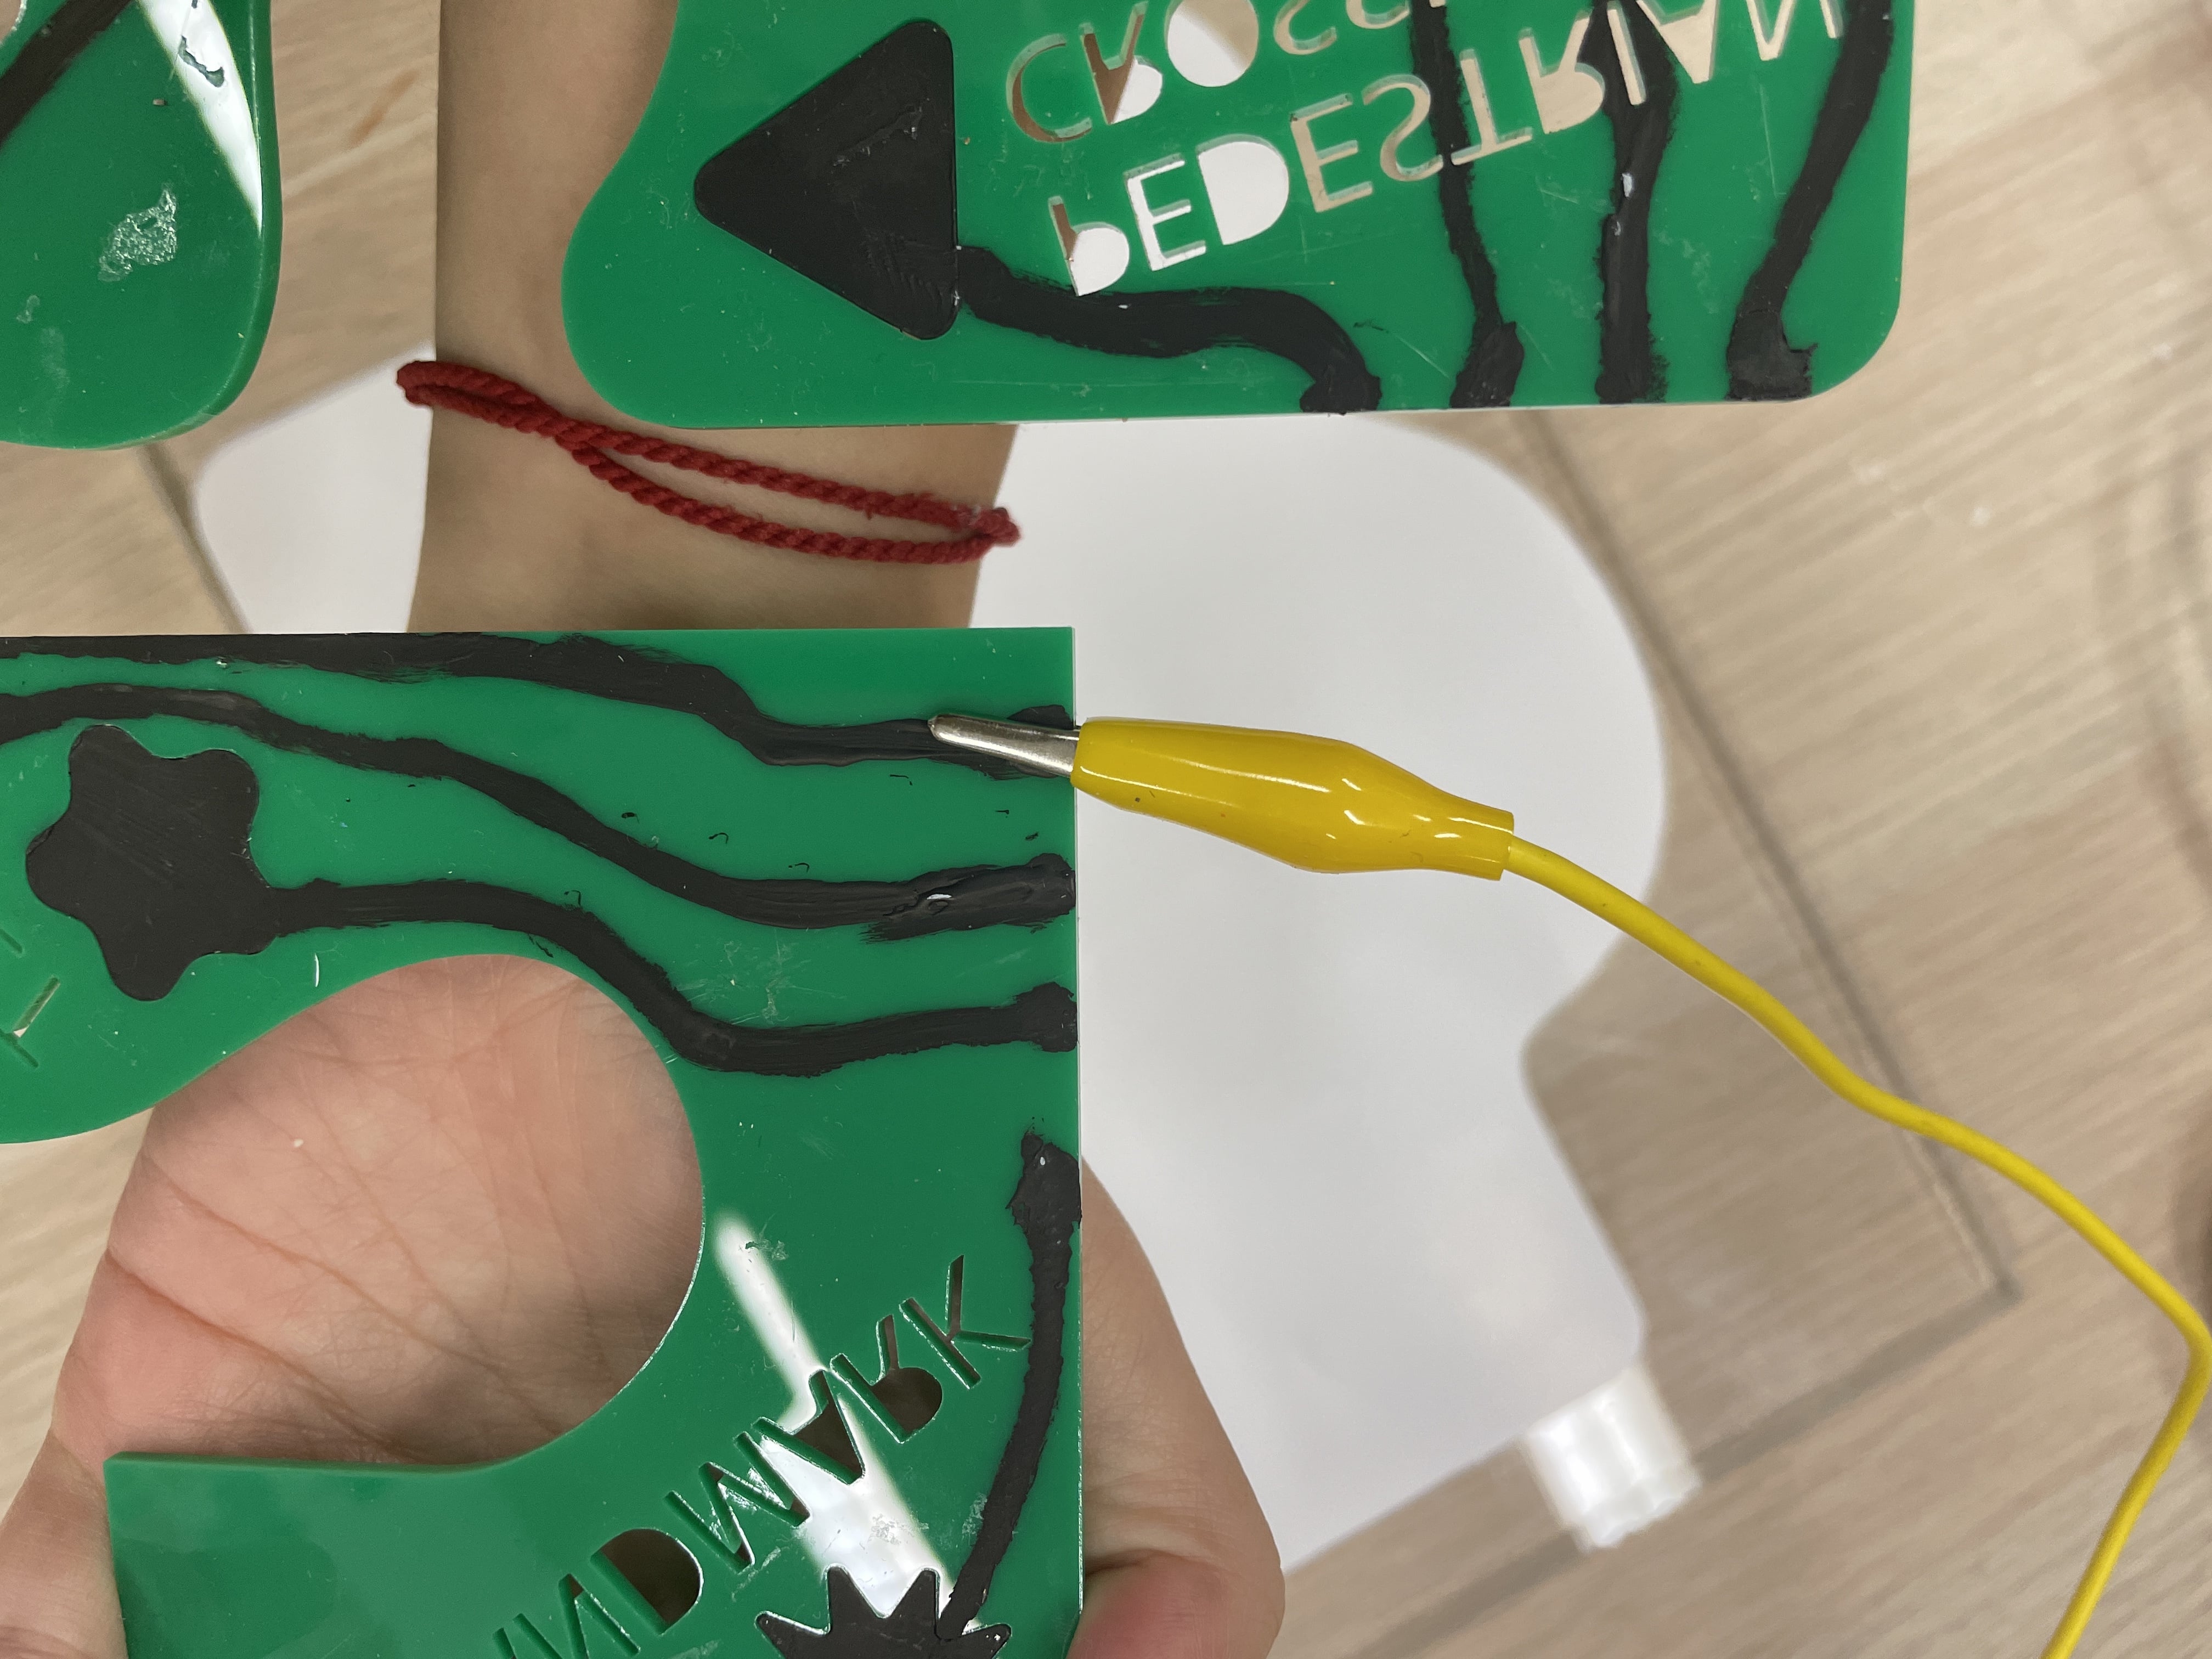
Process 2. Painted the circuit with conductive paint—it was faster and more clean.
-
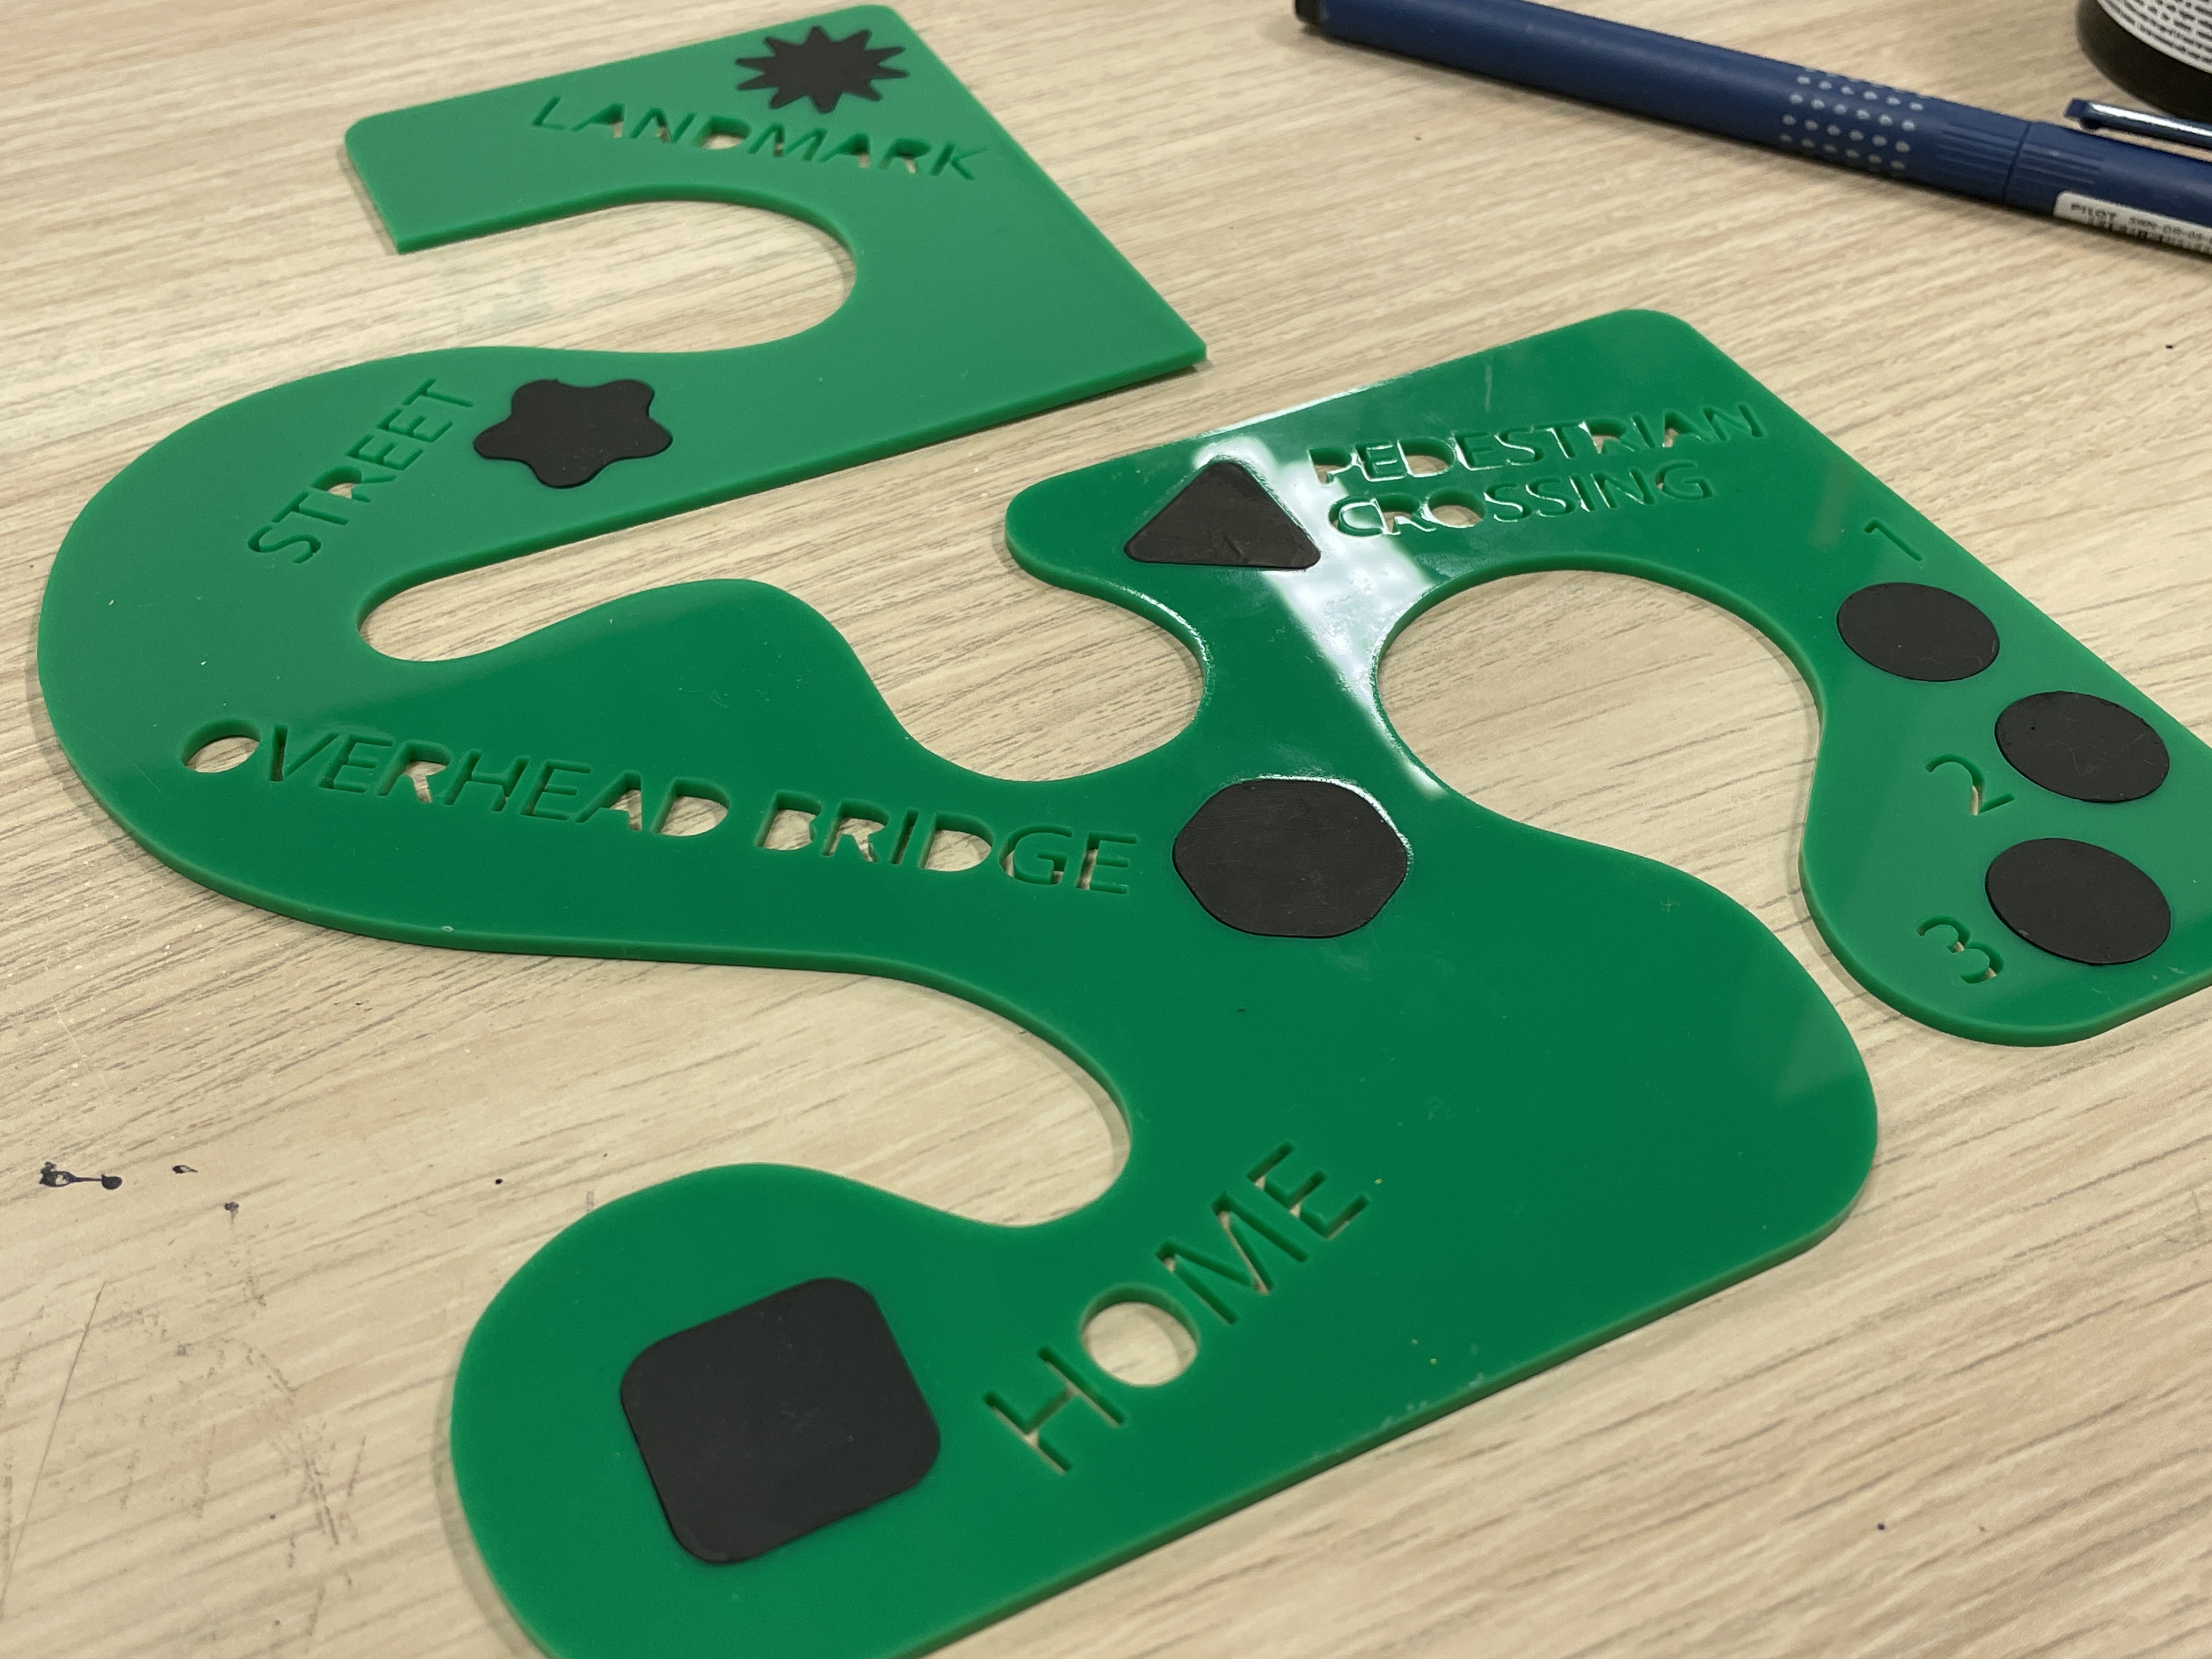
Process 2. Finished!
Unfortunately, the same issue happened. Instead of attaching the clip to the white acrylic as intended, I attempted to attach it directly to the main board with the circuit. It works!
-
From this...
-
...to this!
OBJECT SET 2
The second set uses everyday textures.
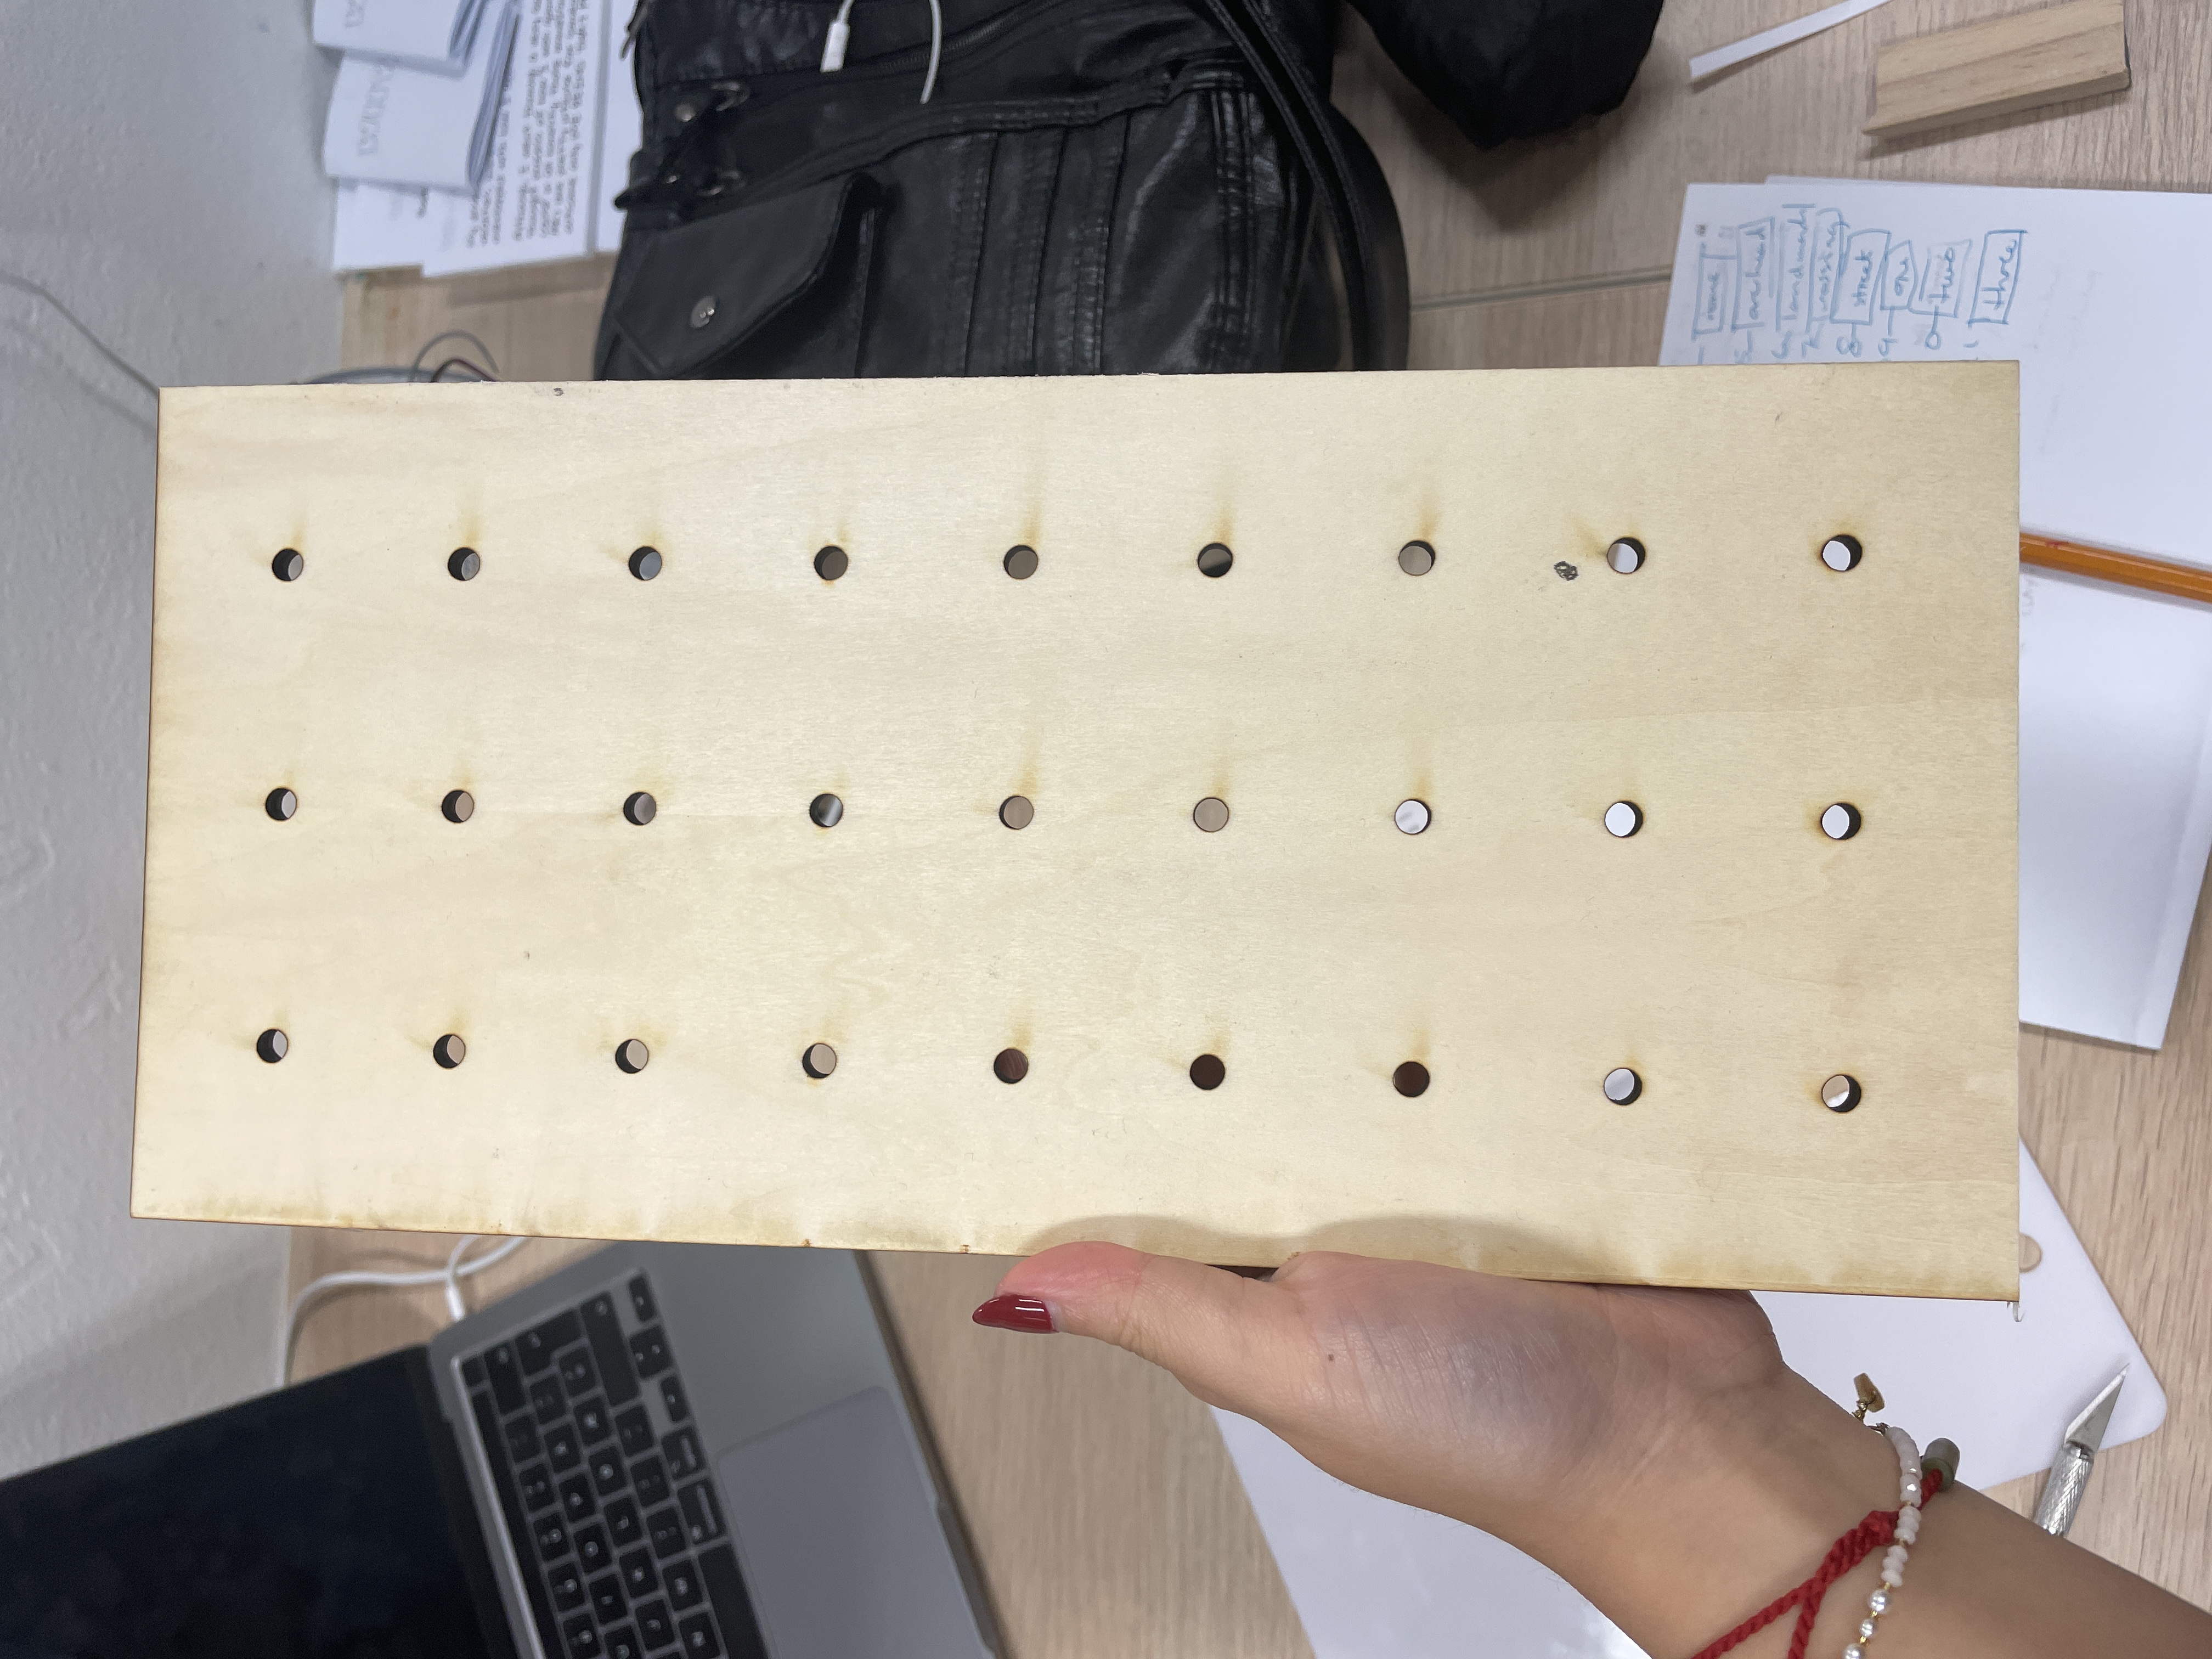
Mini version of the main wooden board.
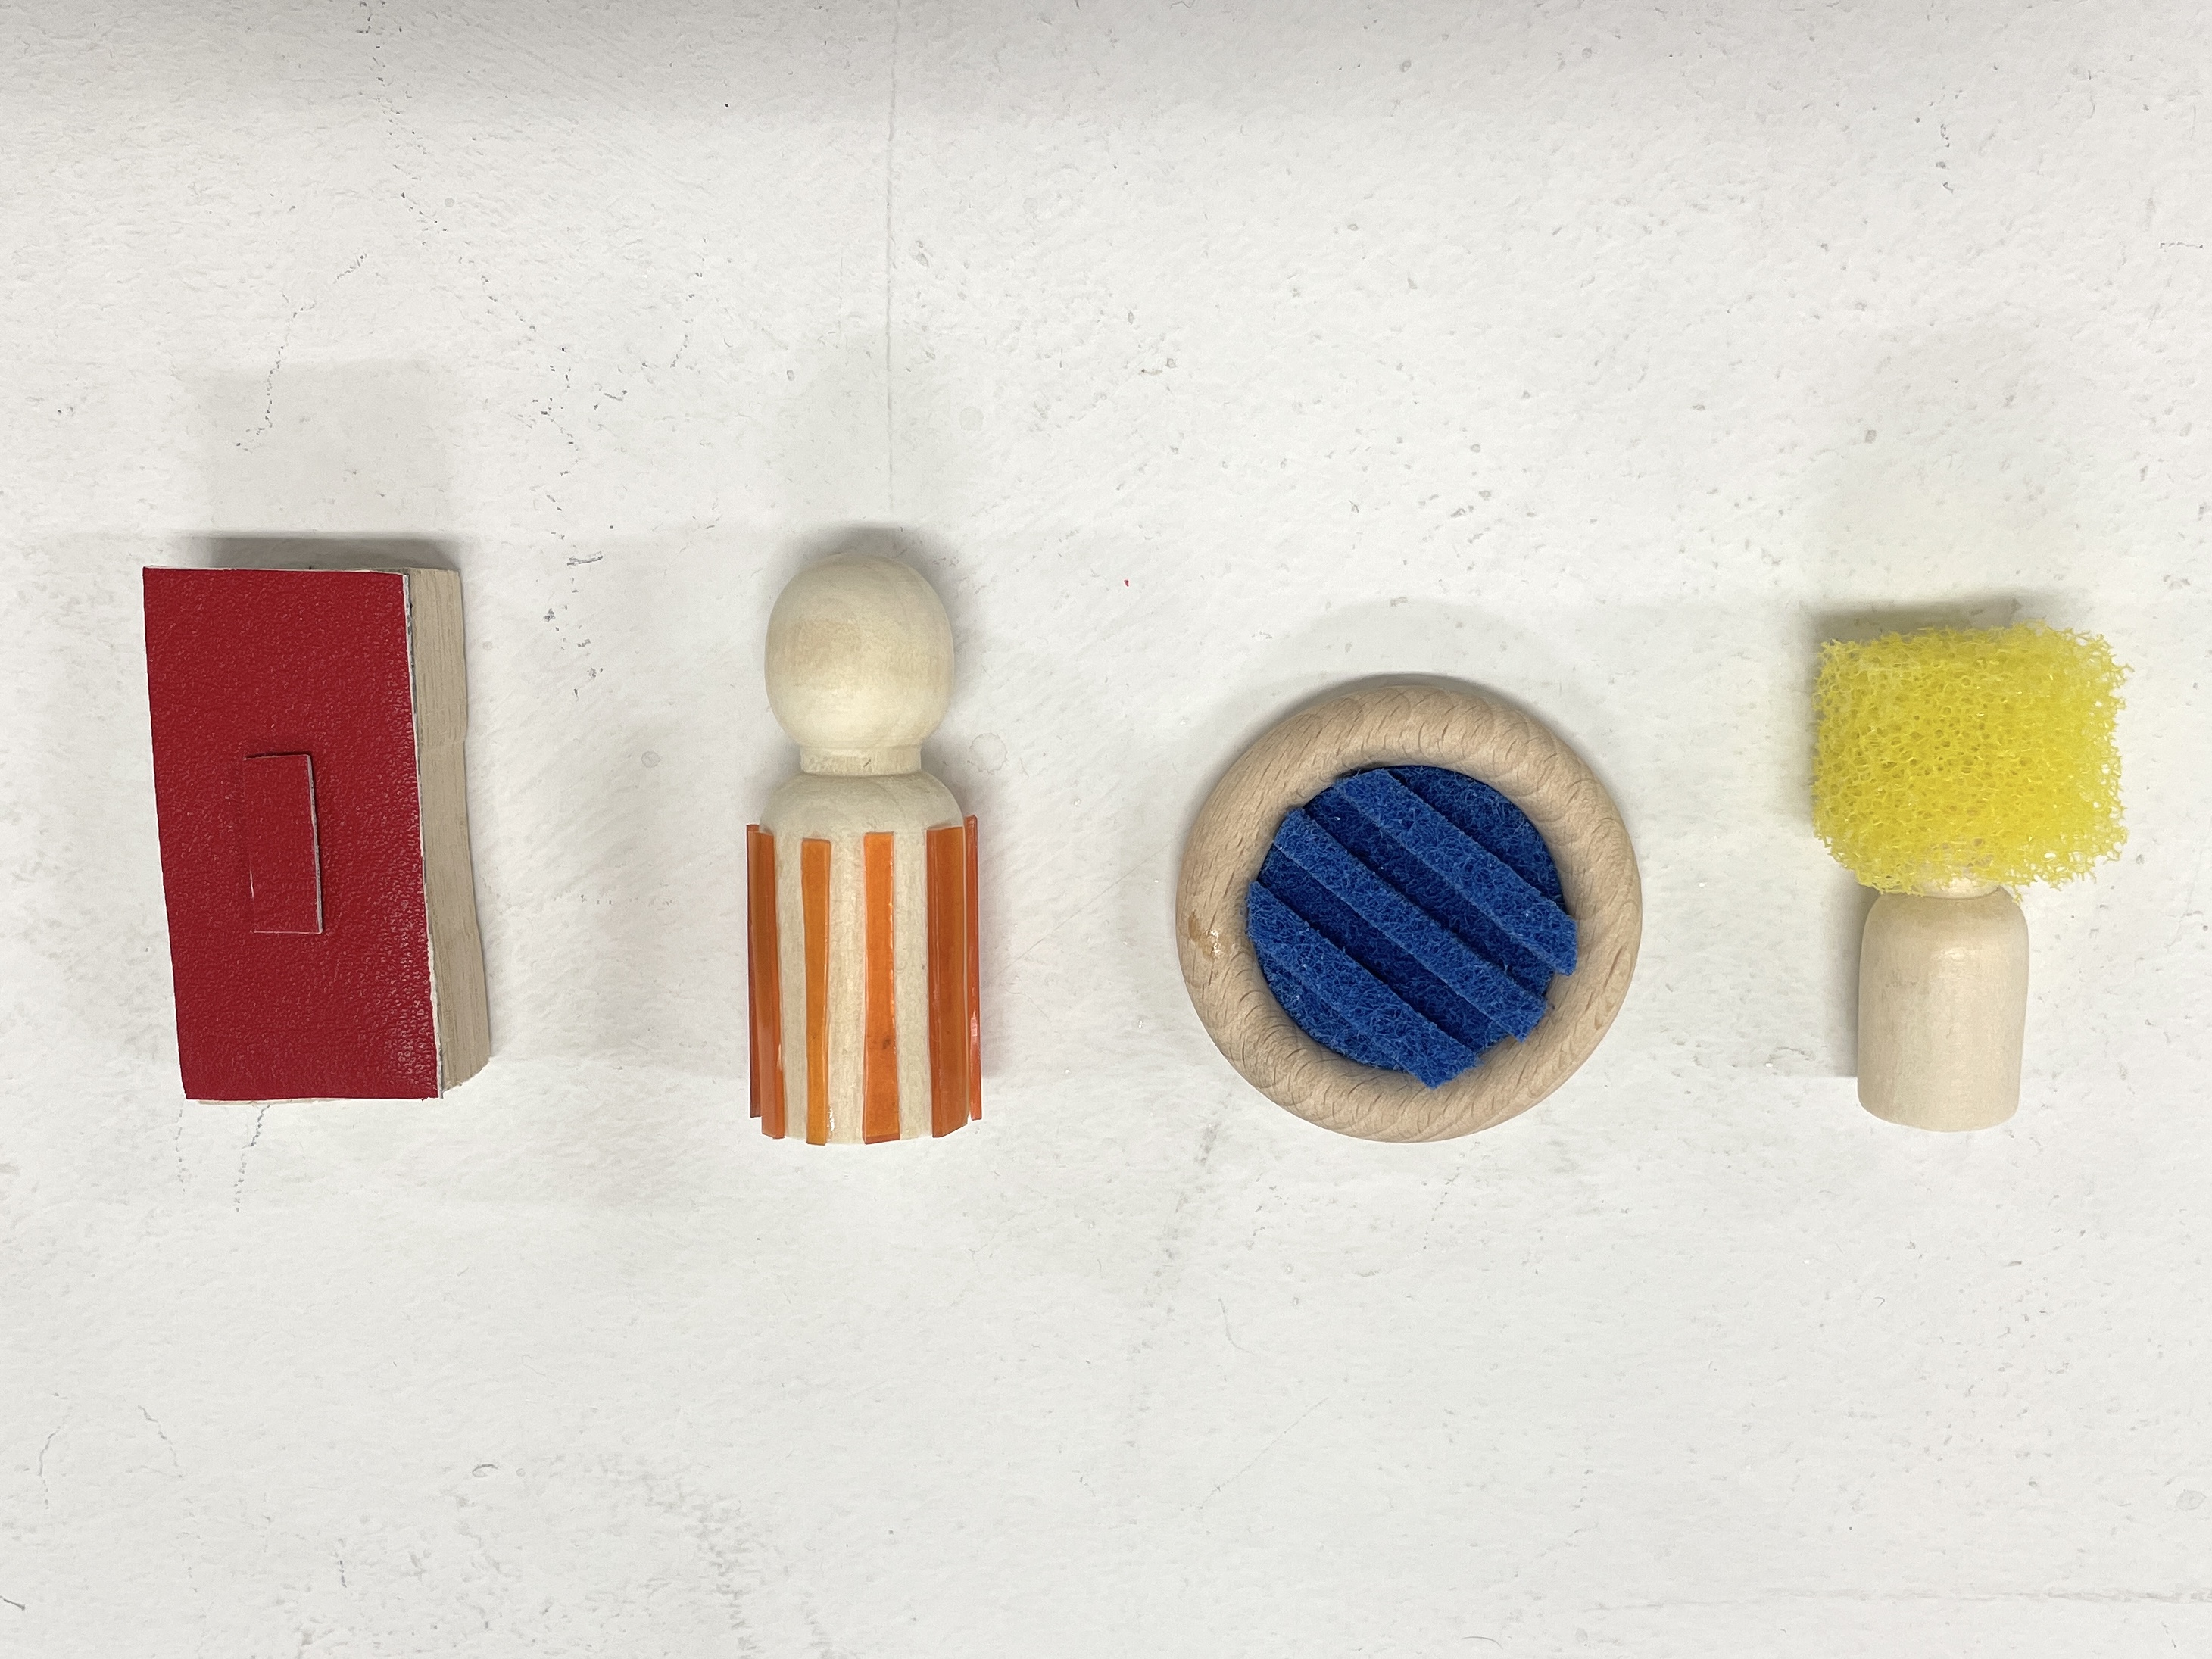
Textured objects inspired by everyday objects like humans, houses and pedestrian crossings.
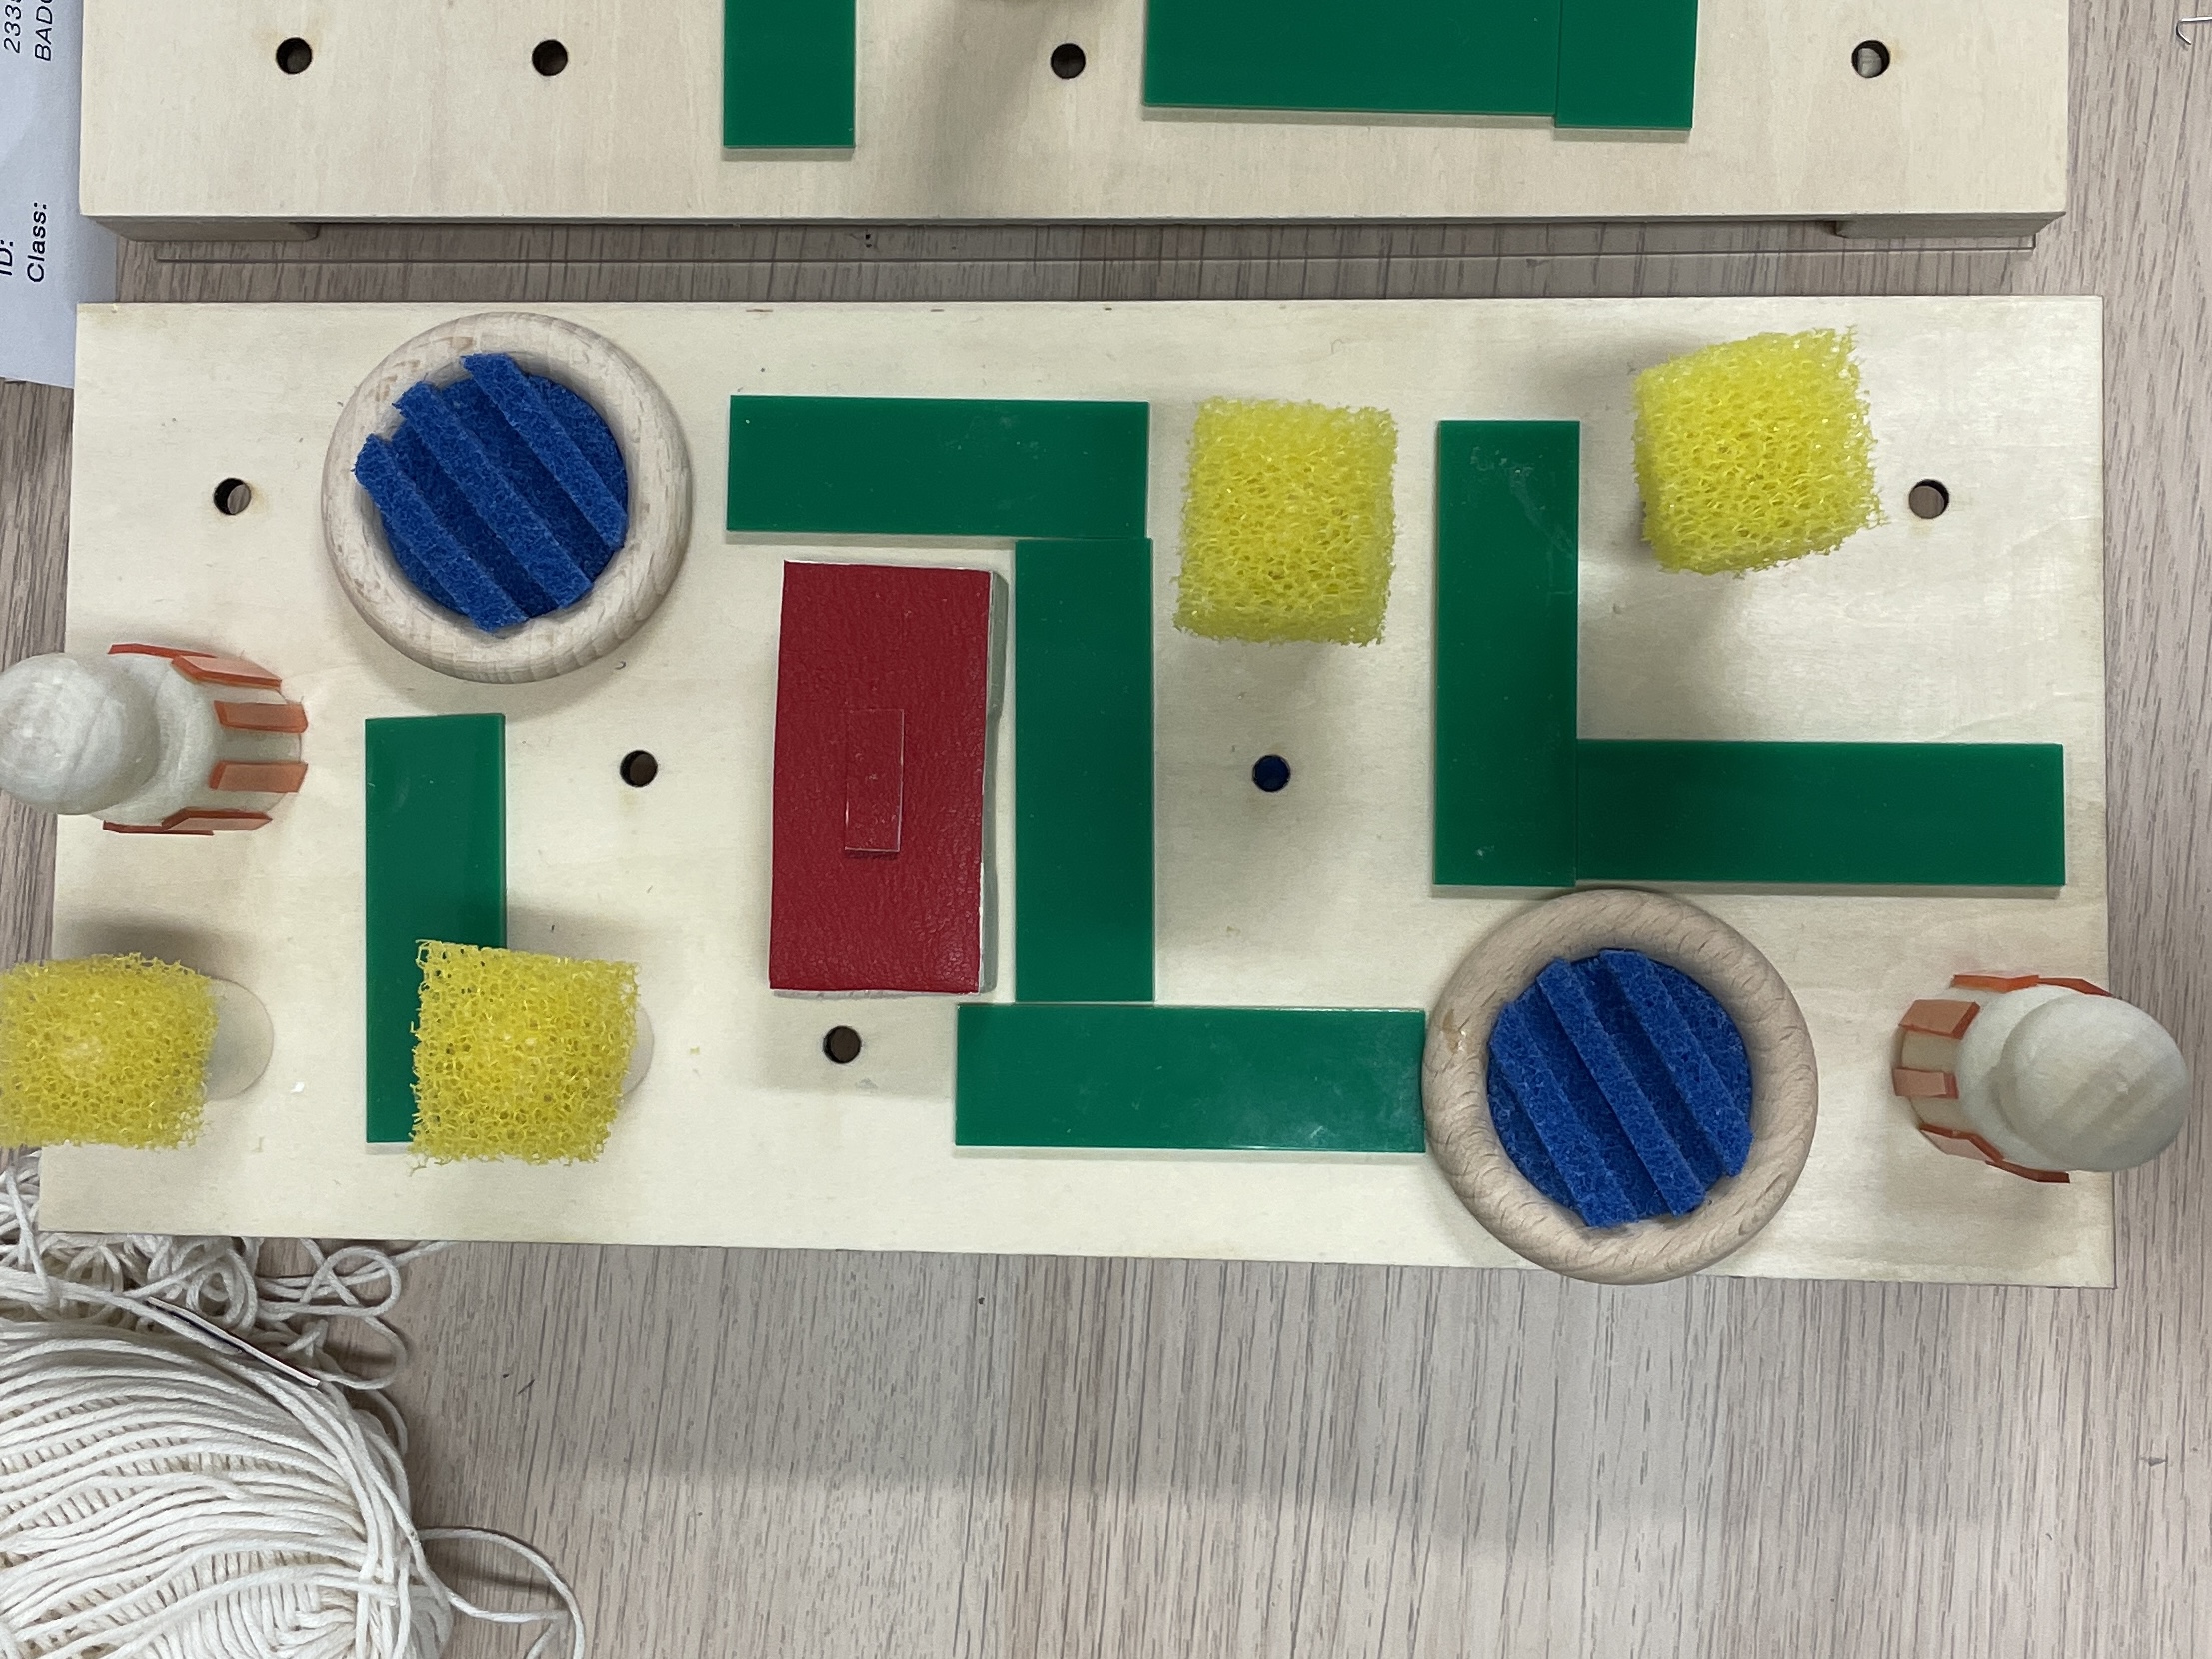
Mini tactile map.
REMAKING OBJECTS FROM SET 1
I opted for a new approach to the making by using air-dried clay instead of baked.
This is because it would save time to bake it, and at the same time give me the same result.
I adopted a new approach to the crafting process by using air-dried clay instead of oven-baked clay.
This choice was made to save time, as air-drying eliminates the need for baking while still giving the
desired outcome.
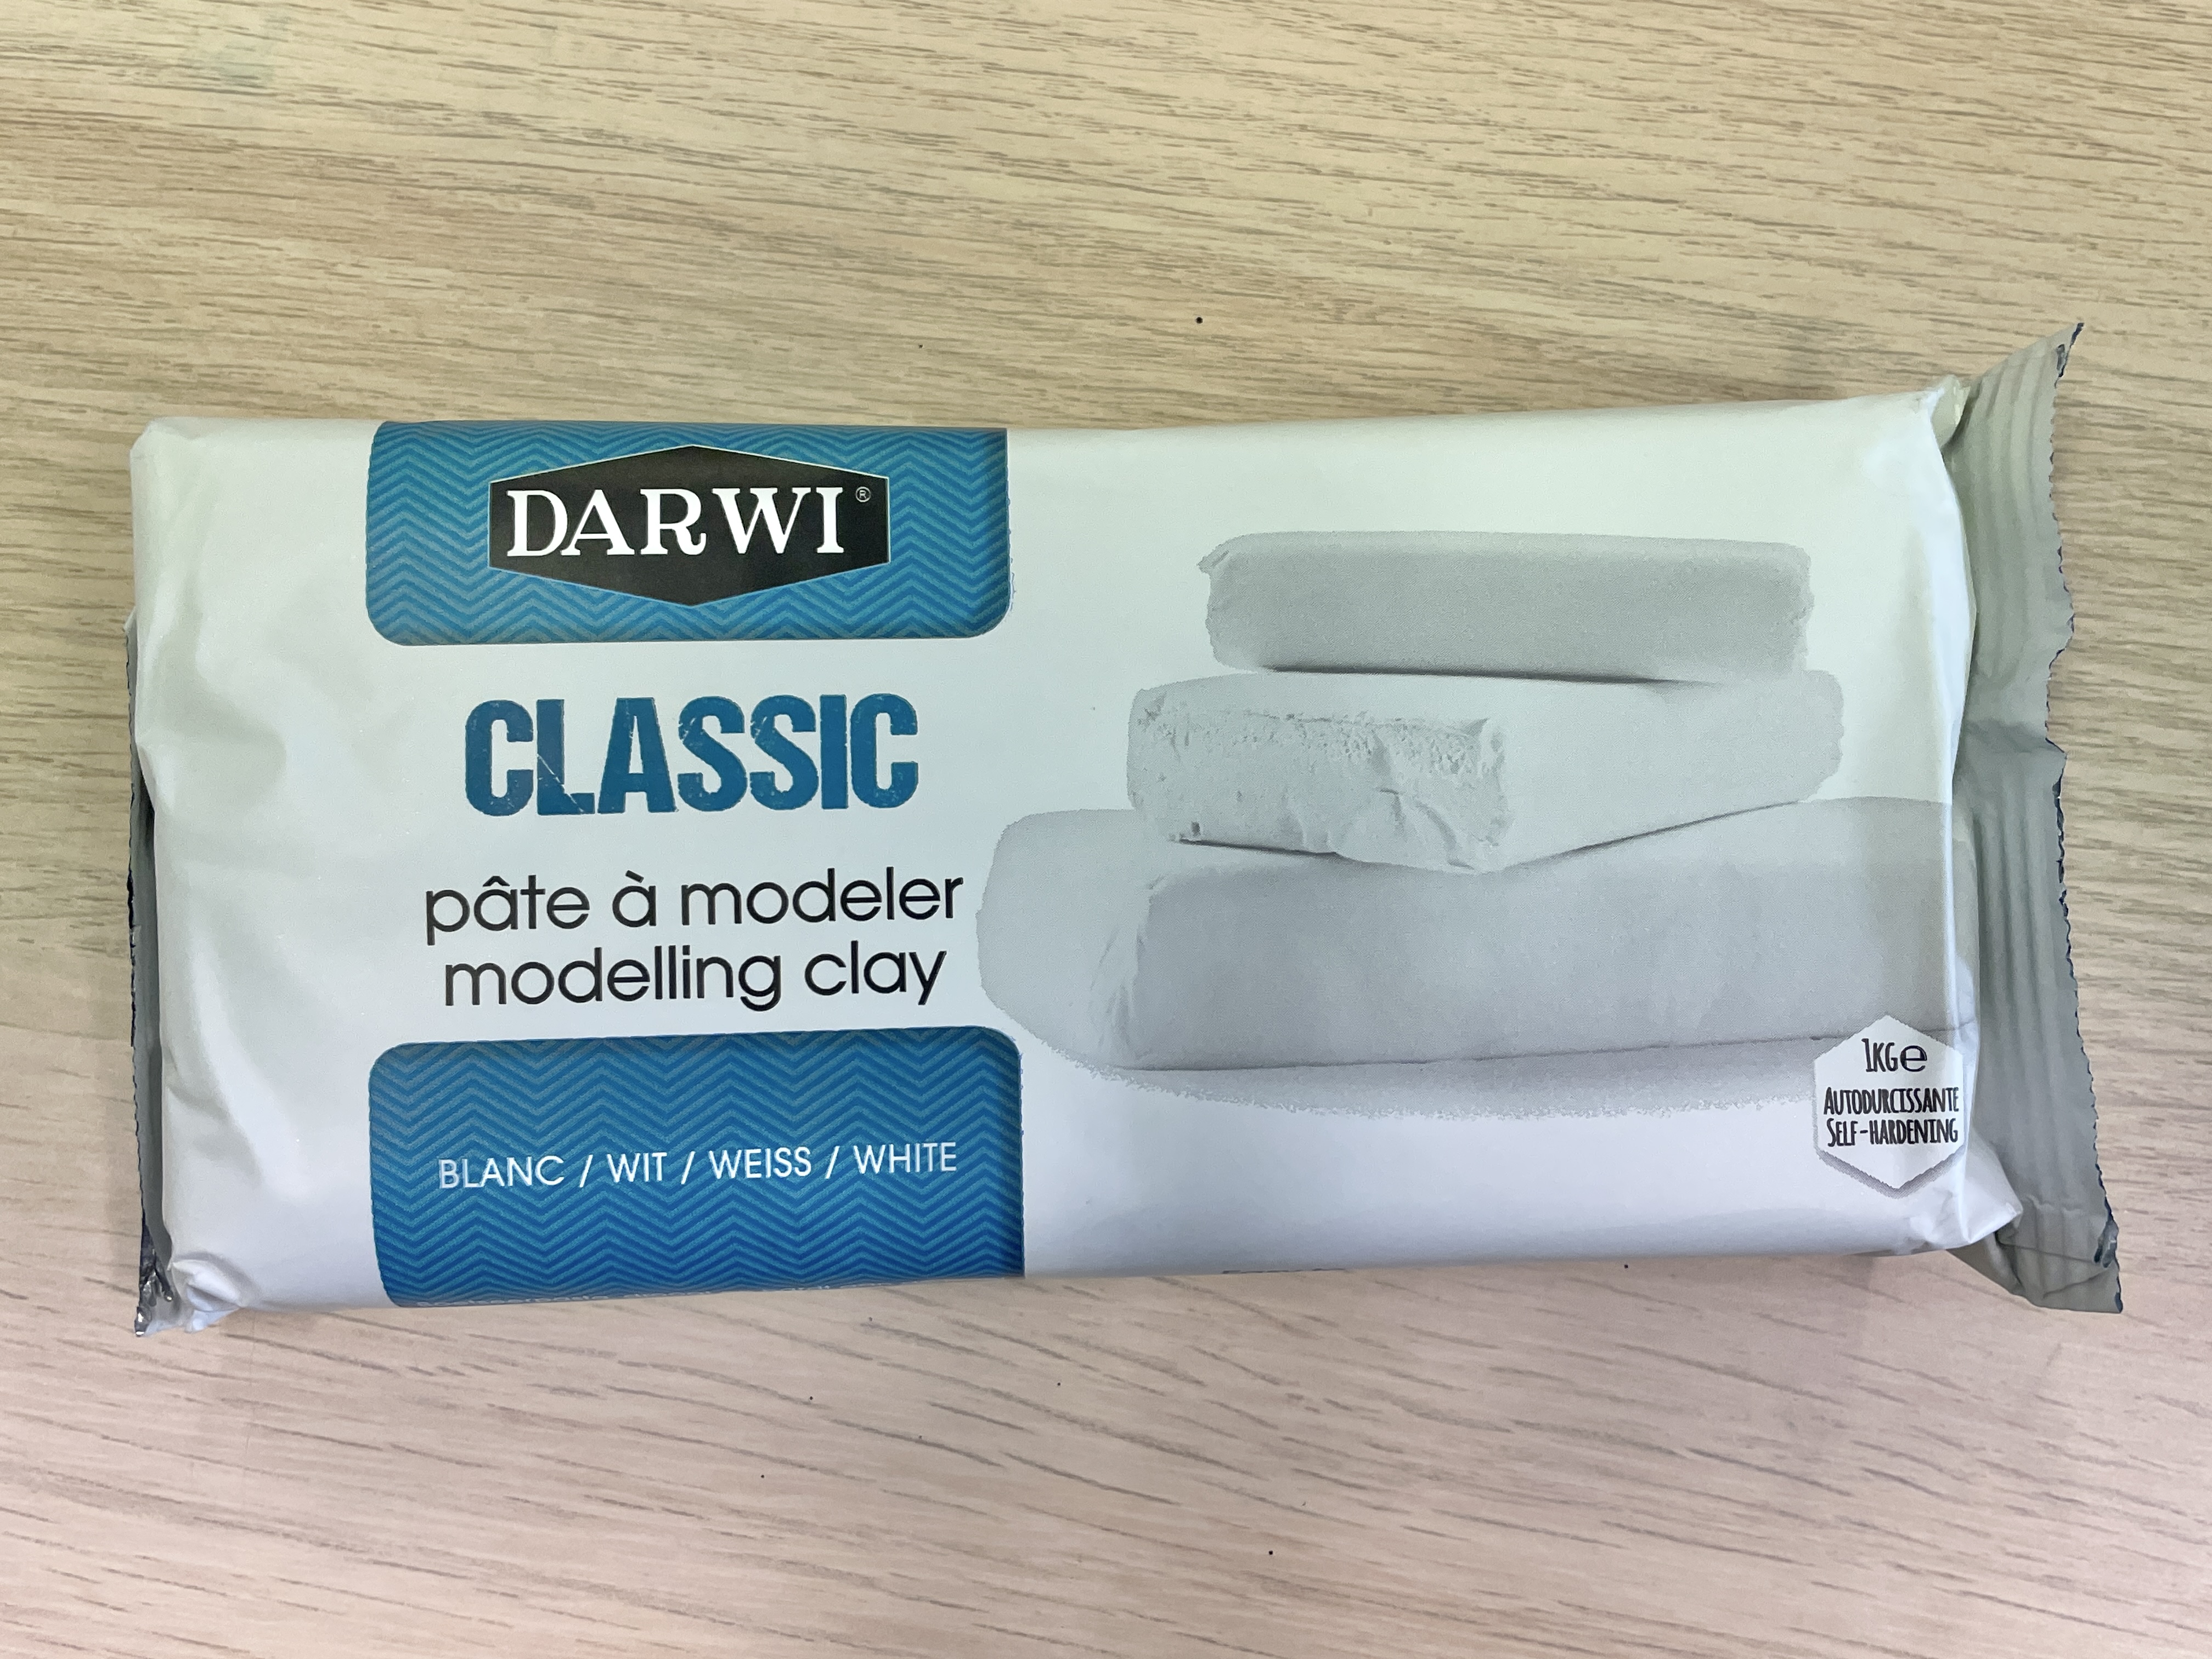
This is the clay I used.
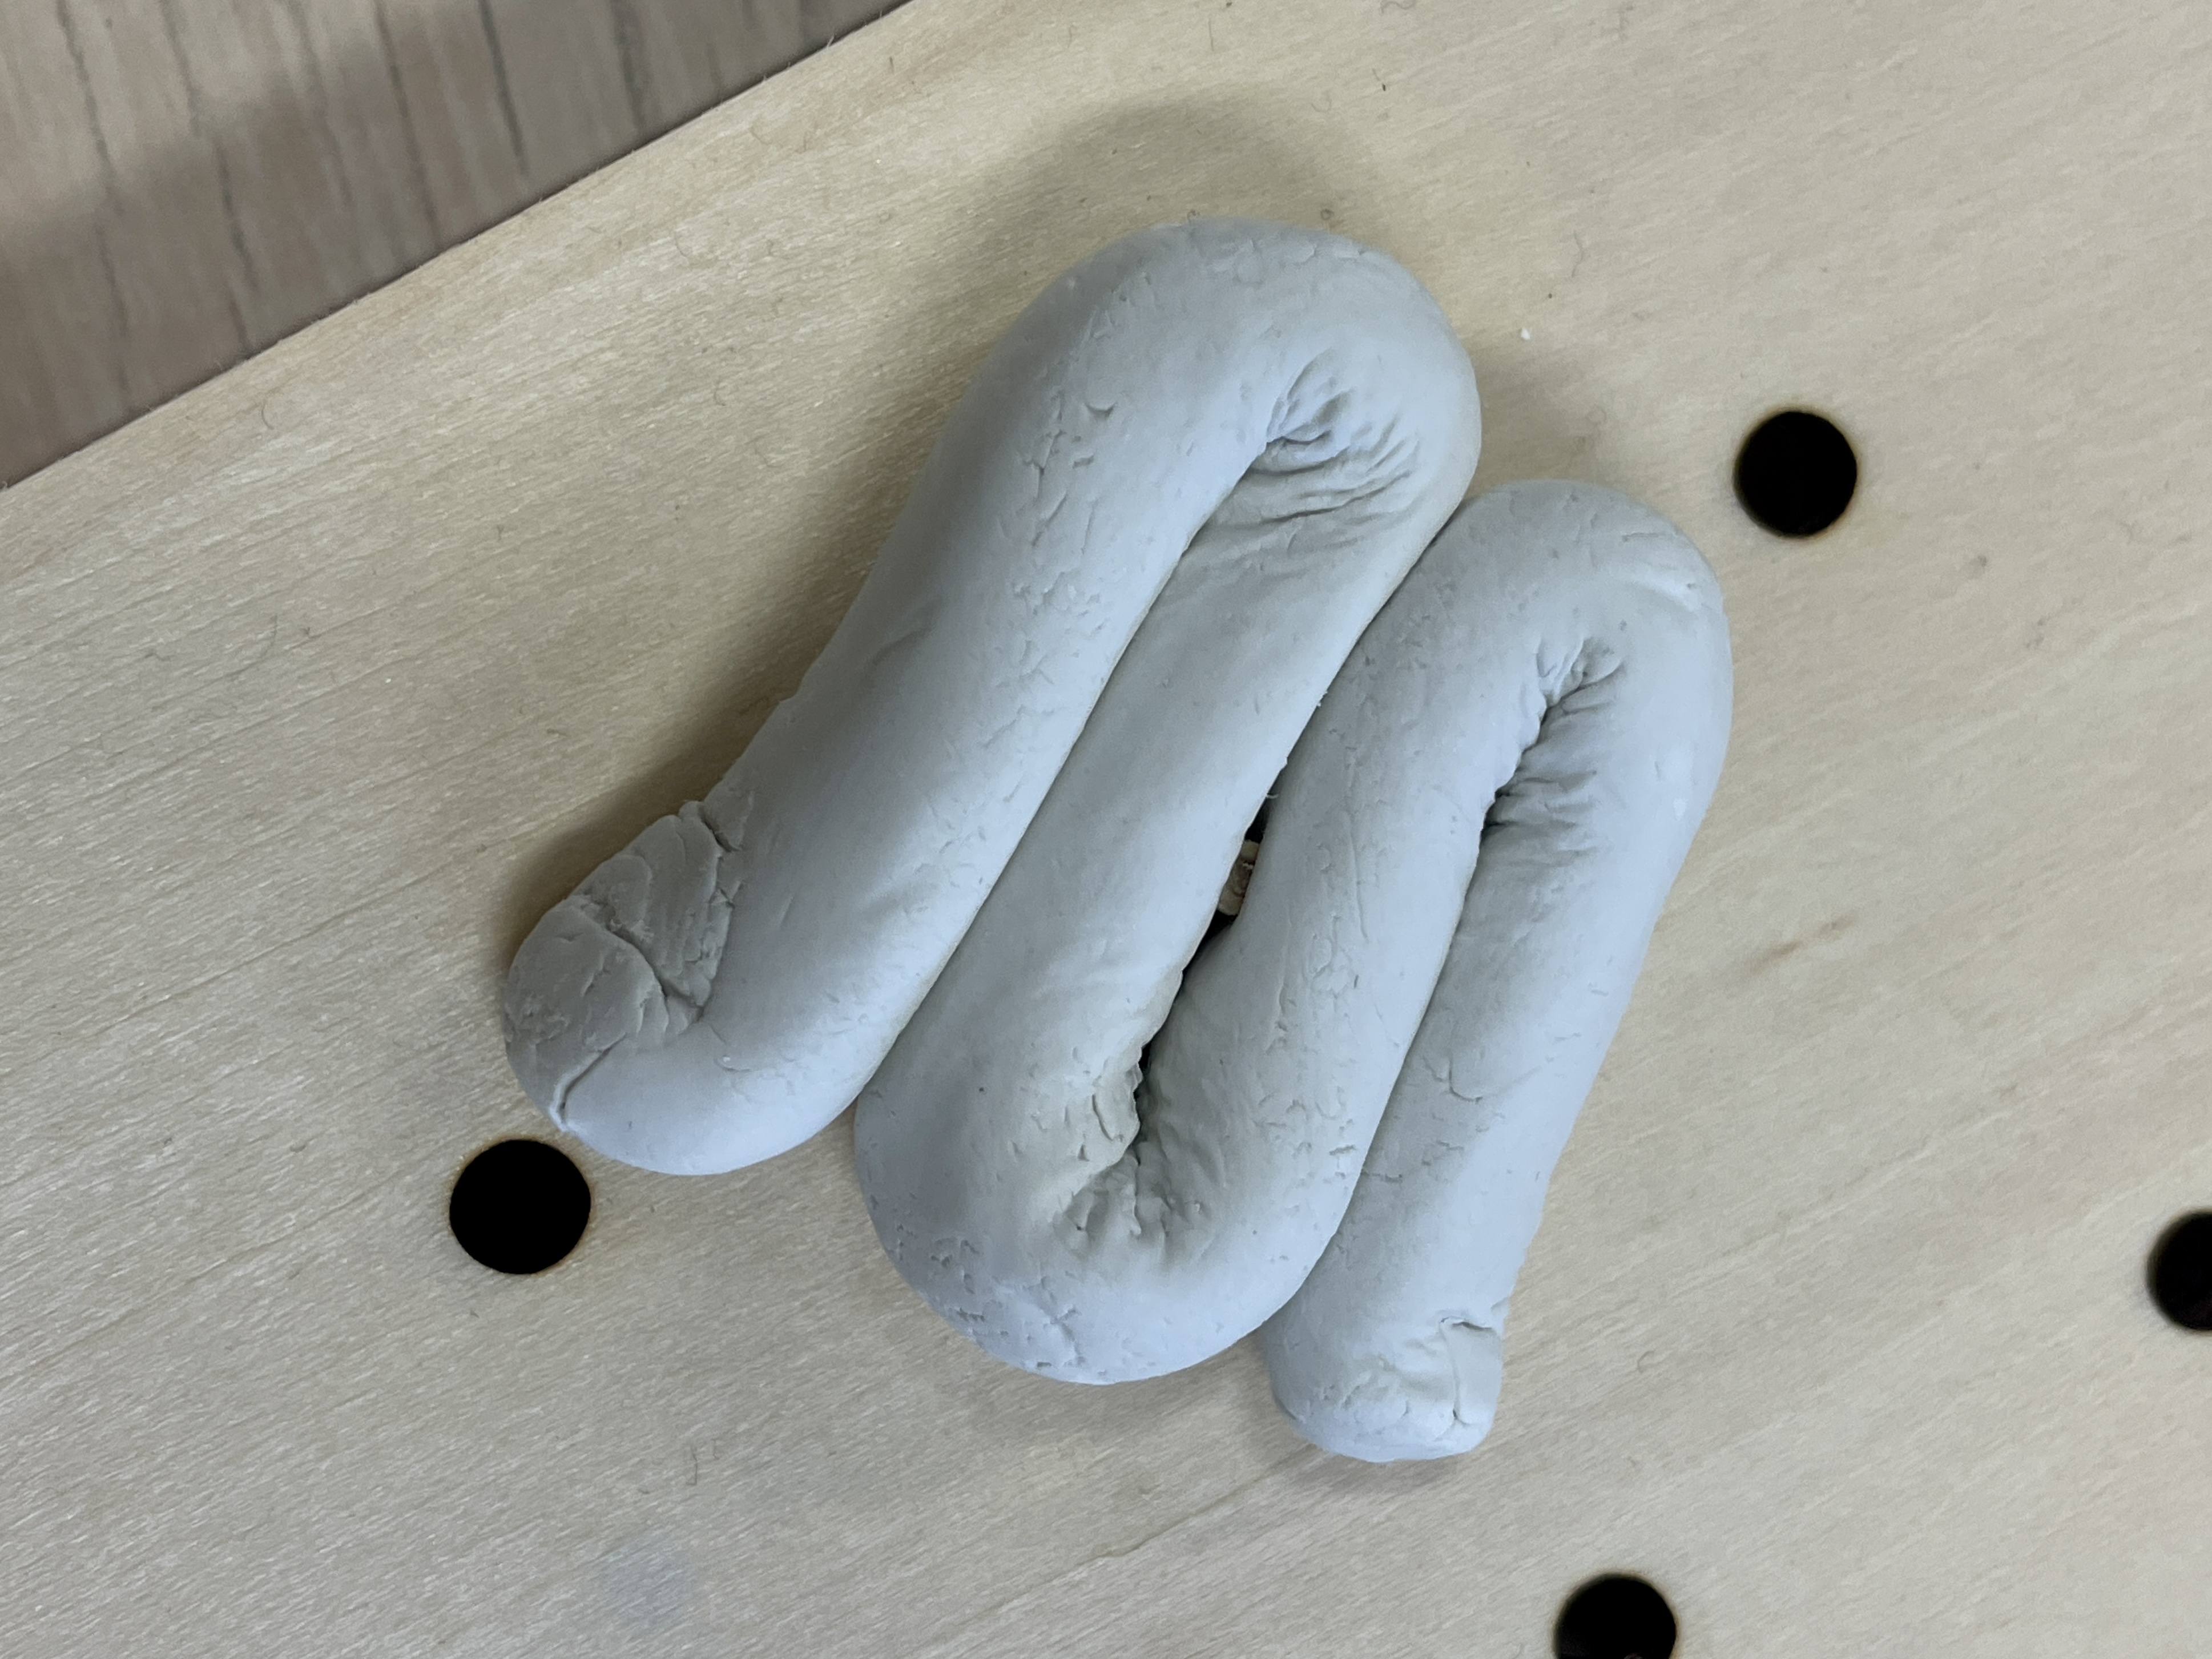
Trying to replicate the main forms, but the clay would' leave a lot of cracks.
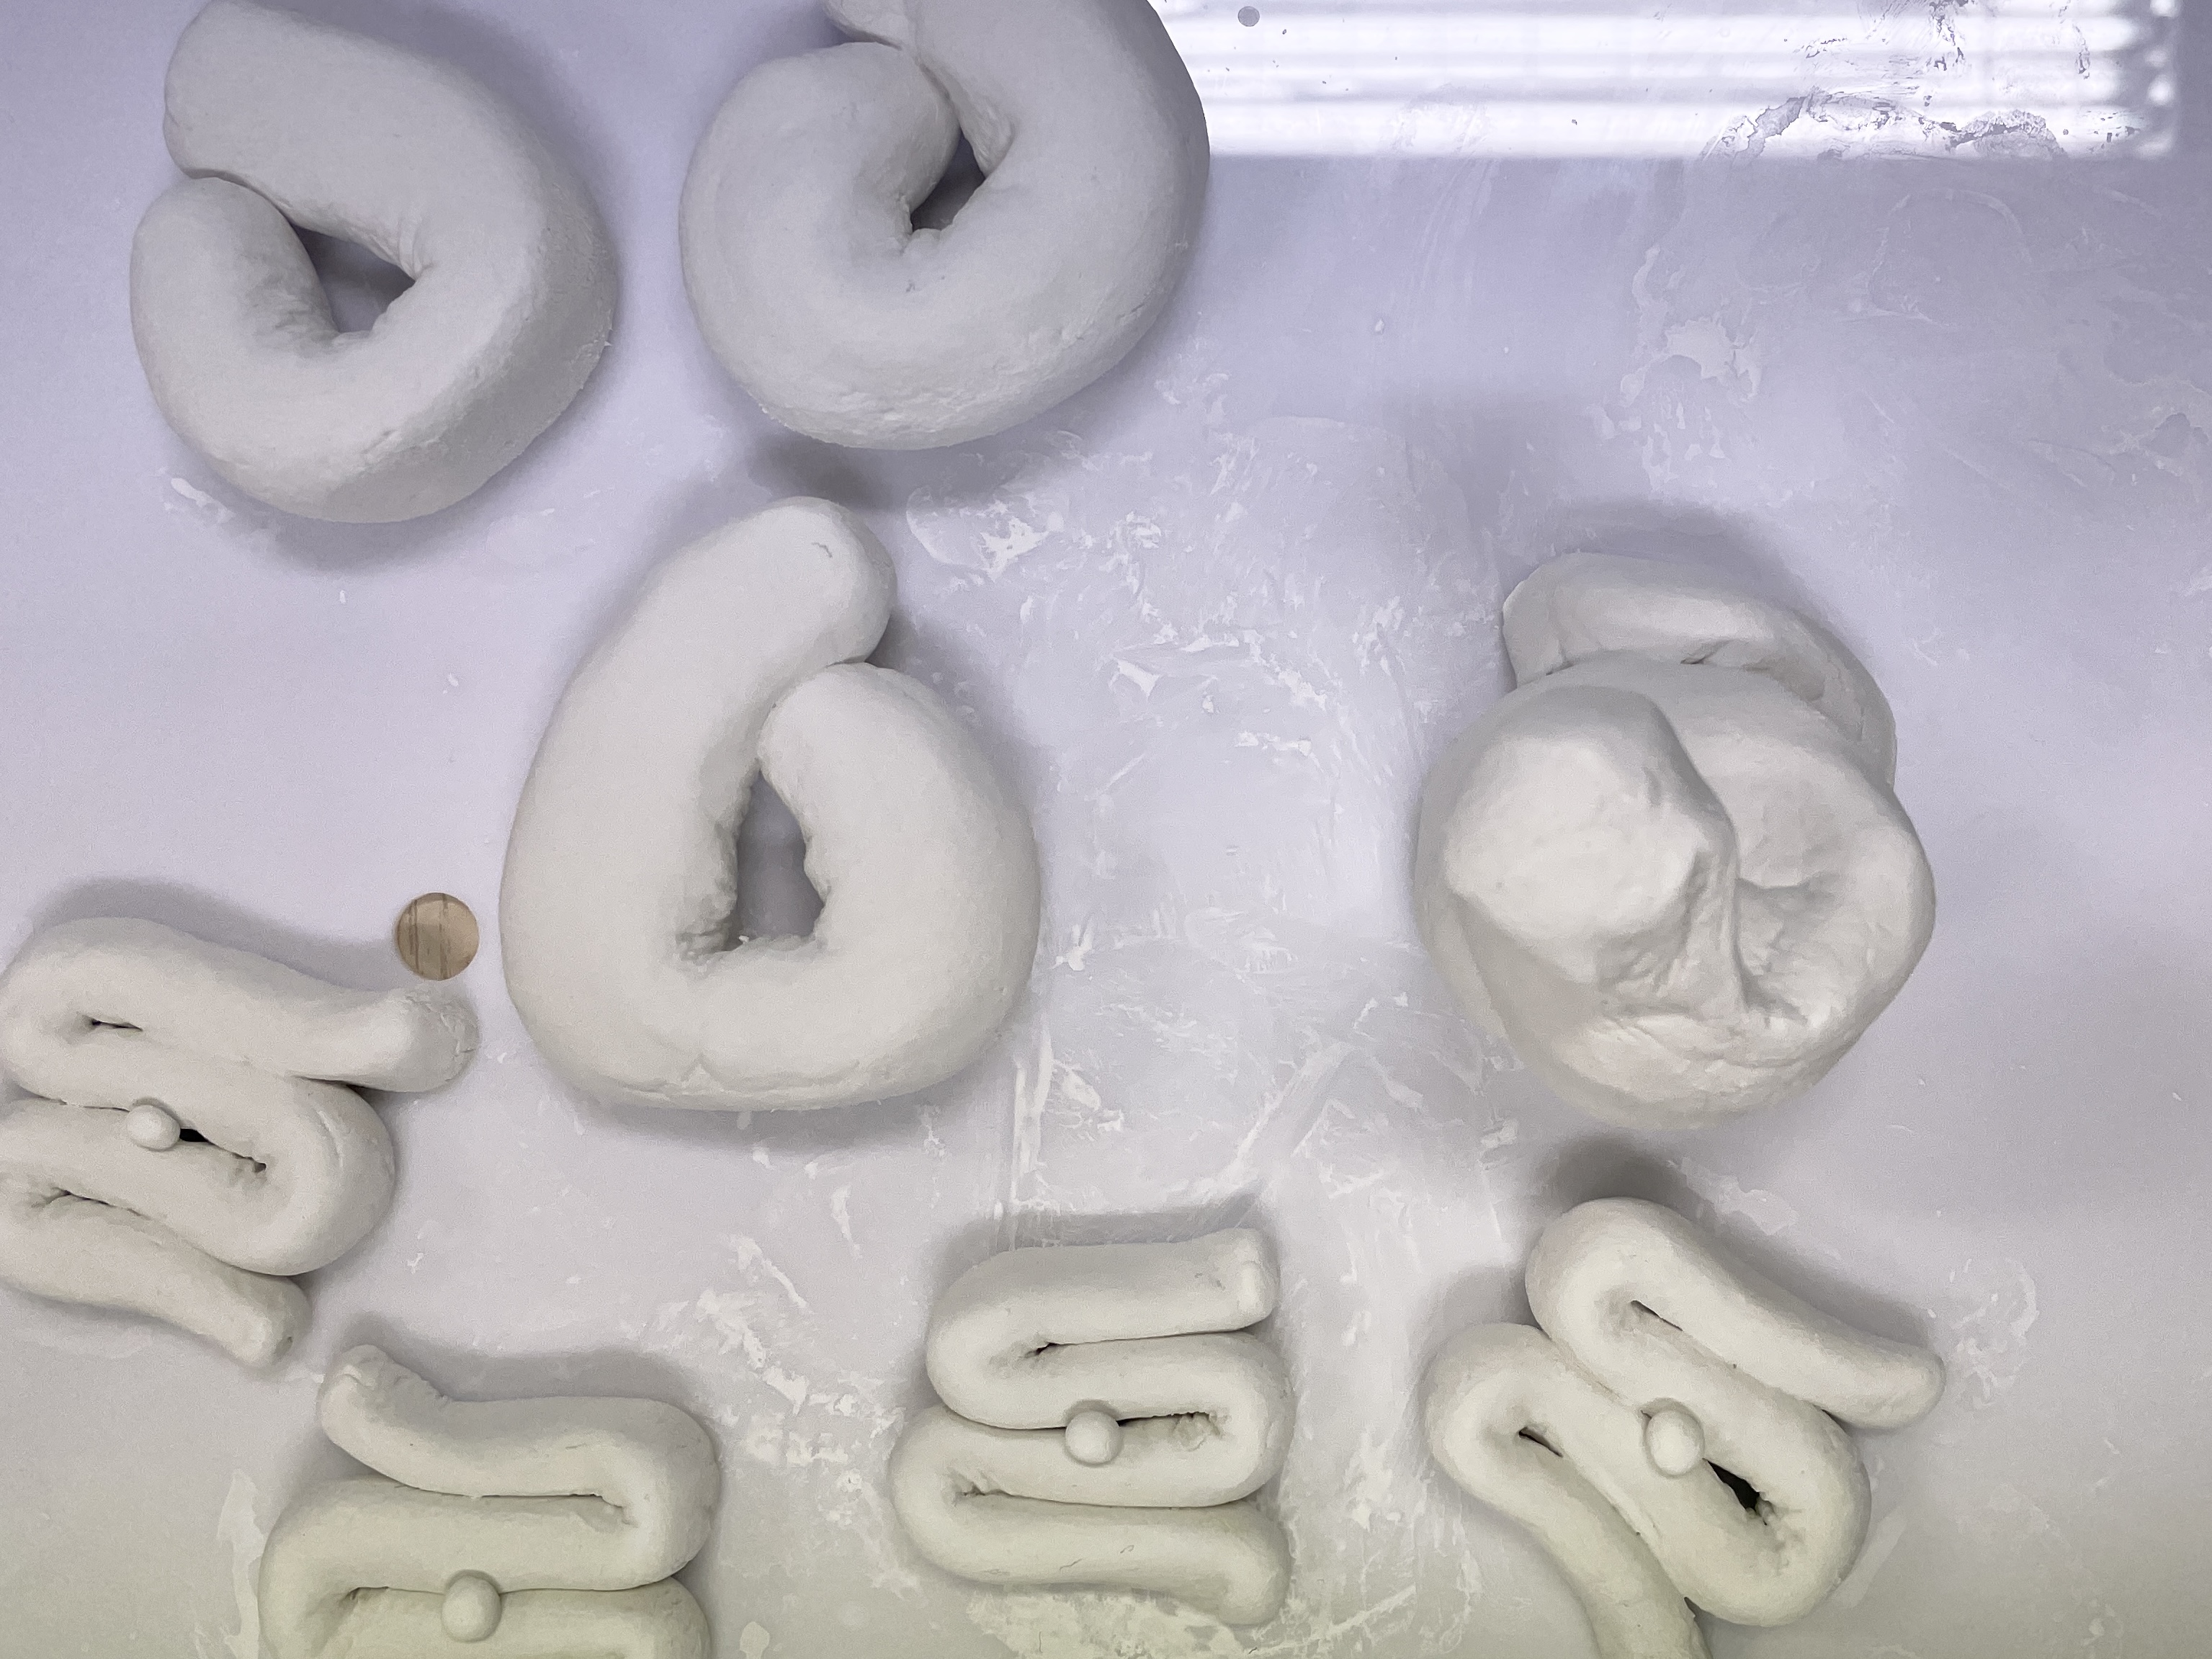
Interesting...
Or that’s what I believed. Working with air-dried clay turned out to be more
challenging because of its softer consistency, making it difficult to keep my objects upright.
Additionally, I discovered that the clay requires a full day to dry before I eventually have to paint
them, which takes up time too.
I decided not to use this clay. Instead, I chose to stick with the previous clay, but this time I became
more adept at handling it, and ensuring a smoother and more polished finish.
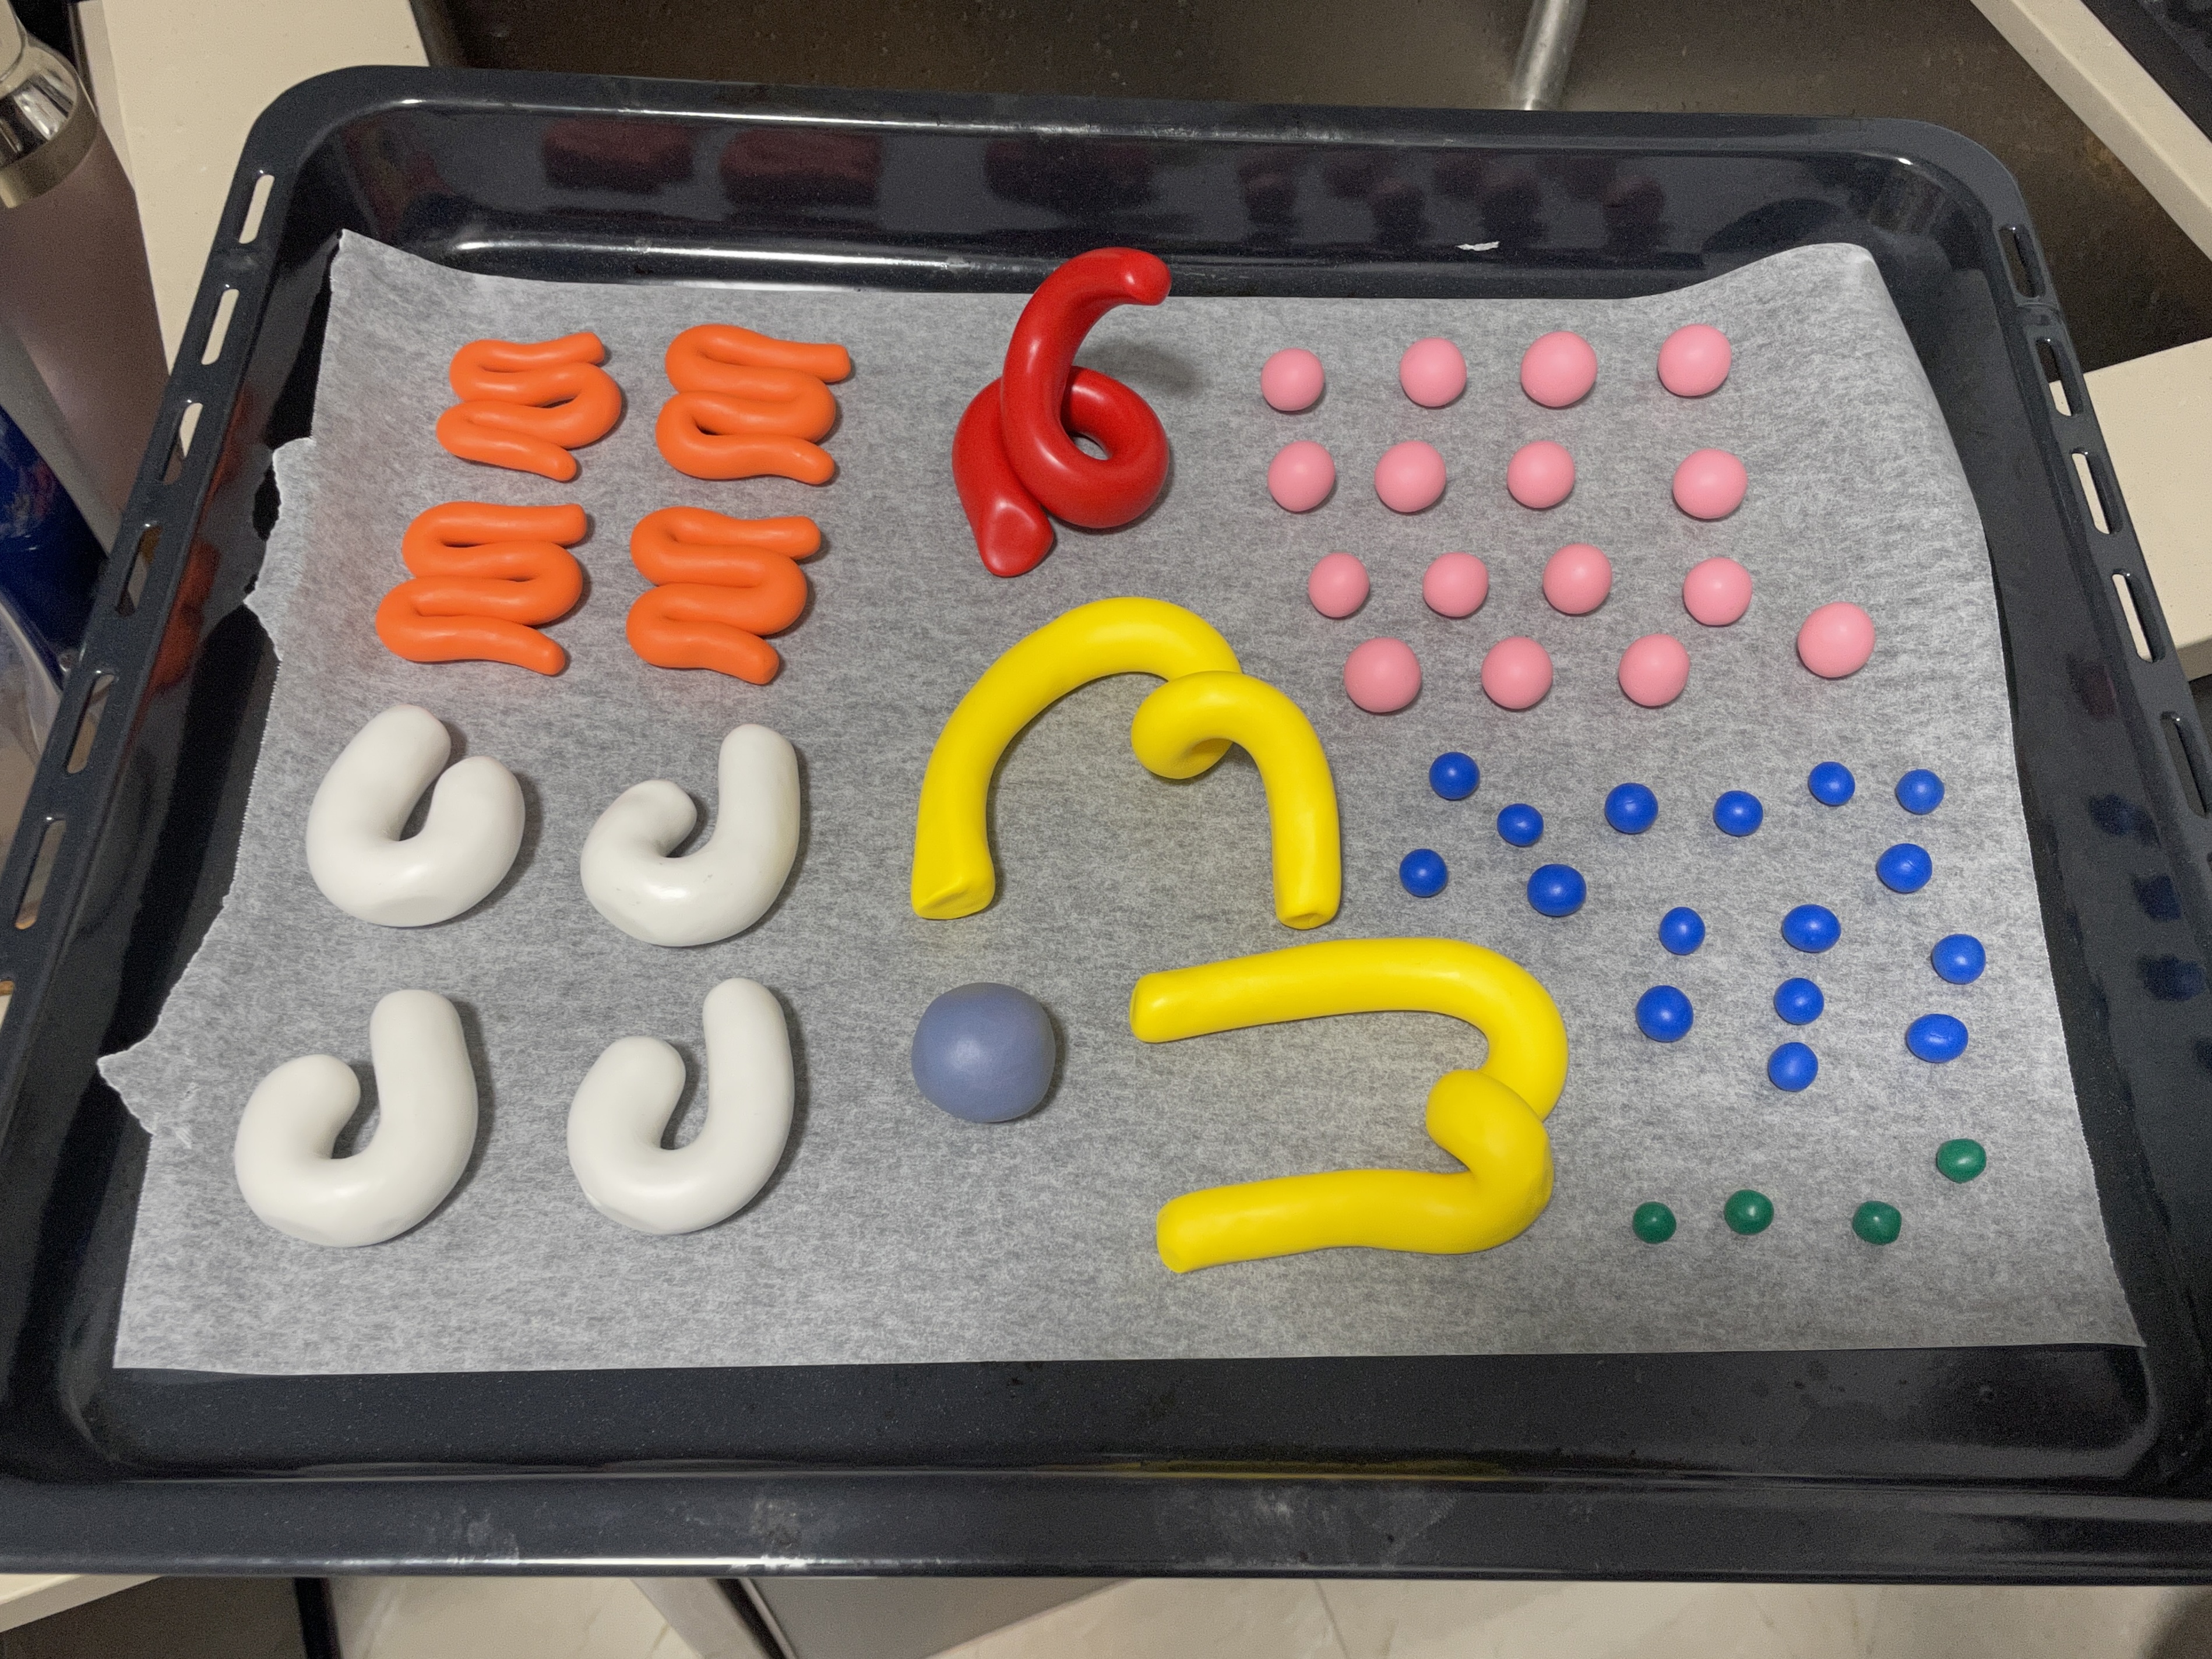
Finished forming the new set of clay!
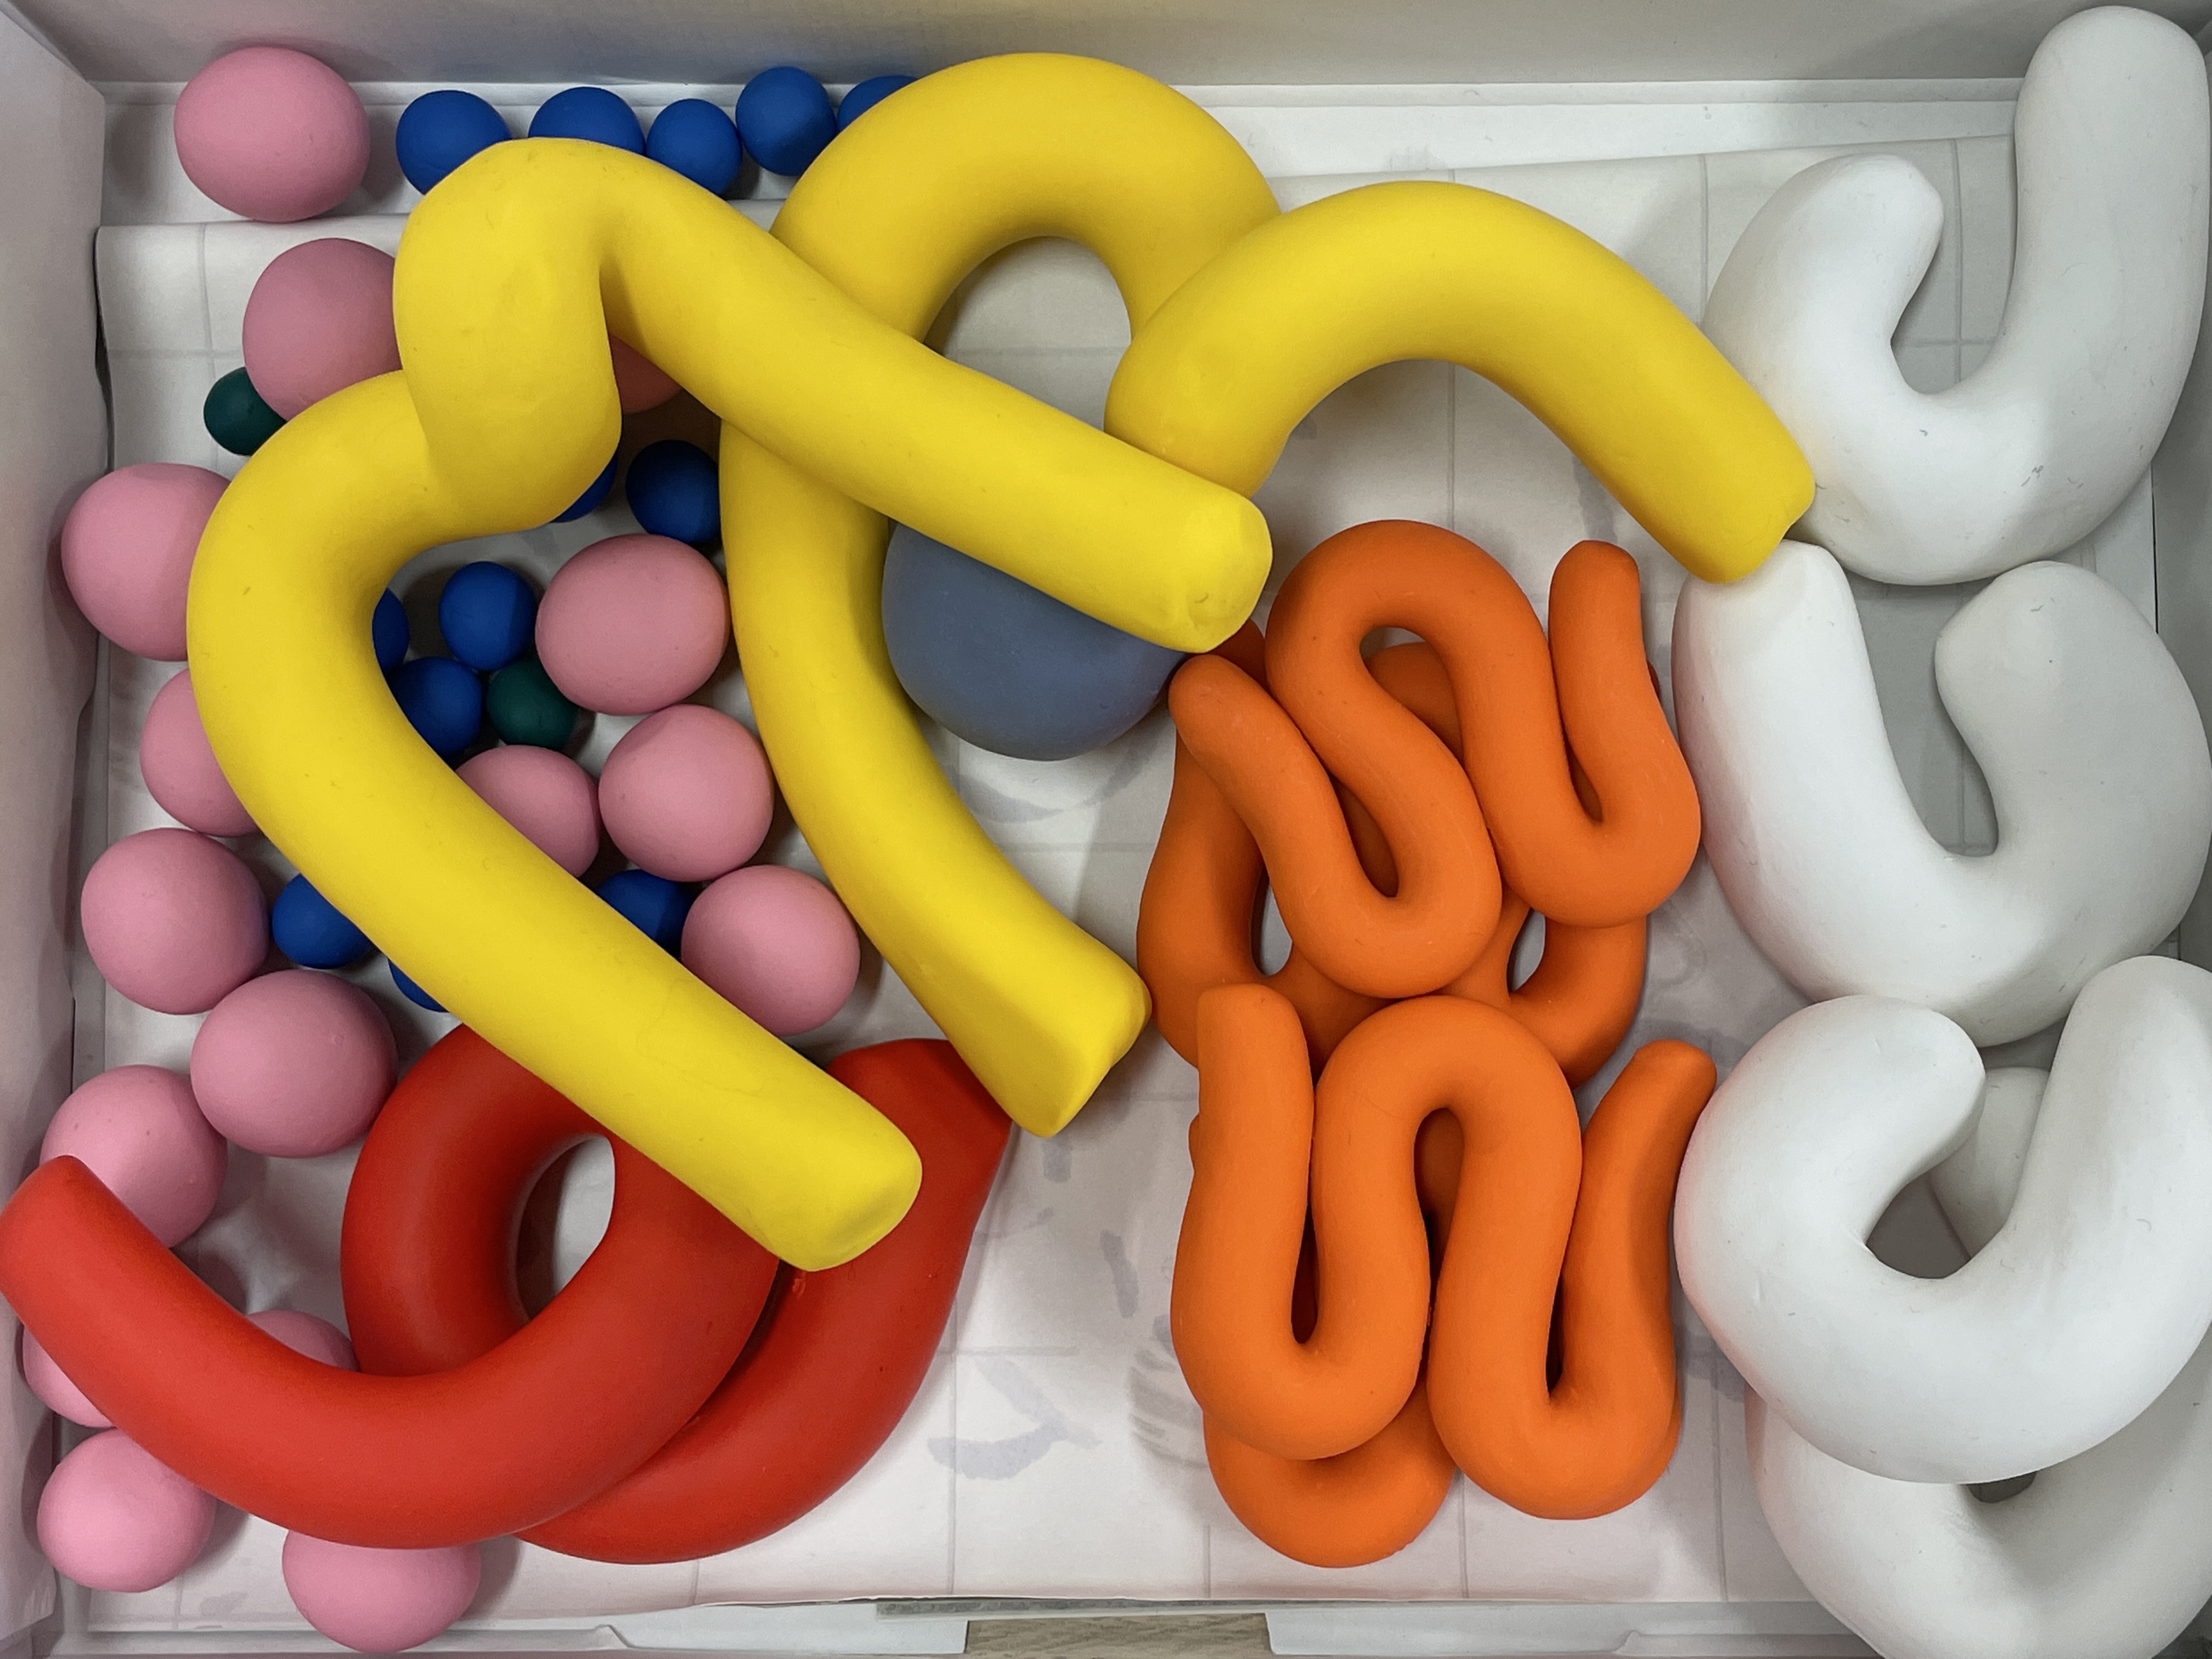
Look how smooth they are!
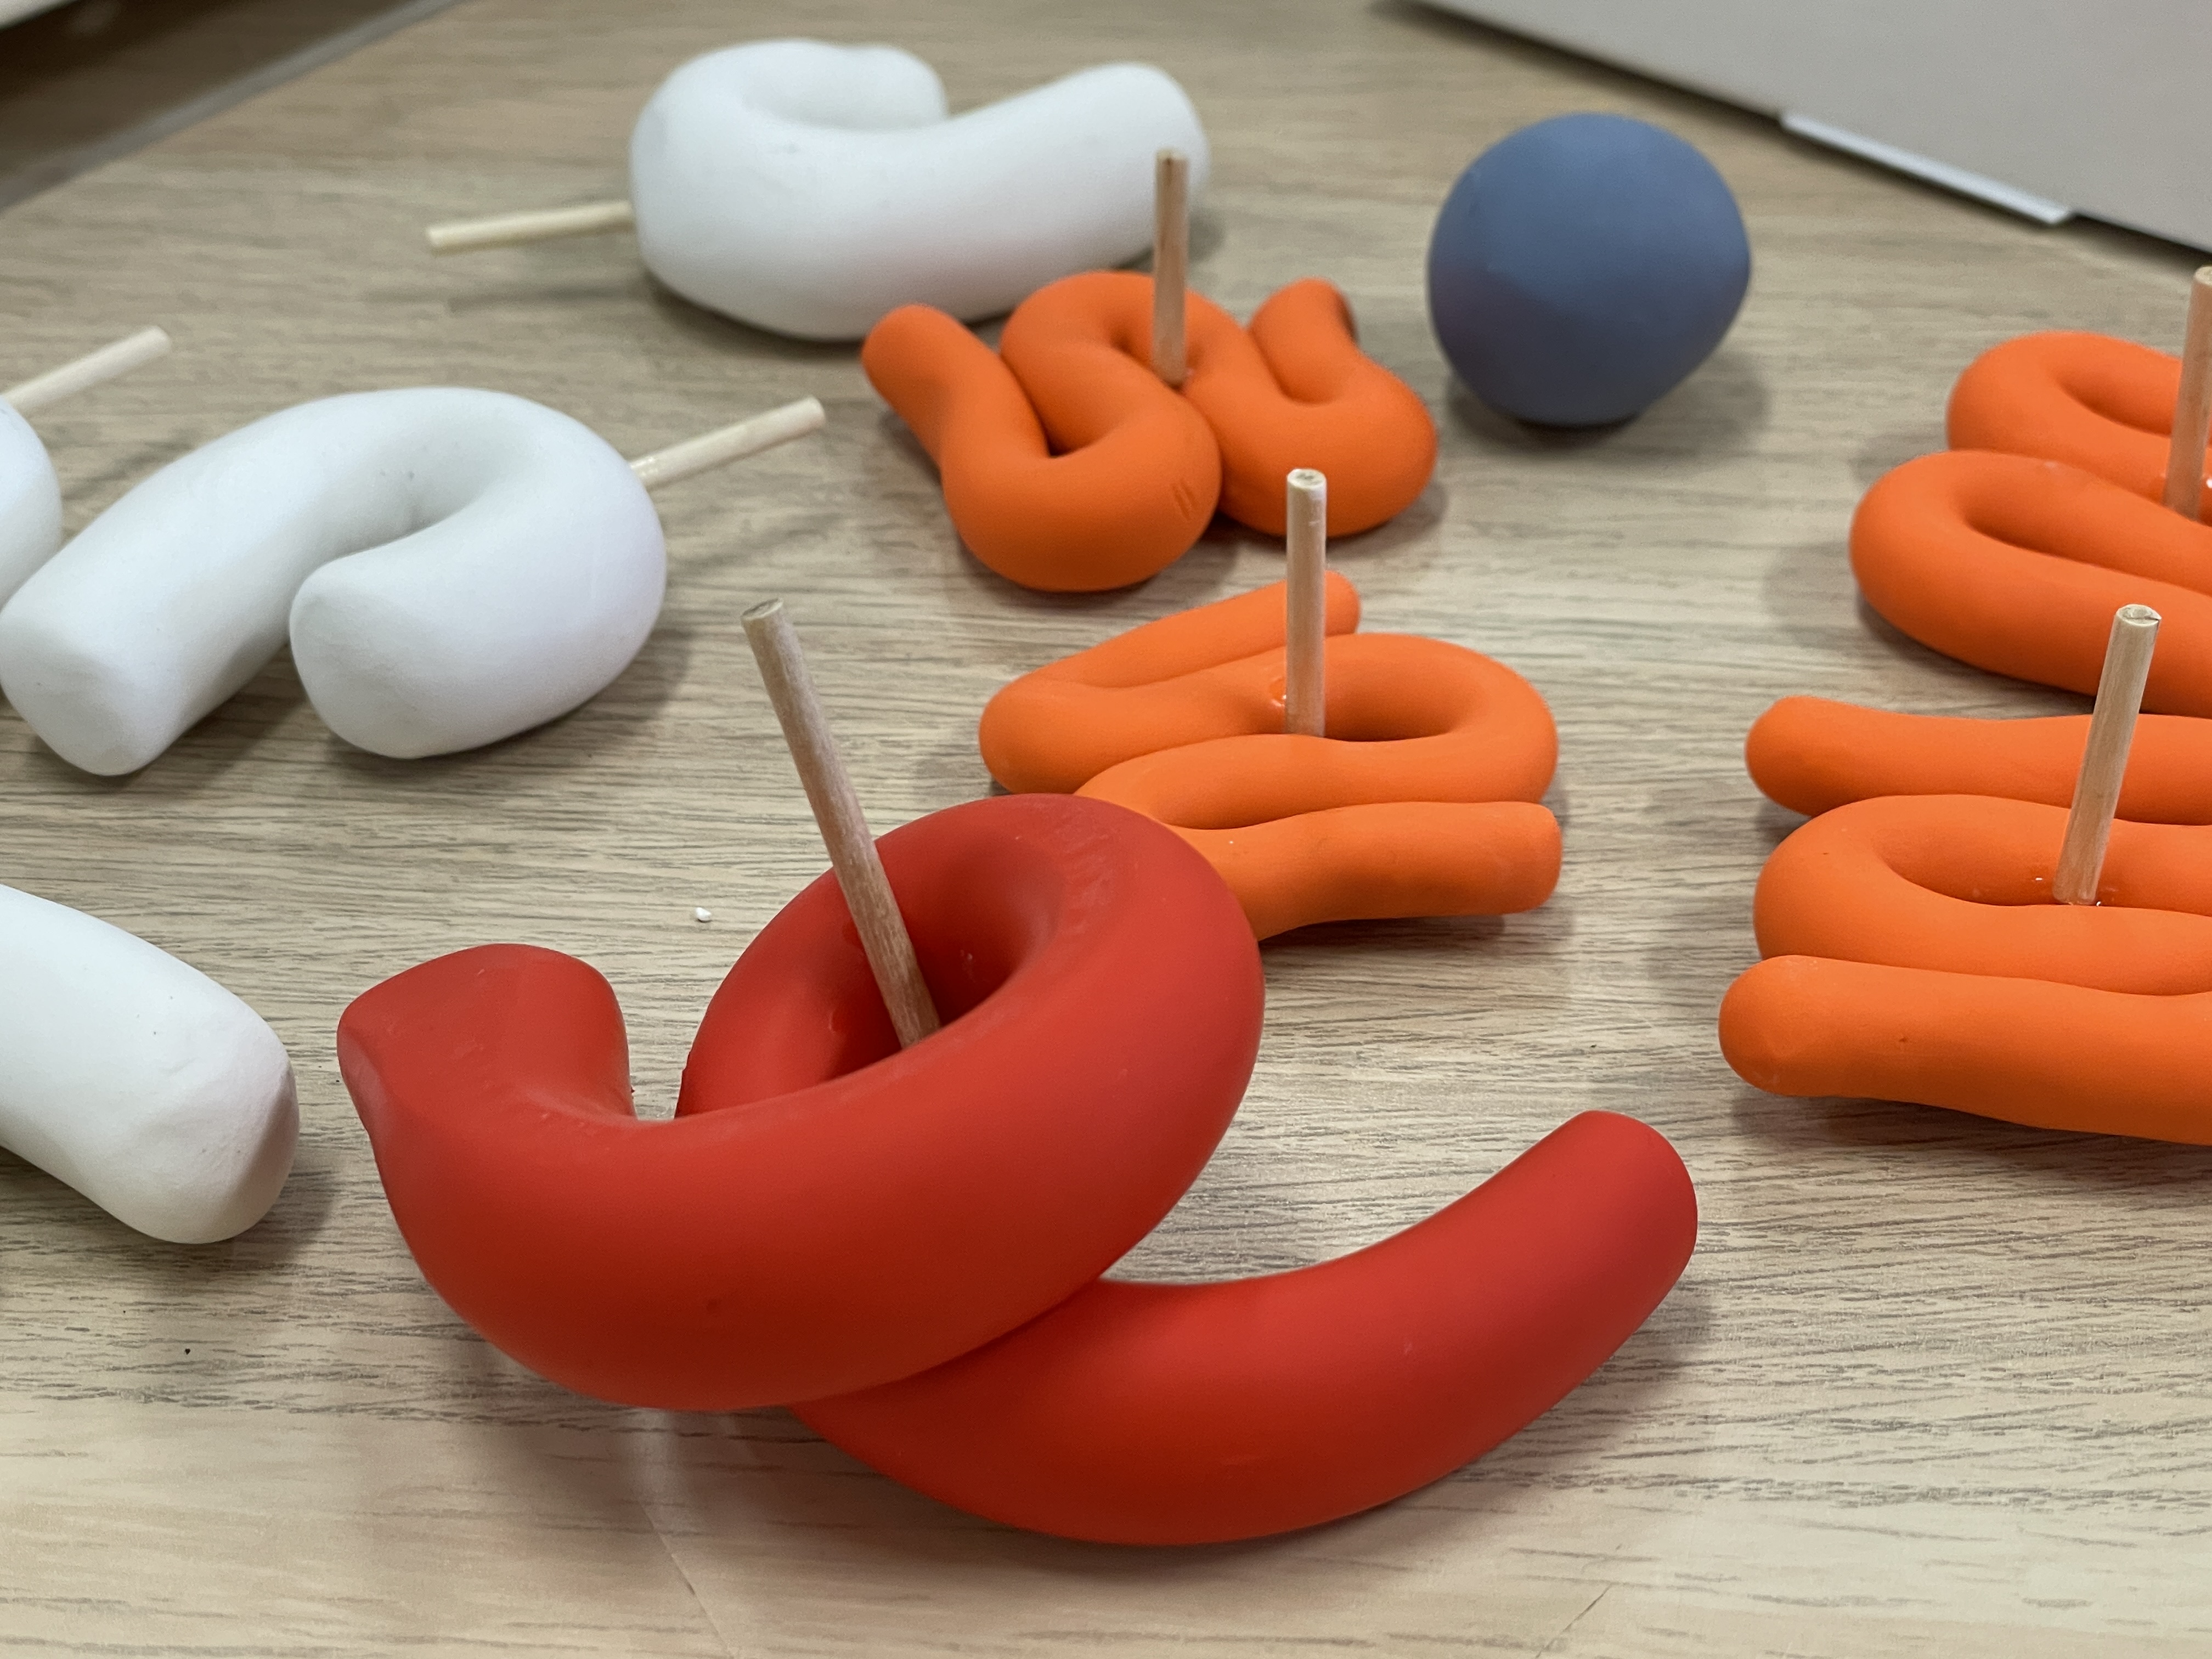
Adding sticks and final touches.
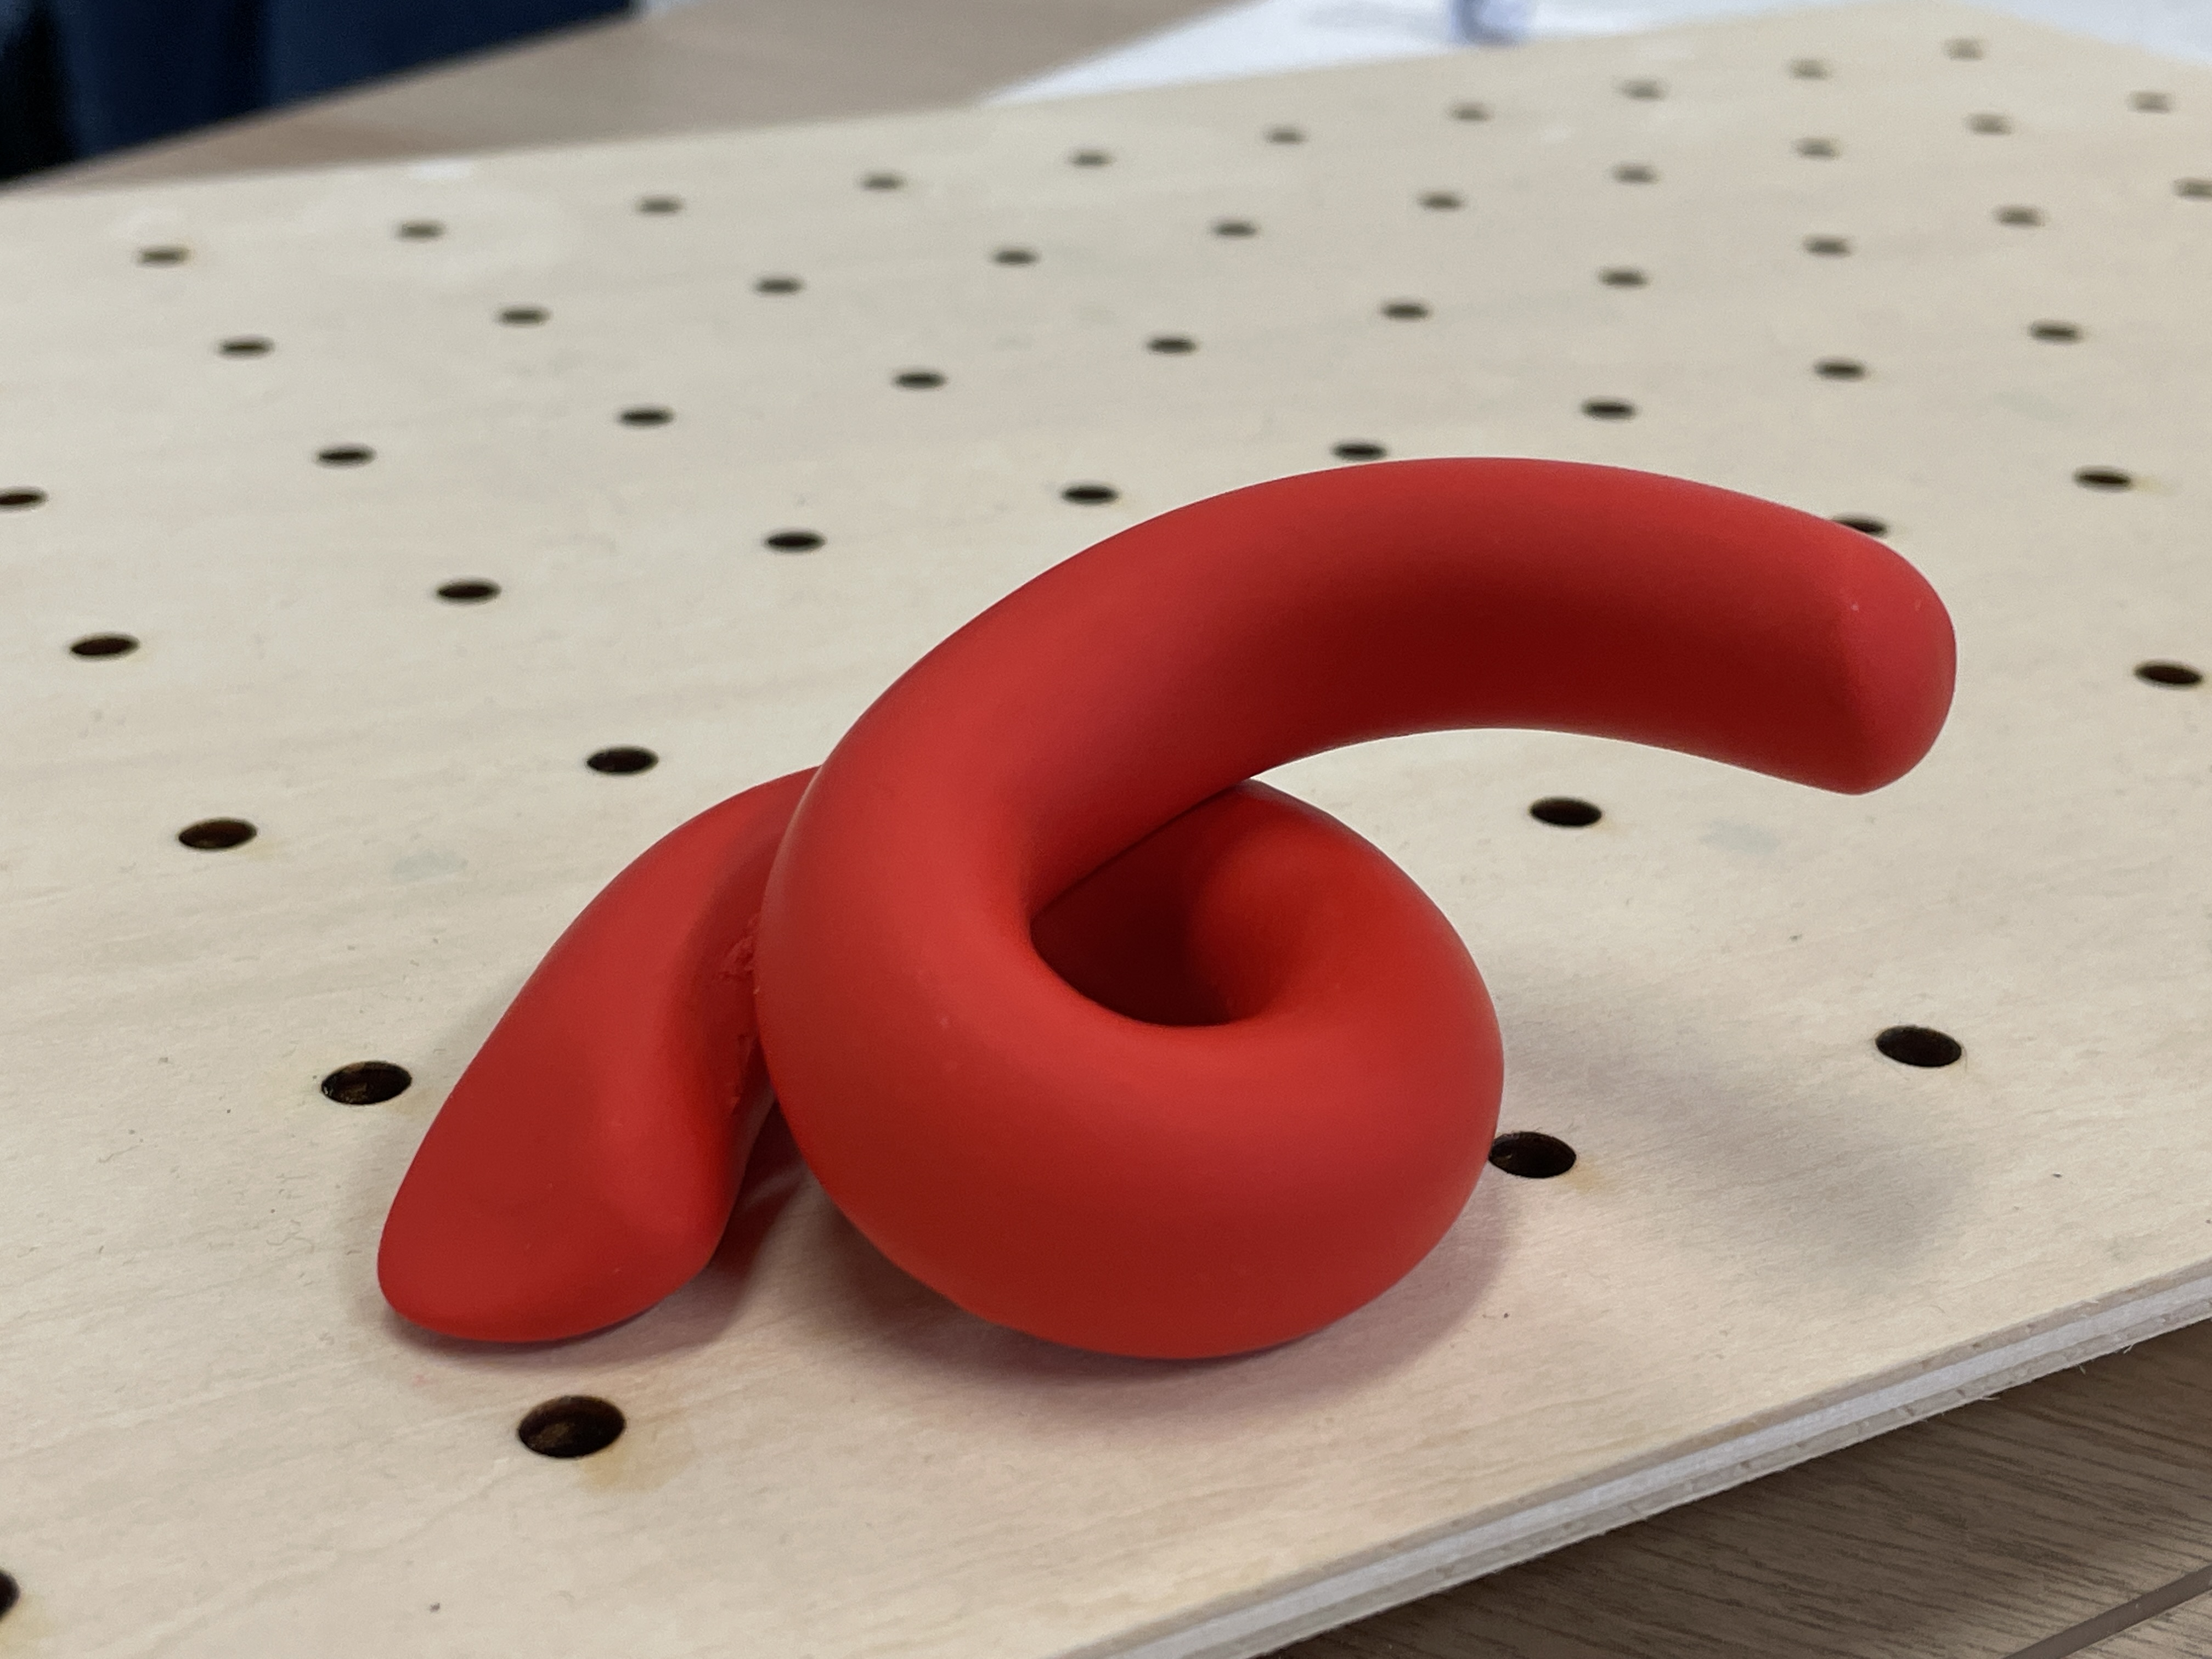
Before.
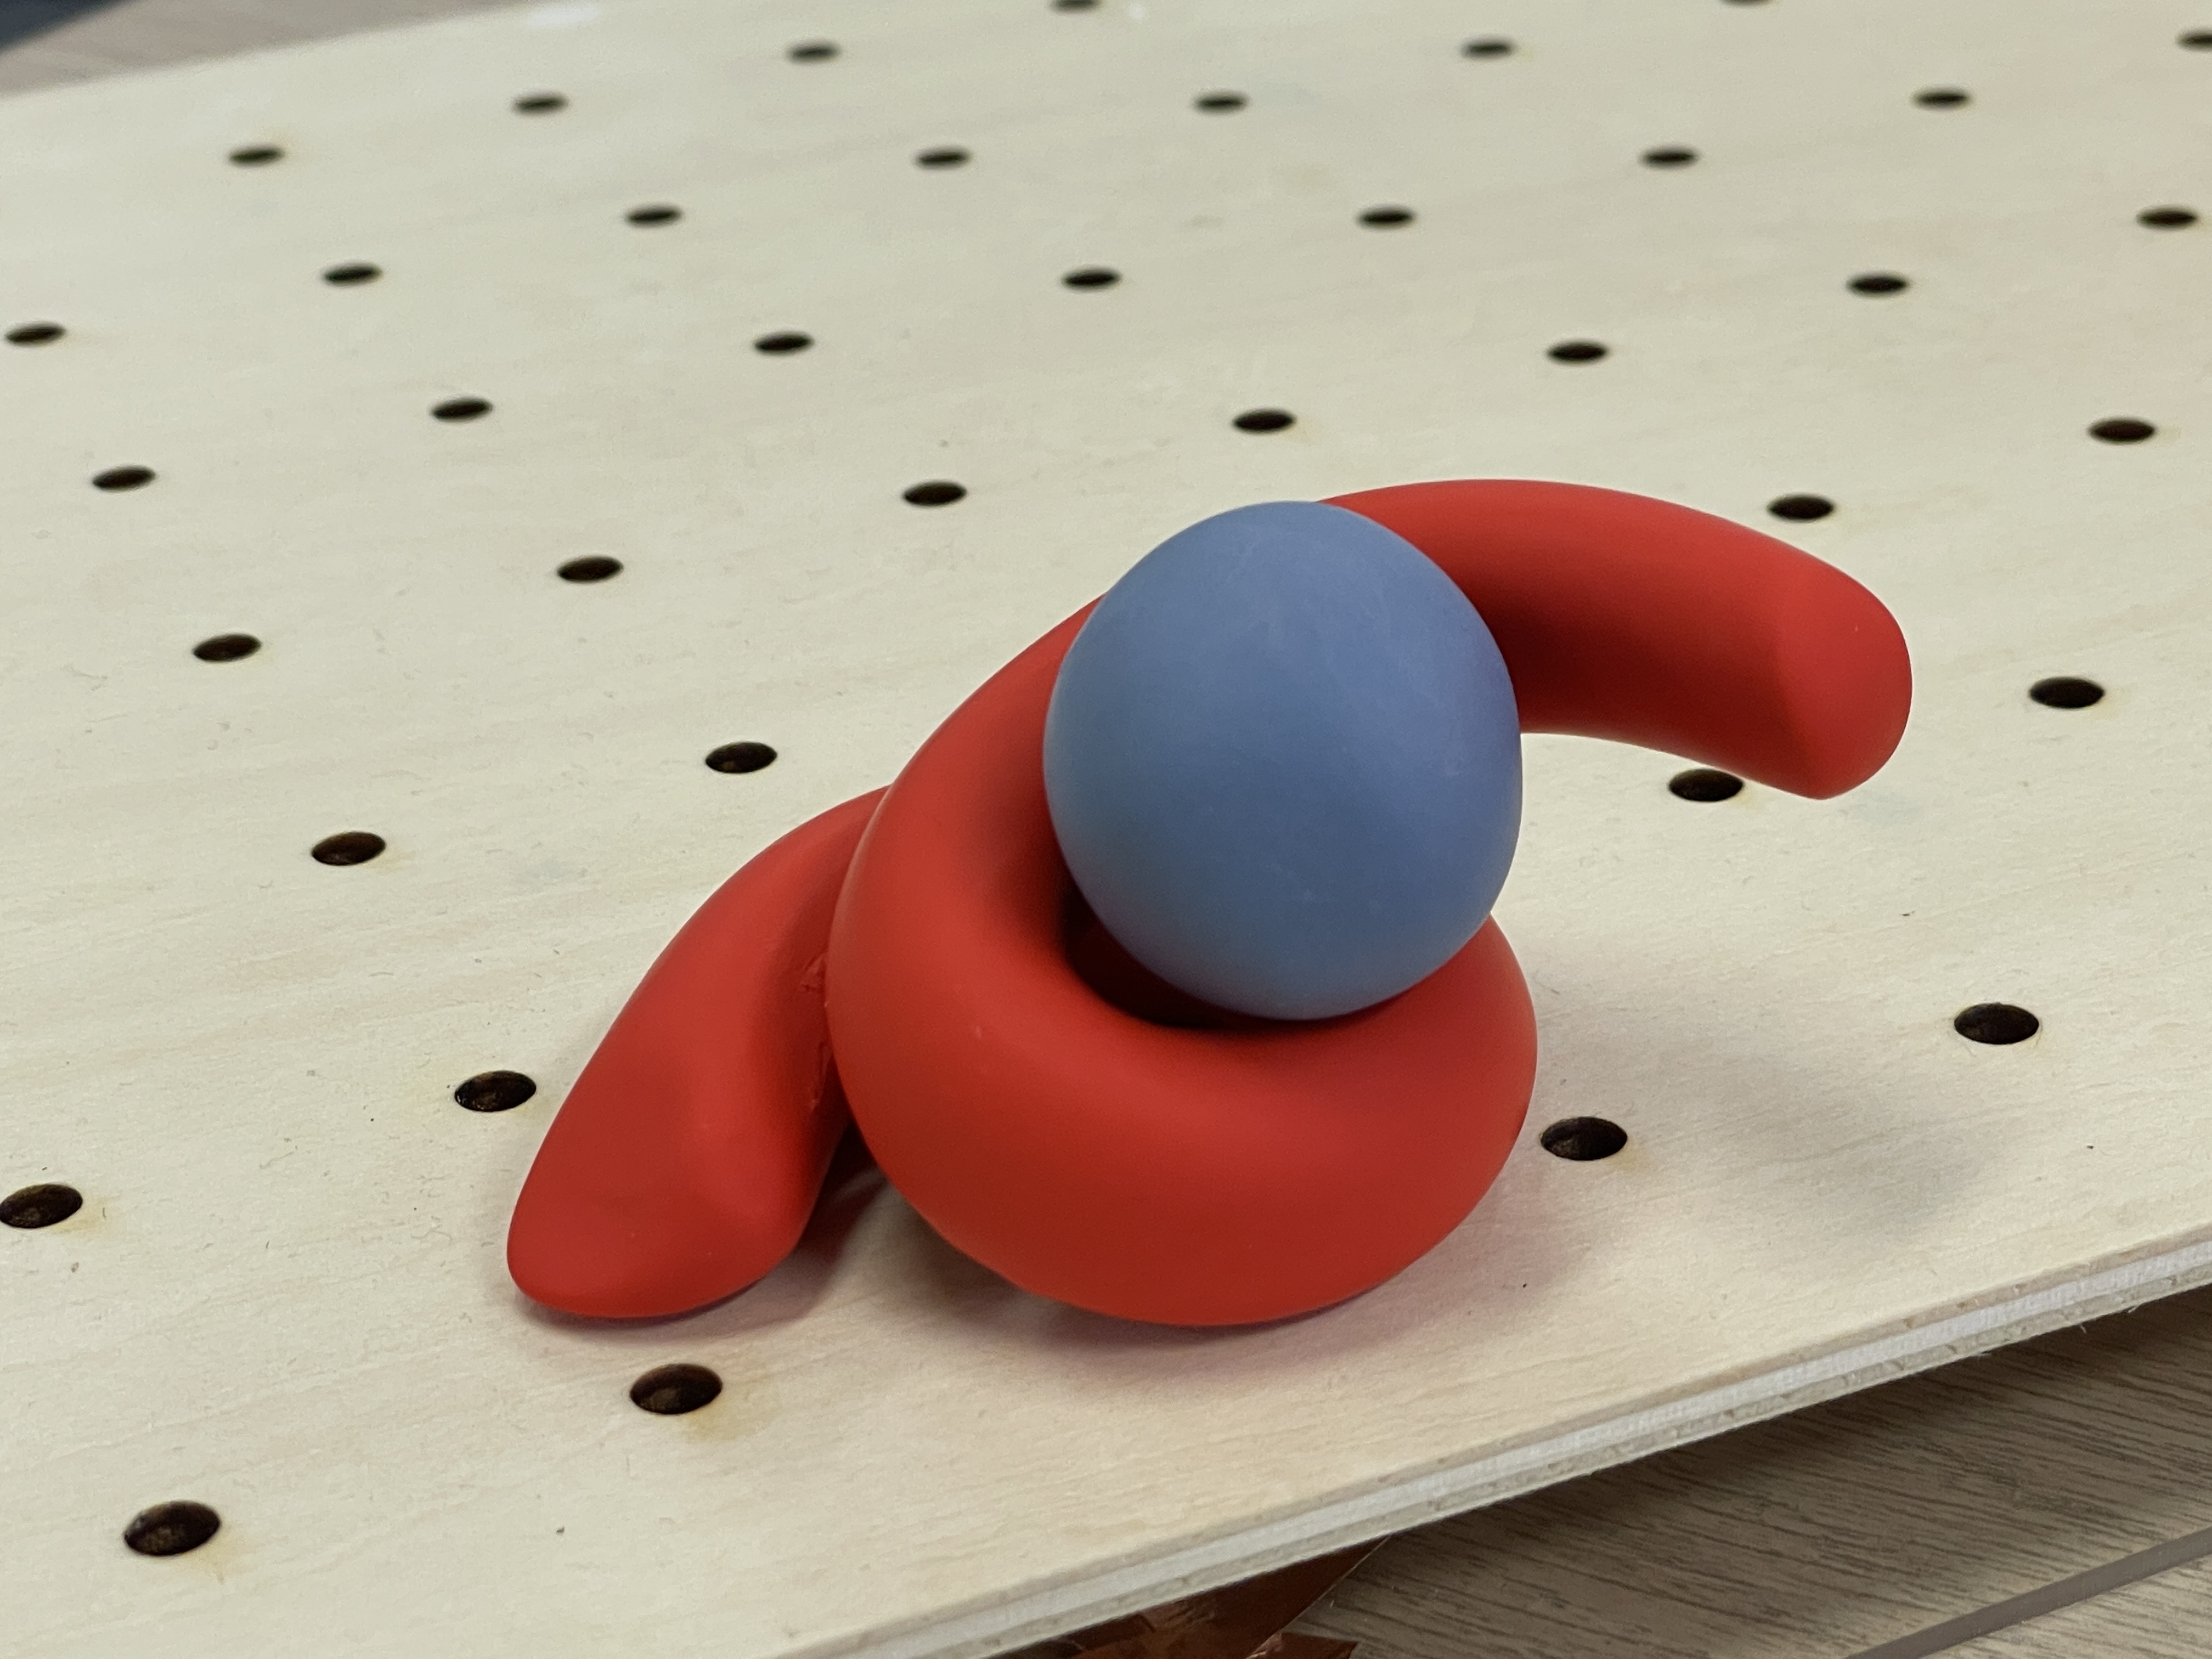
After.
STORYBOARD FOR NEXT WEEK'S FILMING
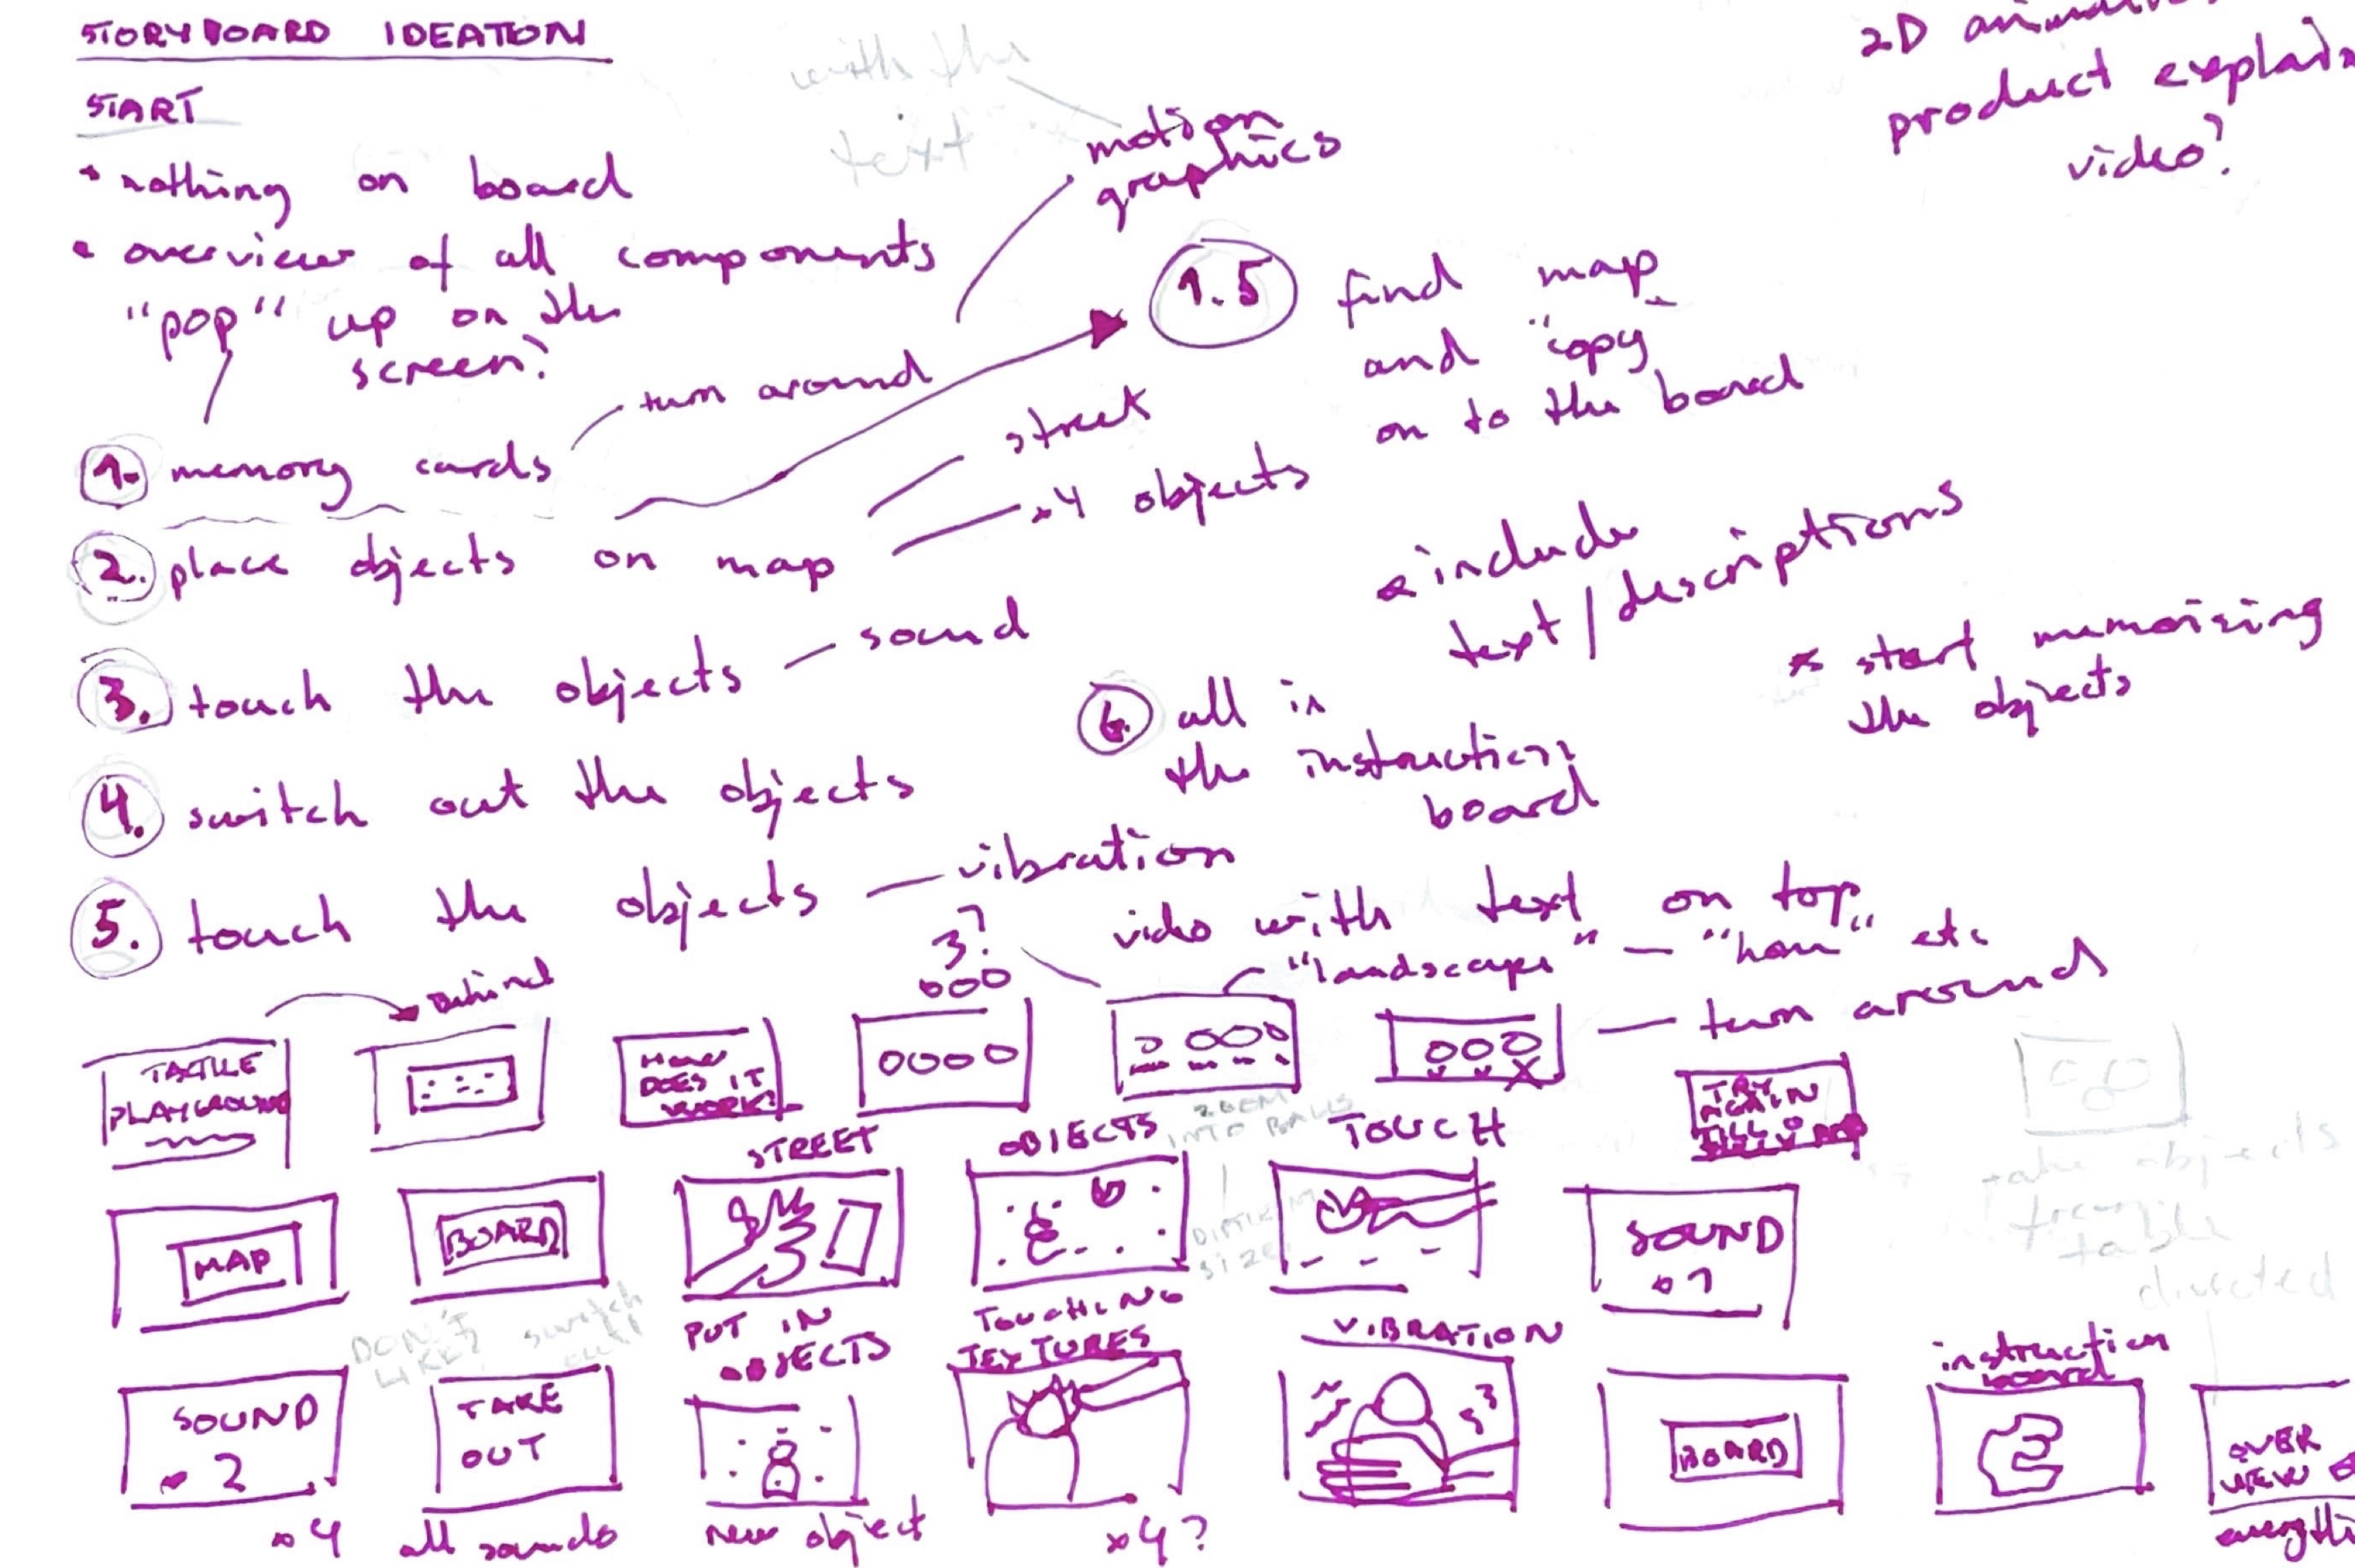
So sorry, but this is how I sketch out my ideas…

WEEKLY ROUNDUP
With just one week remaining, I still need to finalise the toolkit, shoot the video, and edit it. I want to avoid the mistake I made last semester of waiting until the last minute to check if everything was working or not (ideally not two days before submission). I also need to remember to compress my photos and videos!!!
Aside from that, I’m a bit sad that there’s only one week left. I’ll cherish these final days a little extra.
