WEEK 11
PREPERATION FOR OPEN STUDIO
PROPOSAL OF TABLE SET-UP
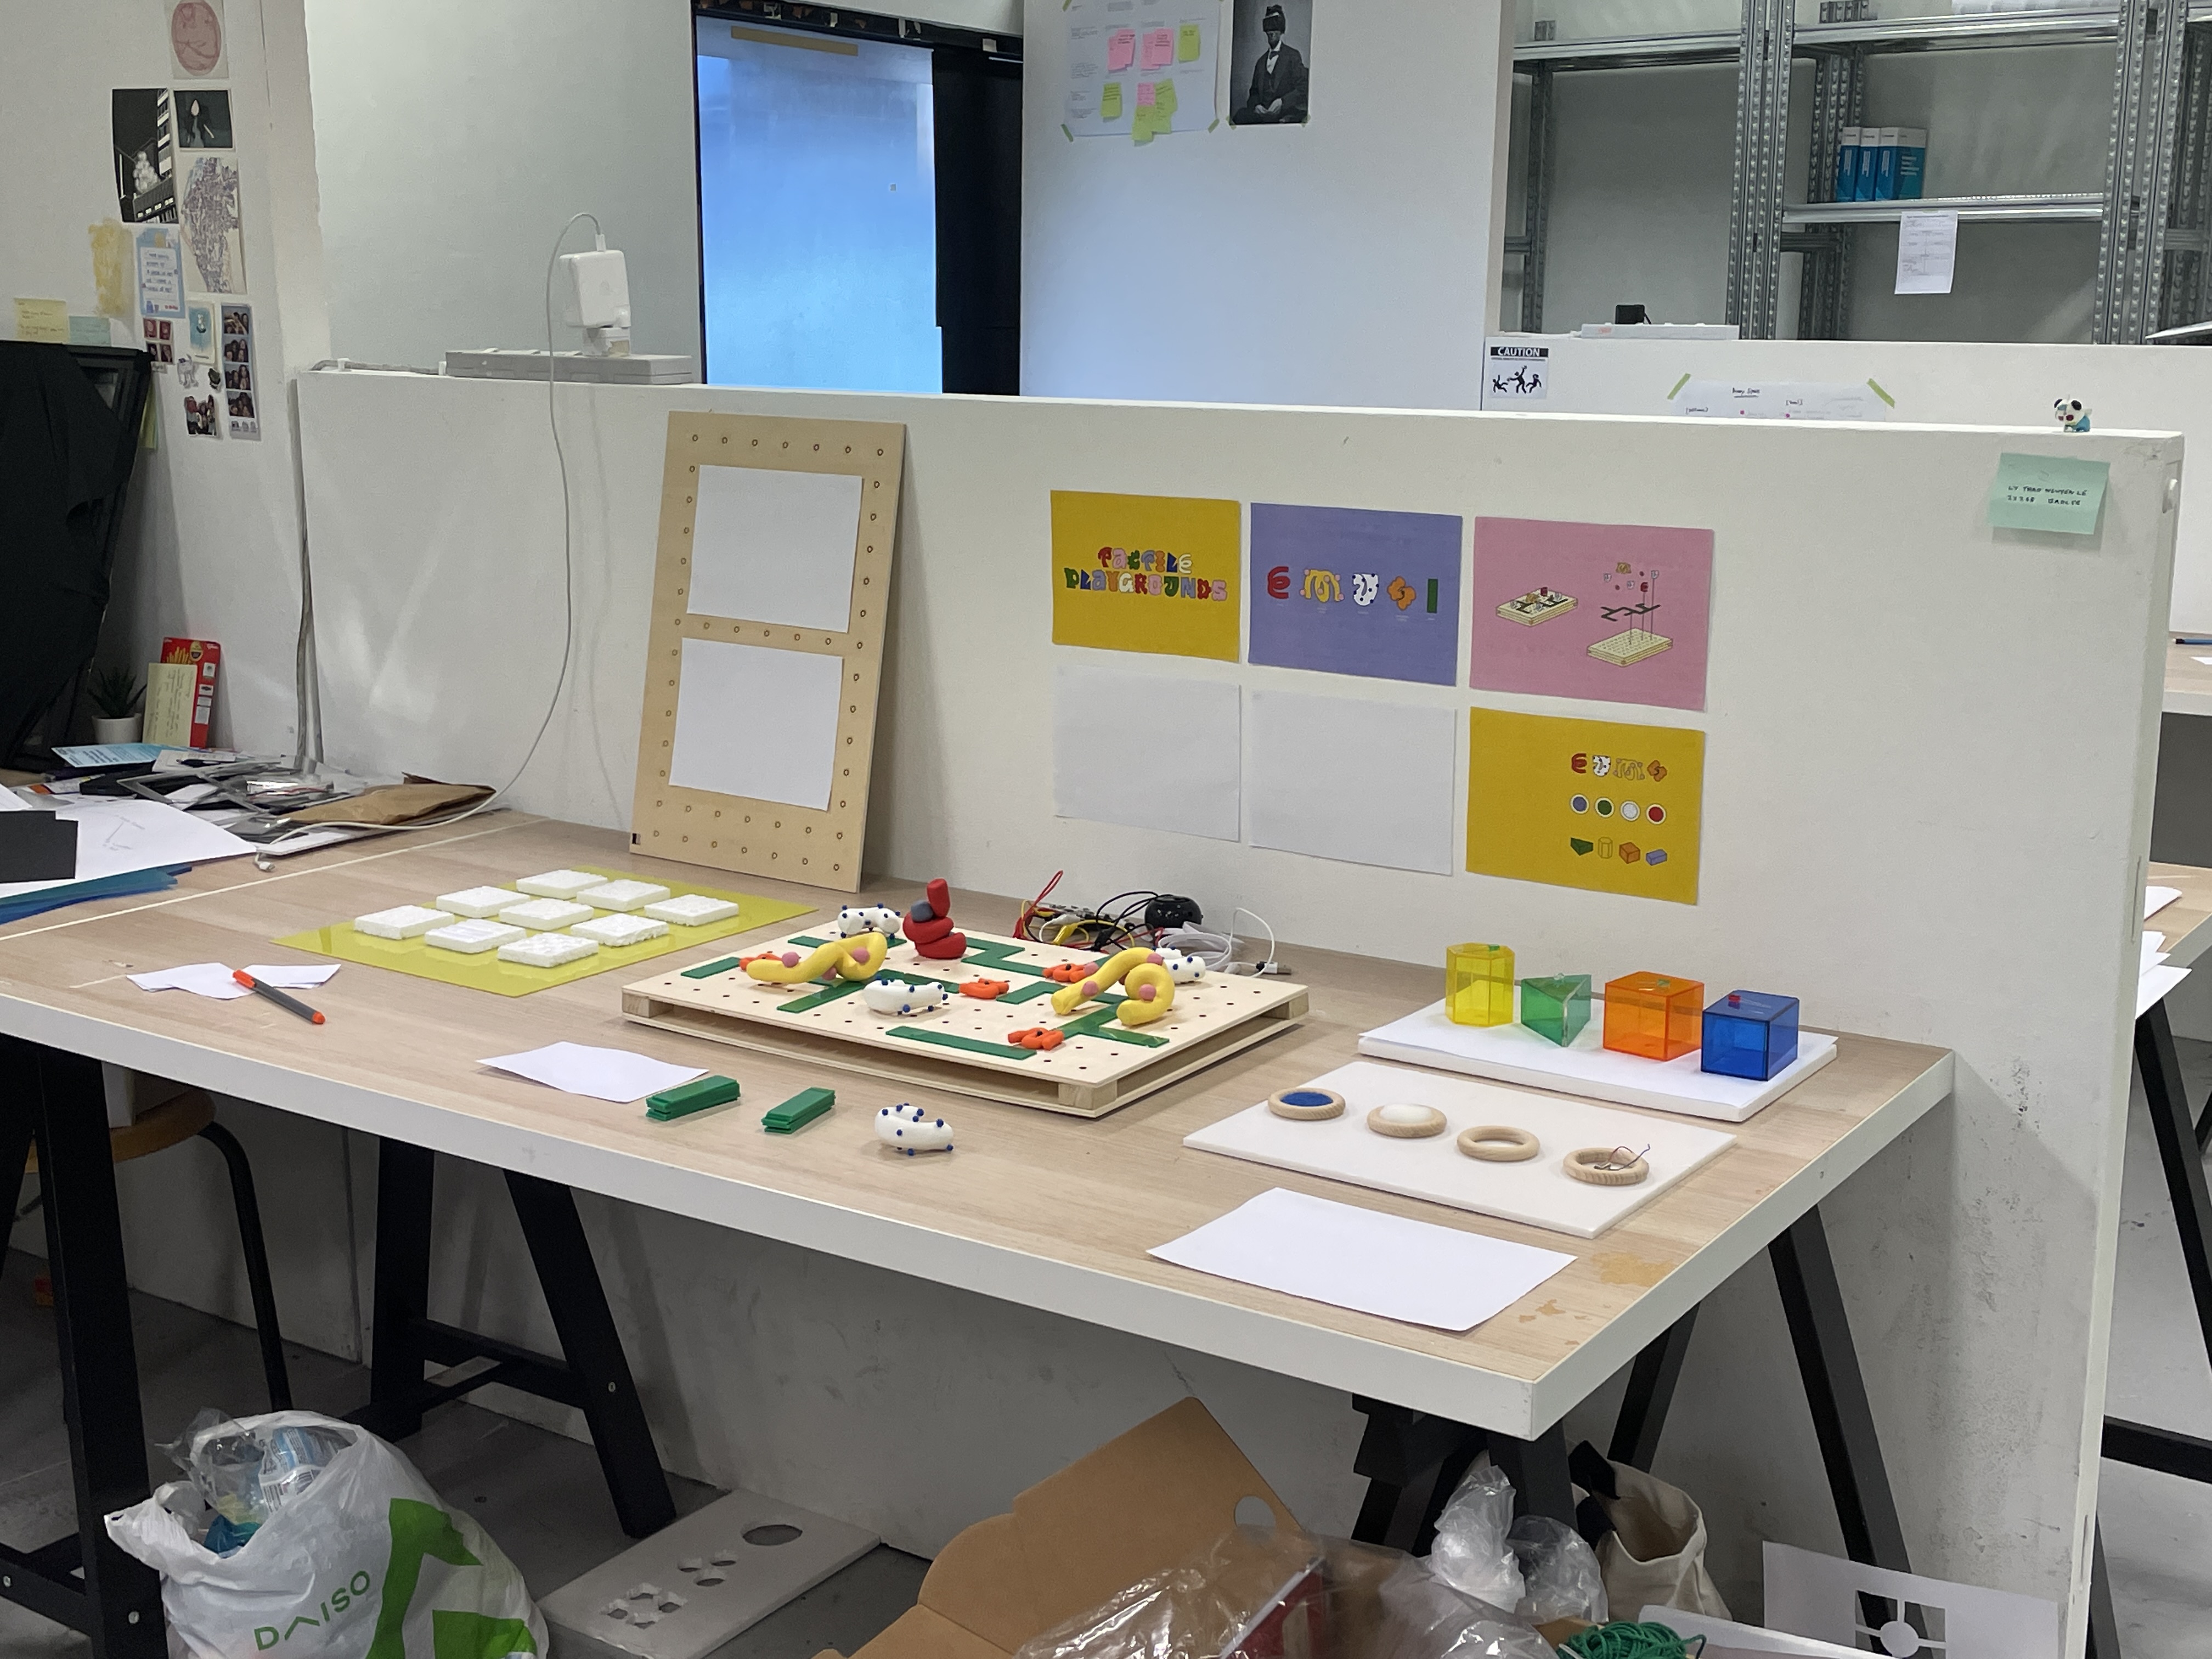
Following Andreas’ review of my table, here are the preparations I need to make for Open Studio:
- Video showing how the board works.
- Publication with background information of the project.
- Make board work with the objects.

BROSHURE WITH BACKGROUND INFORMATION
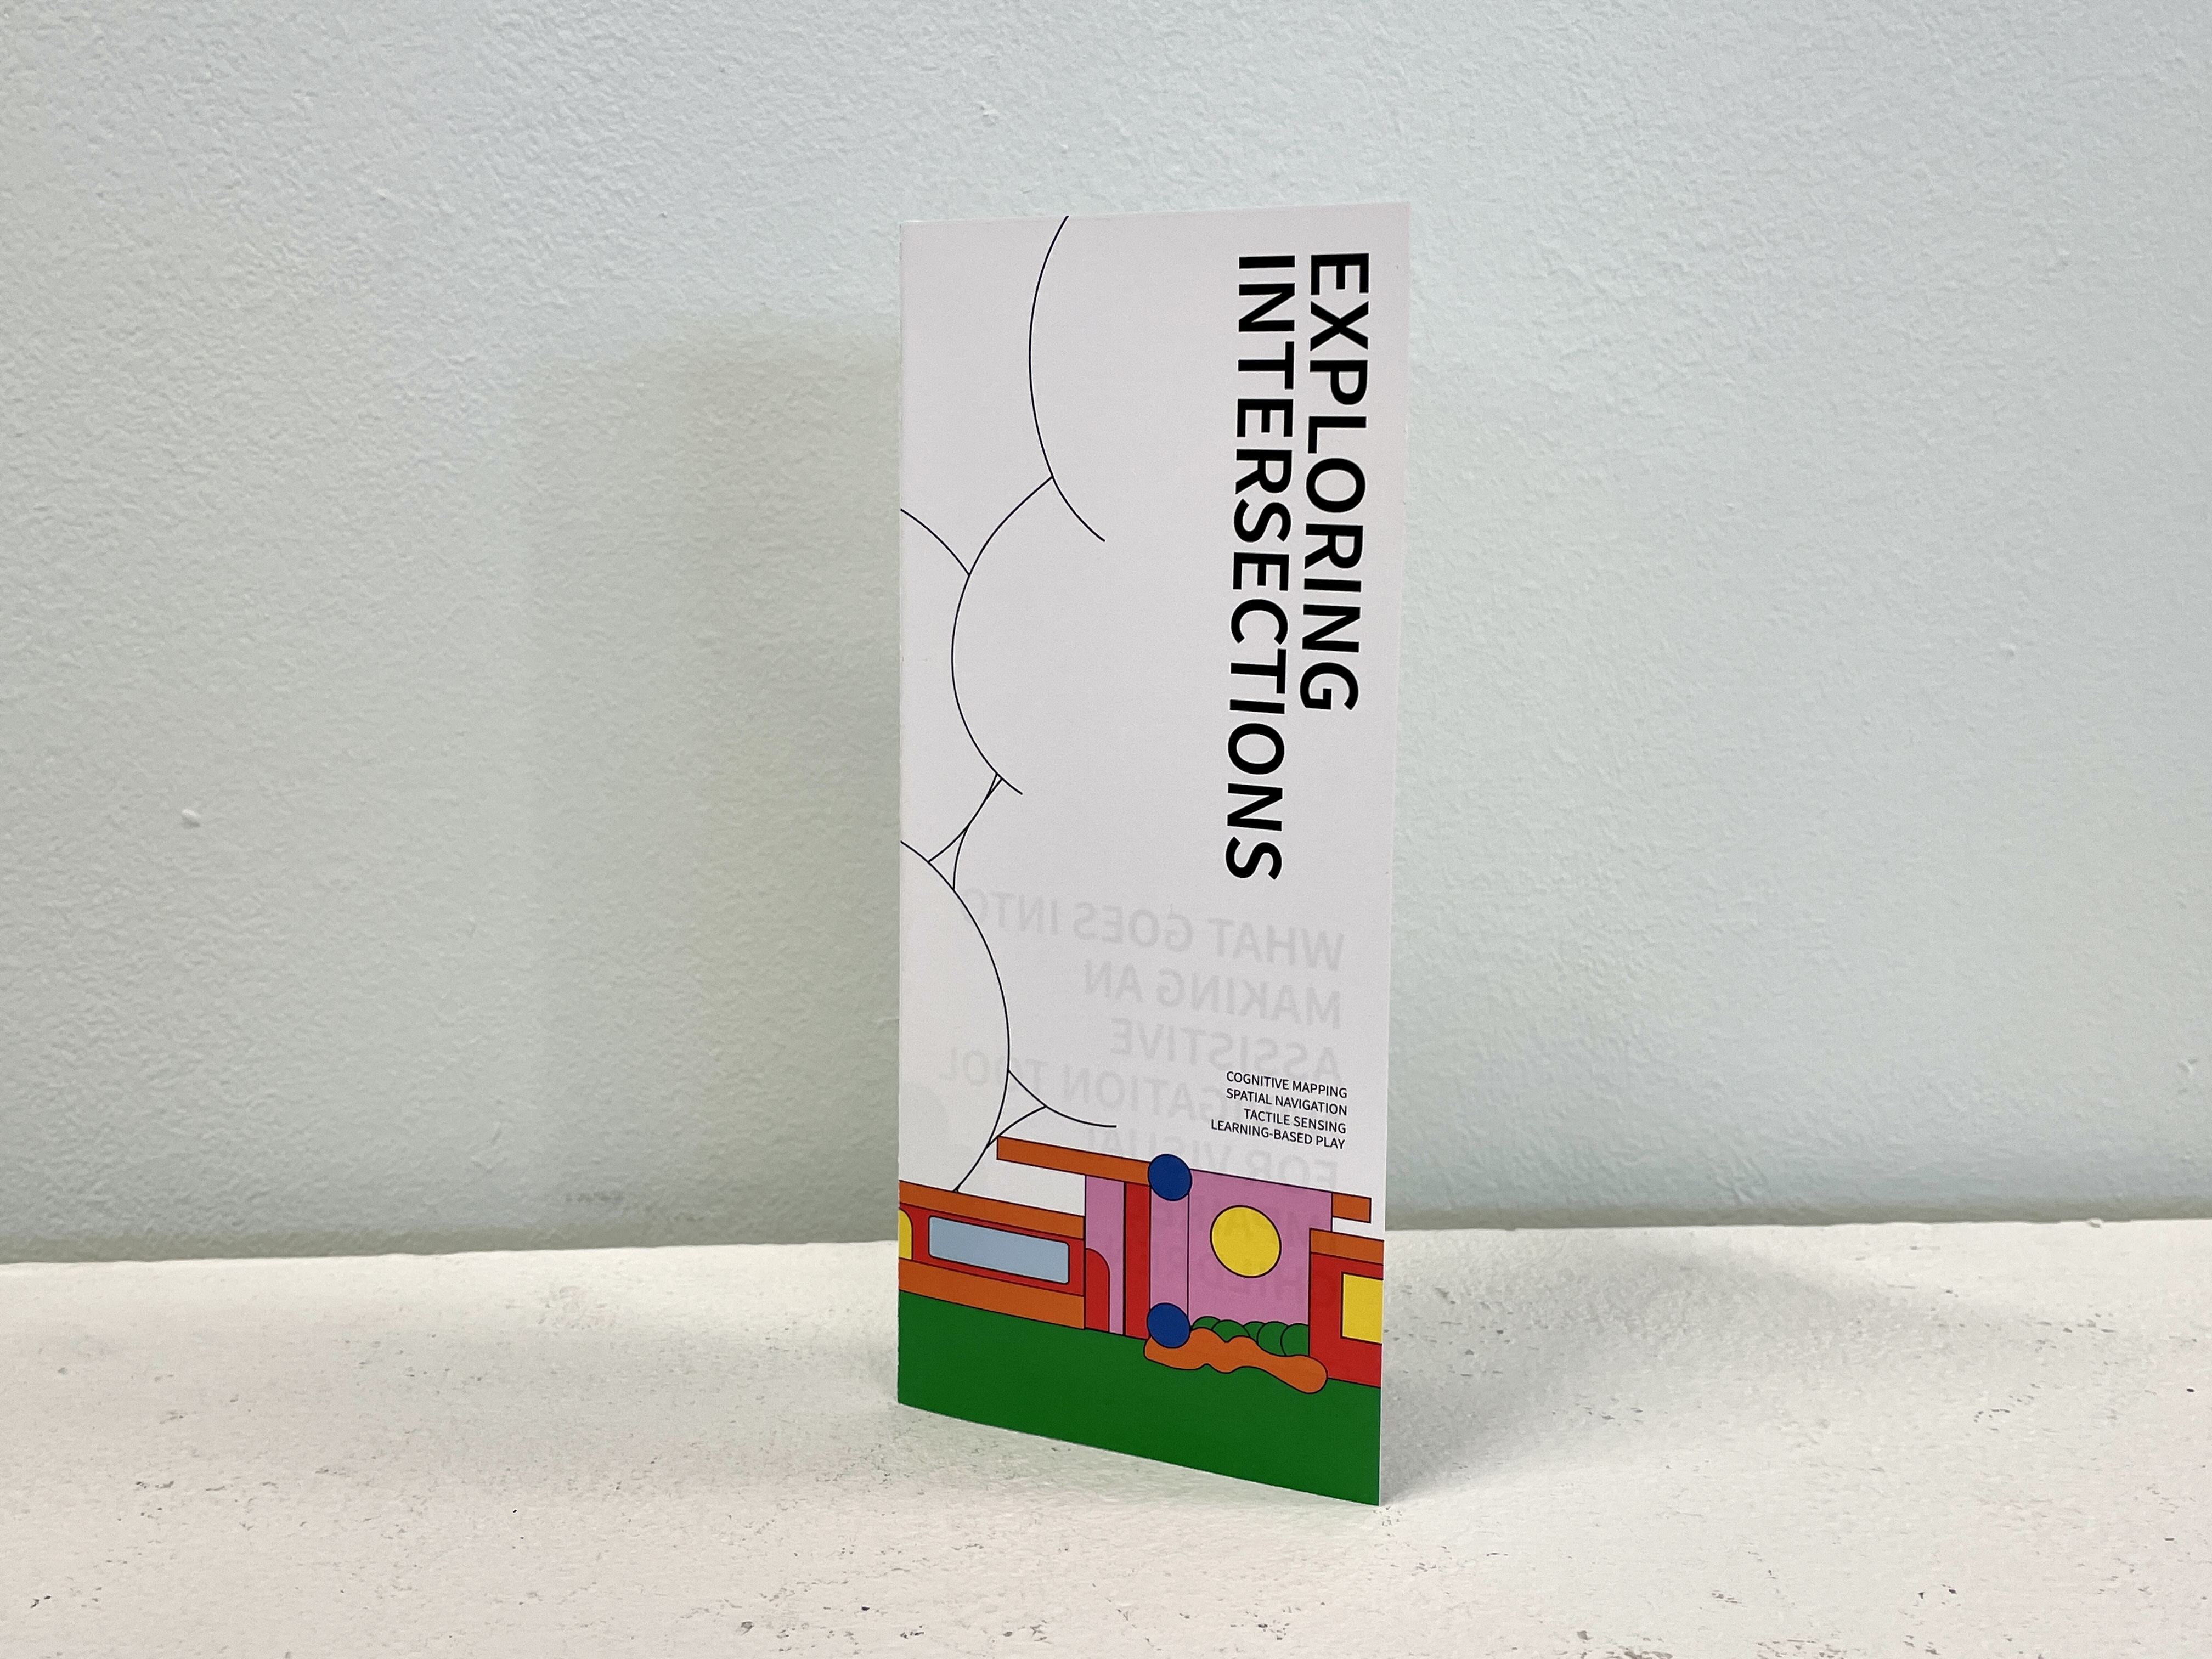
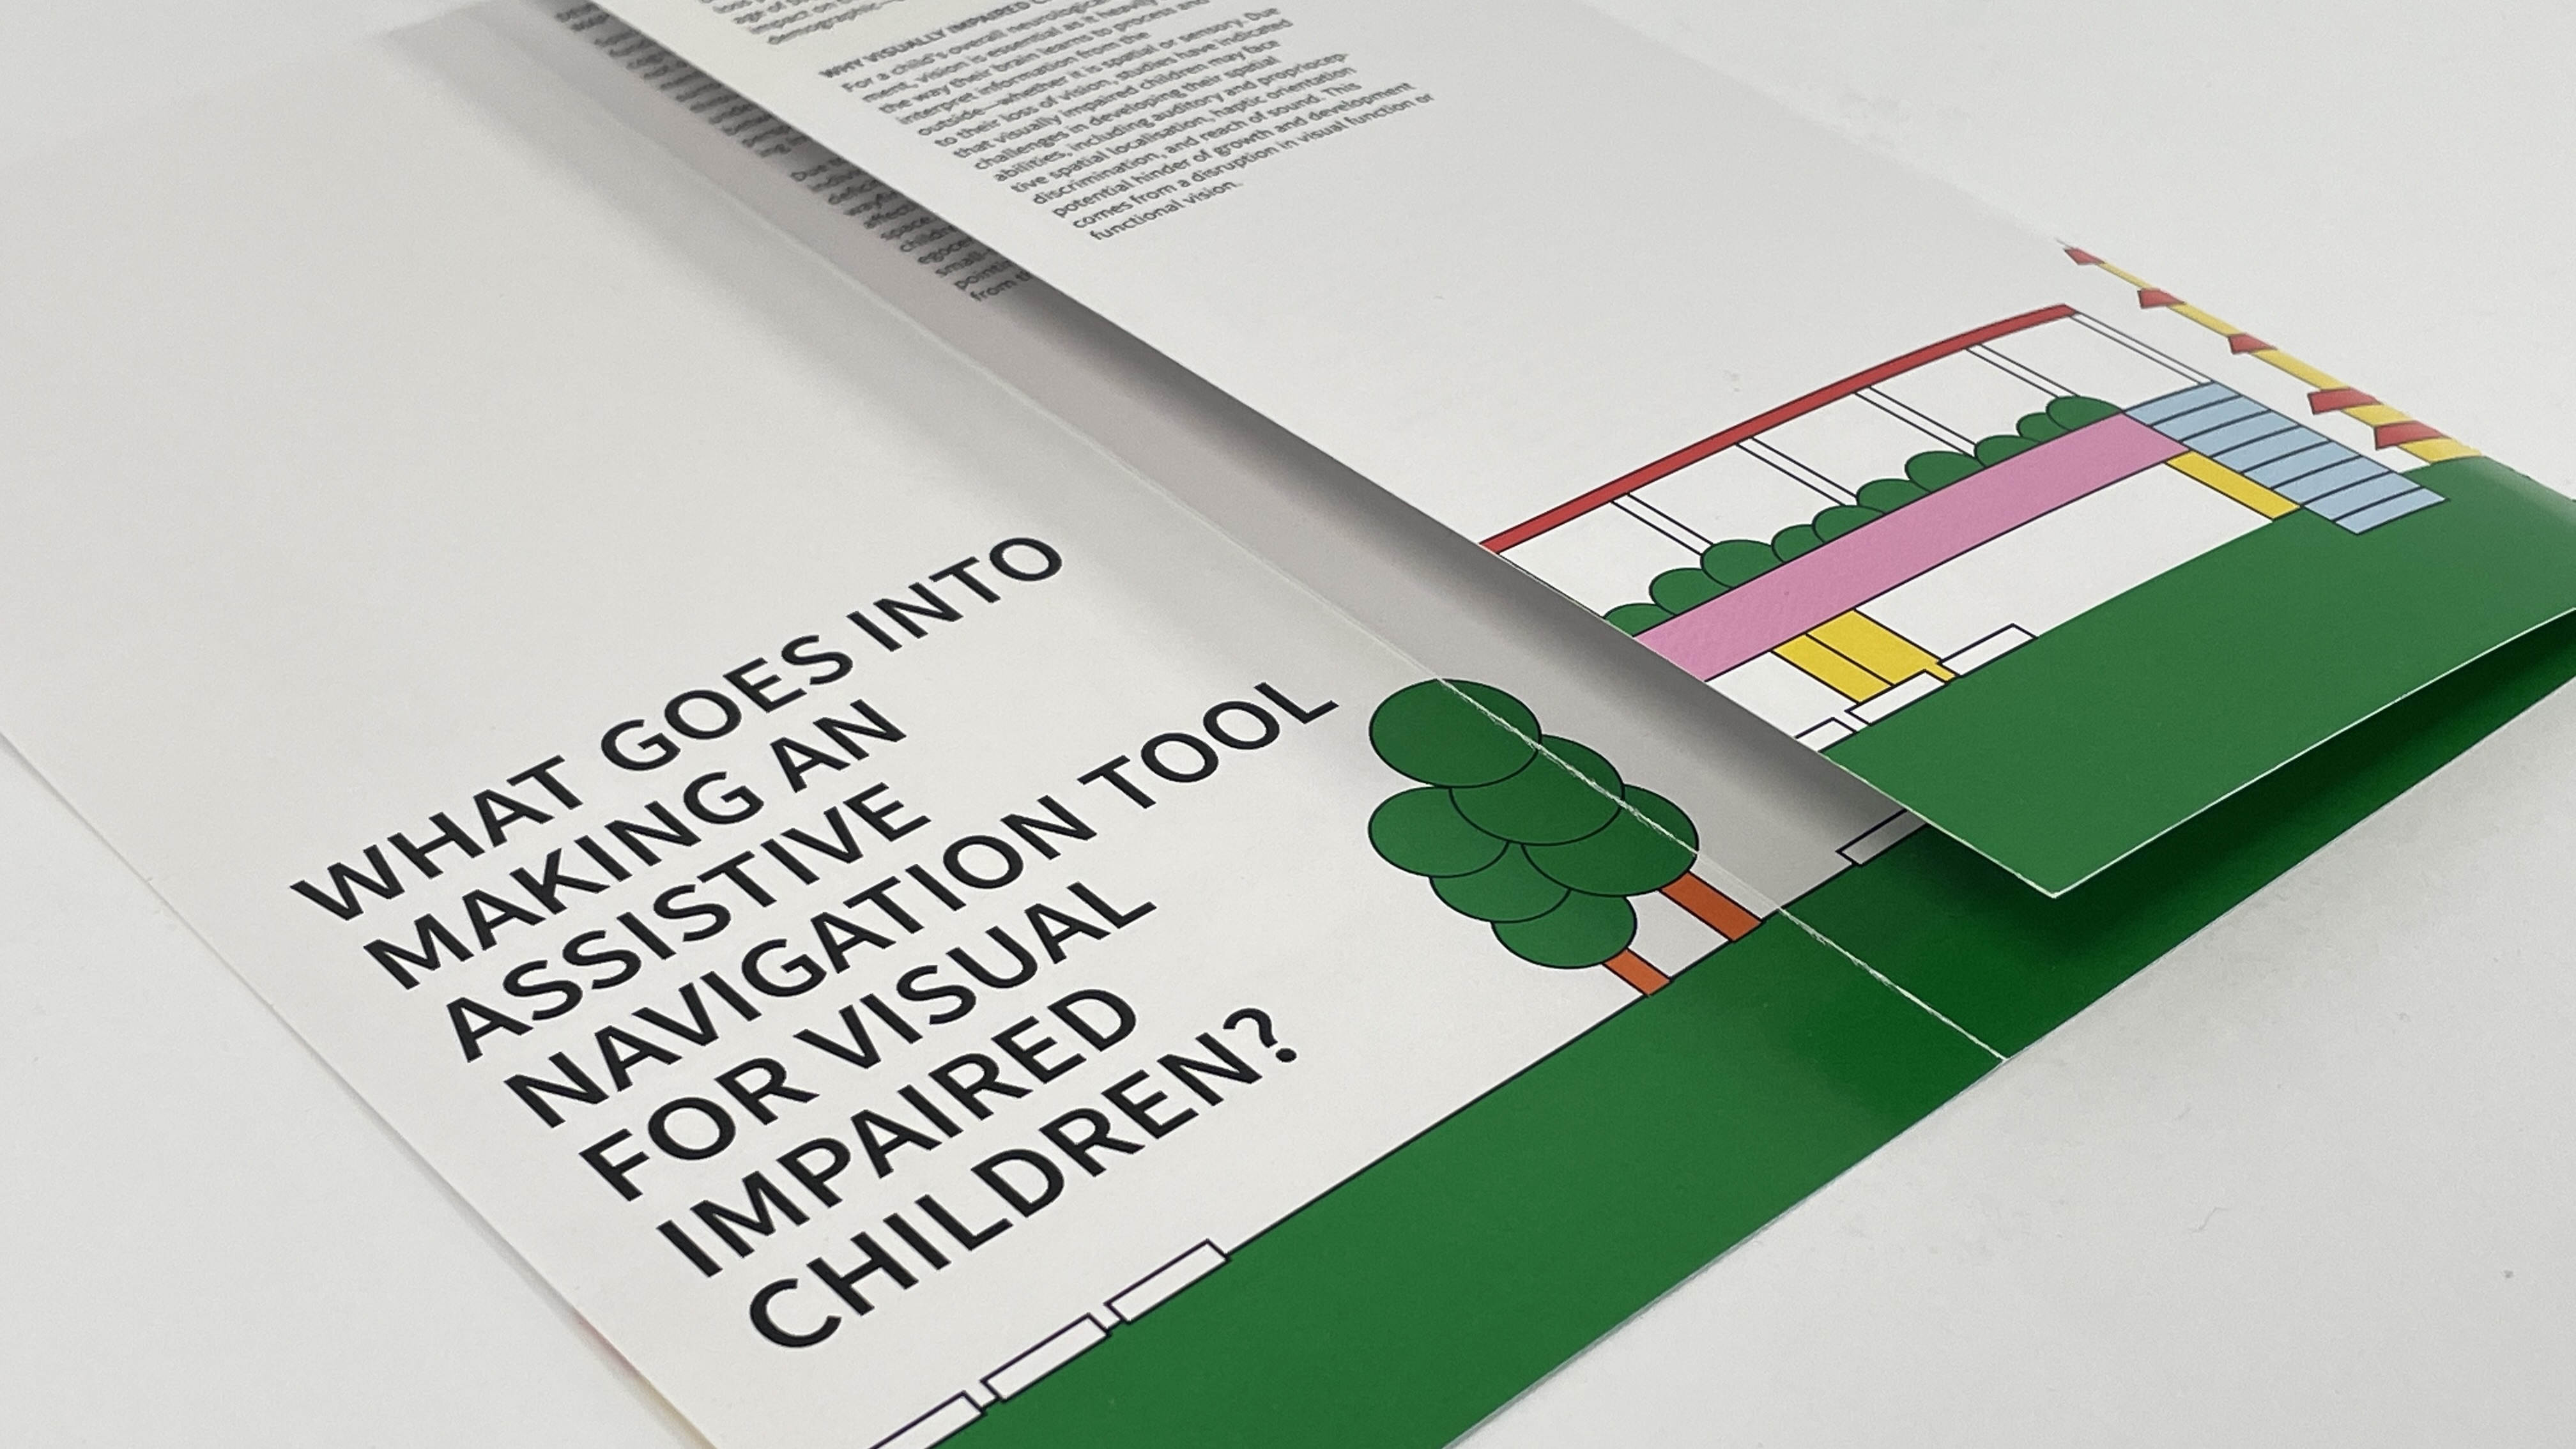
The primary purpose of the brochure is to provide the audience with background information about my project. The content is mainly taken from the introduction section of my dissertation. This aims to inform the audience that the project also looks into cognitive mapping, spatial navigation, and learning-based play through multisensory practice.
The design concept for the brochure involves mirroring a neighbourhood and incorporating elements that are found on the physical map, such as a house, overhead bridge, pedestrian crossings and landmarks. The intention of the design is to evoke the sense of a neighbourhood environment, aligning with the project’s theme and style.
INSTRUCTIONAL VIDEO
The video is intended to demonstrate the functionality of the toolkit. Therefore, here are the key elements I plan to incorporate into the video:
1.
Clearly illustrate where to touch the objects for them to activate and trigger a sensory response.
2.
Highlight the user’s ability to place the objects into the board themselves, as well as placing them wherever they want.
3.
Show that identical objects have the same number of sensory cues, and that the user can switch out the objects and sensory cues with other options.
TEXTURED SPHERES
Various textures were considered. These were categorised into four distinct categories: soft, rough, furry/fuzzy and bumpy, to make sure the textures would not feel similar.
-
Soft:
Sponge, cotton, wool, foam, silk
-
Rough:
Sandpaper, aluminium foil
-

Furry/fuzzy:
Fur
-

Bumpy:
Check Art Friend, Spotlight, Daiso
Due to the tight schedule to Open Studio, I found possibilities in the materials I already had available in school. Sponge, felt, plastic, and knit were chosen. These textures will most likely change for the final submission.

What can I use as a connector for the objects, in which it would work with the board?

FORMING AND BAKING THE CLAY
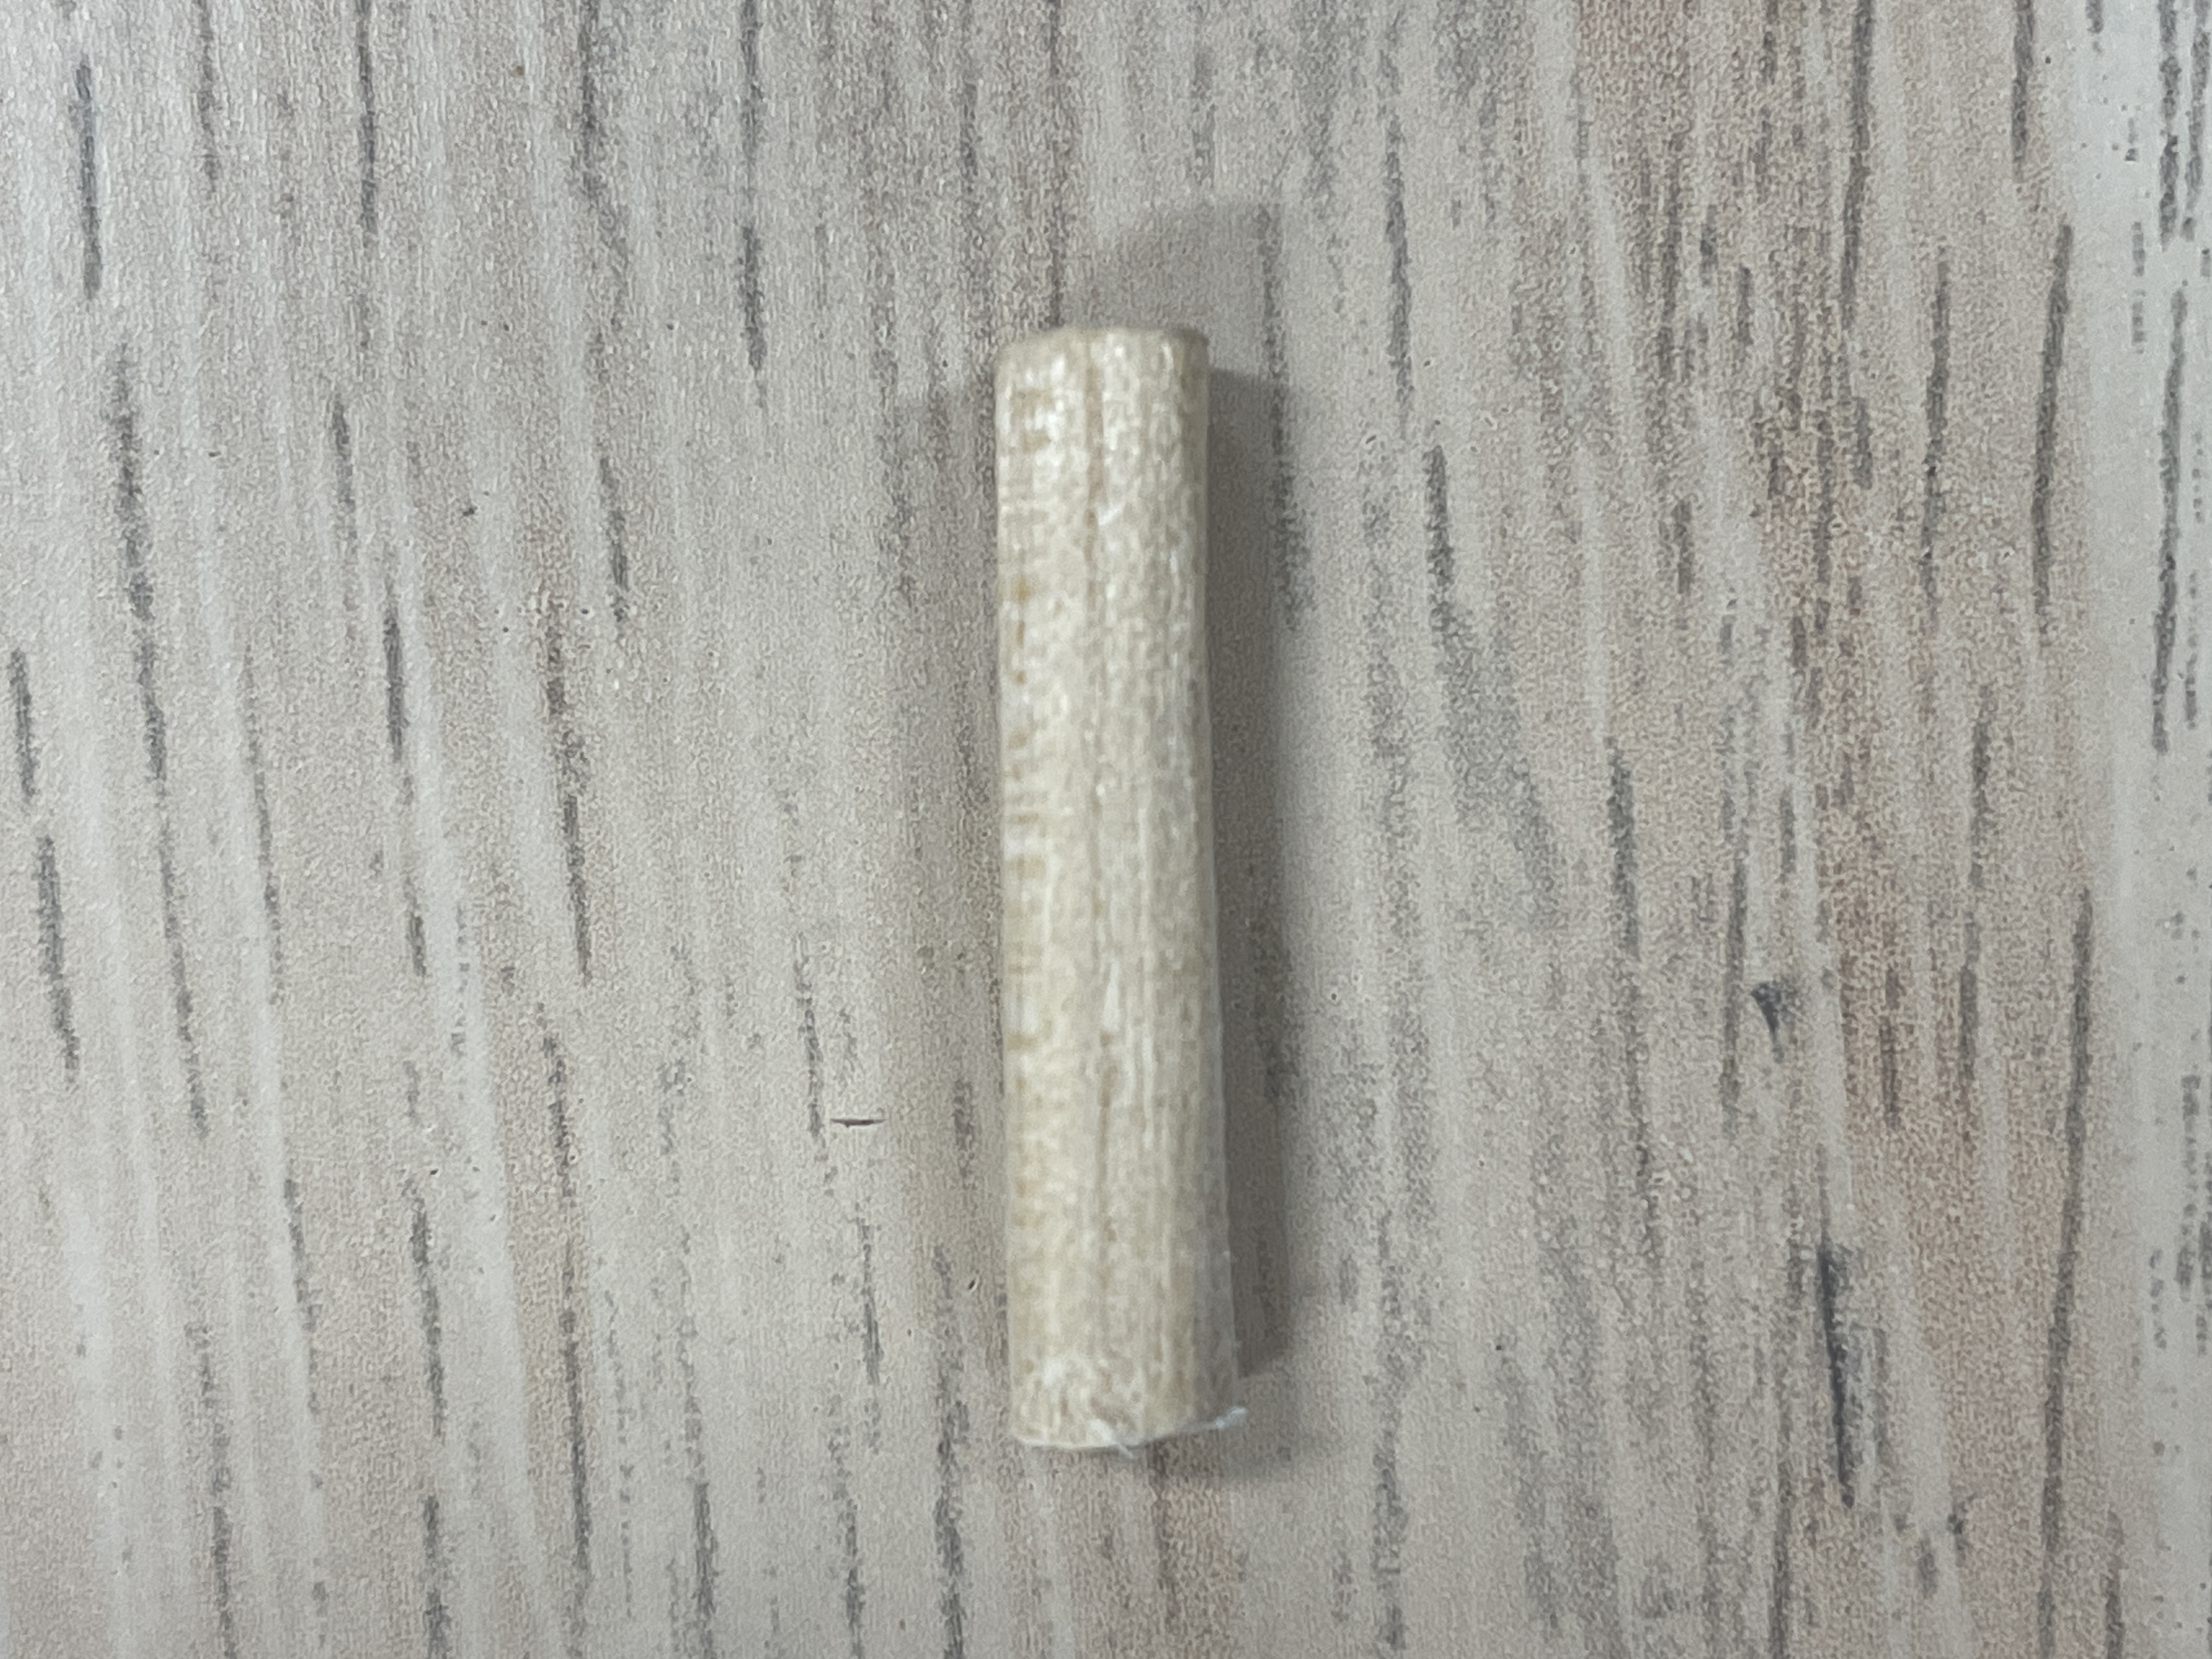
At Spotlight, I came across wooden pins (6 mm). However, they did not fit into the holes on the board, despite cutting the holes to be 1 cm in diameter. To resolve this, I carved the pins and made sure they fit through the hole. Then, I cut them to match the distance between the object and the board. Finally, I used sandpaper to achieve a smooth finish.
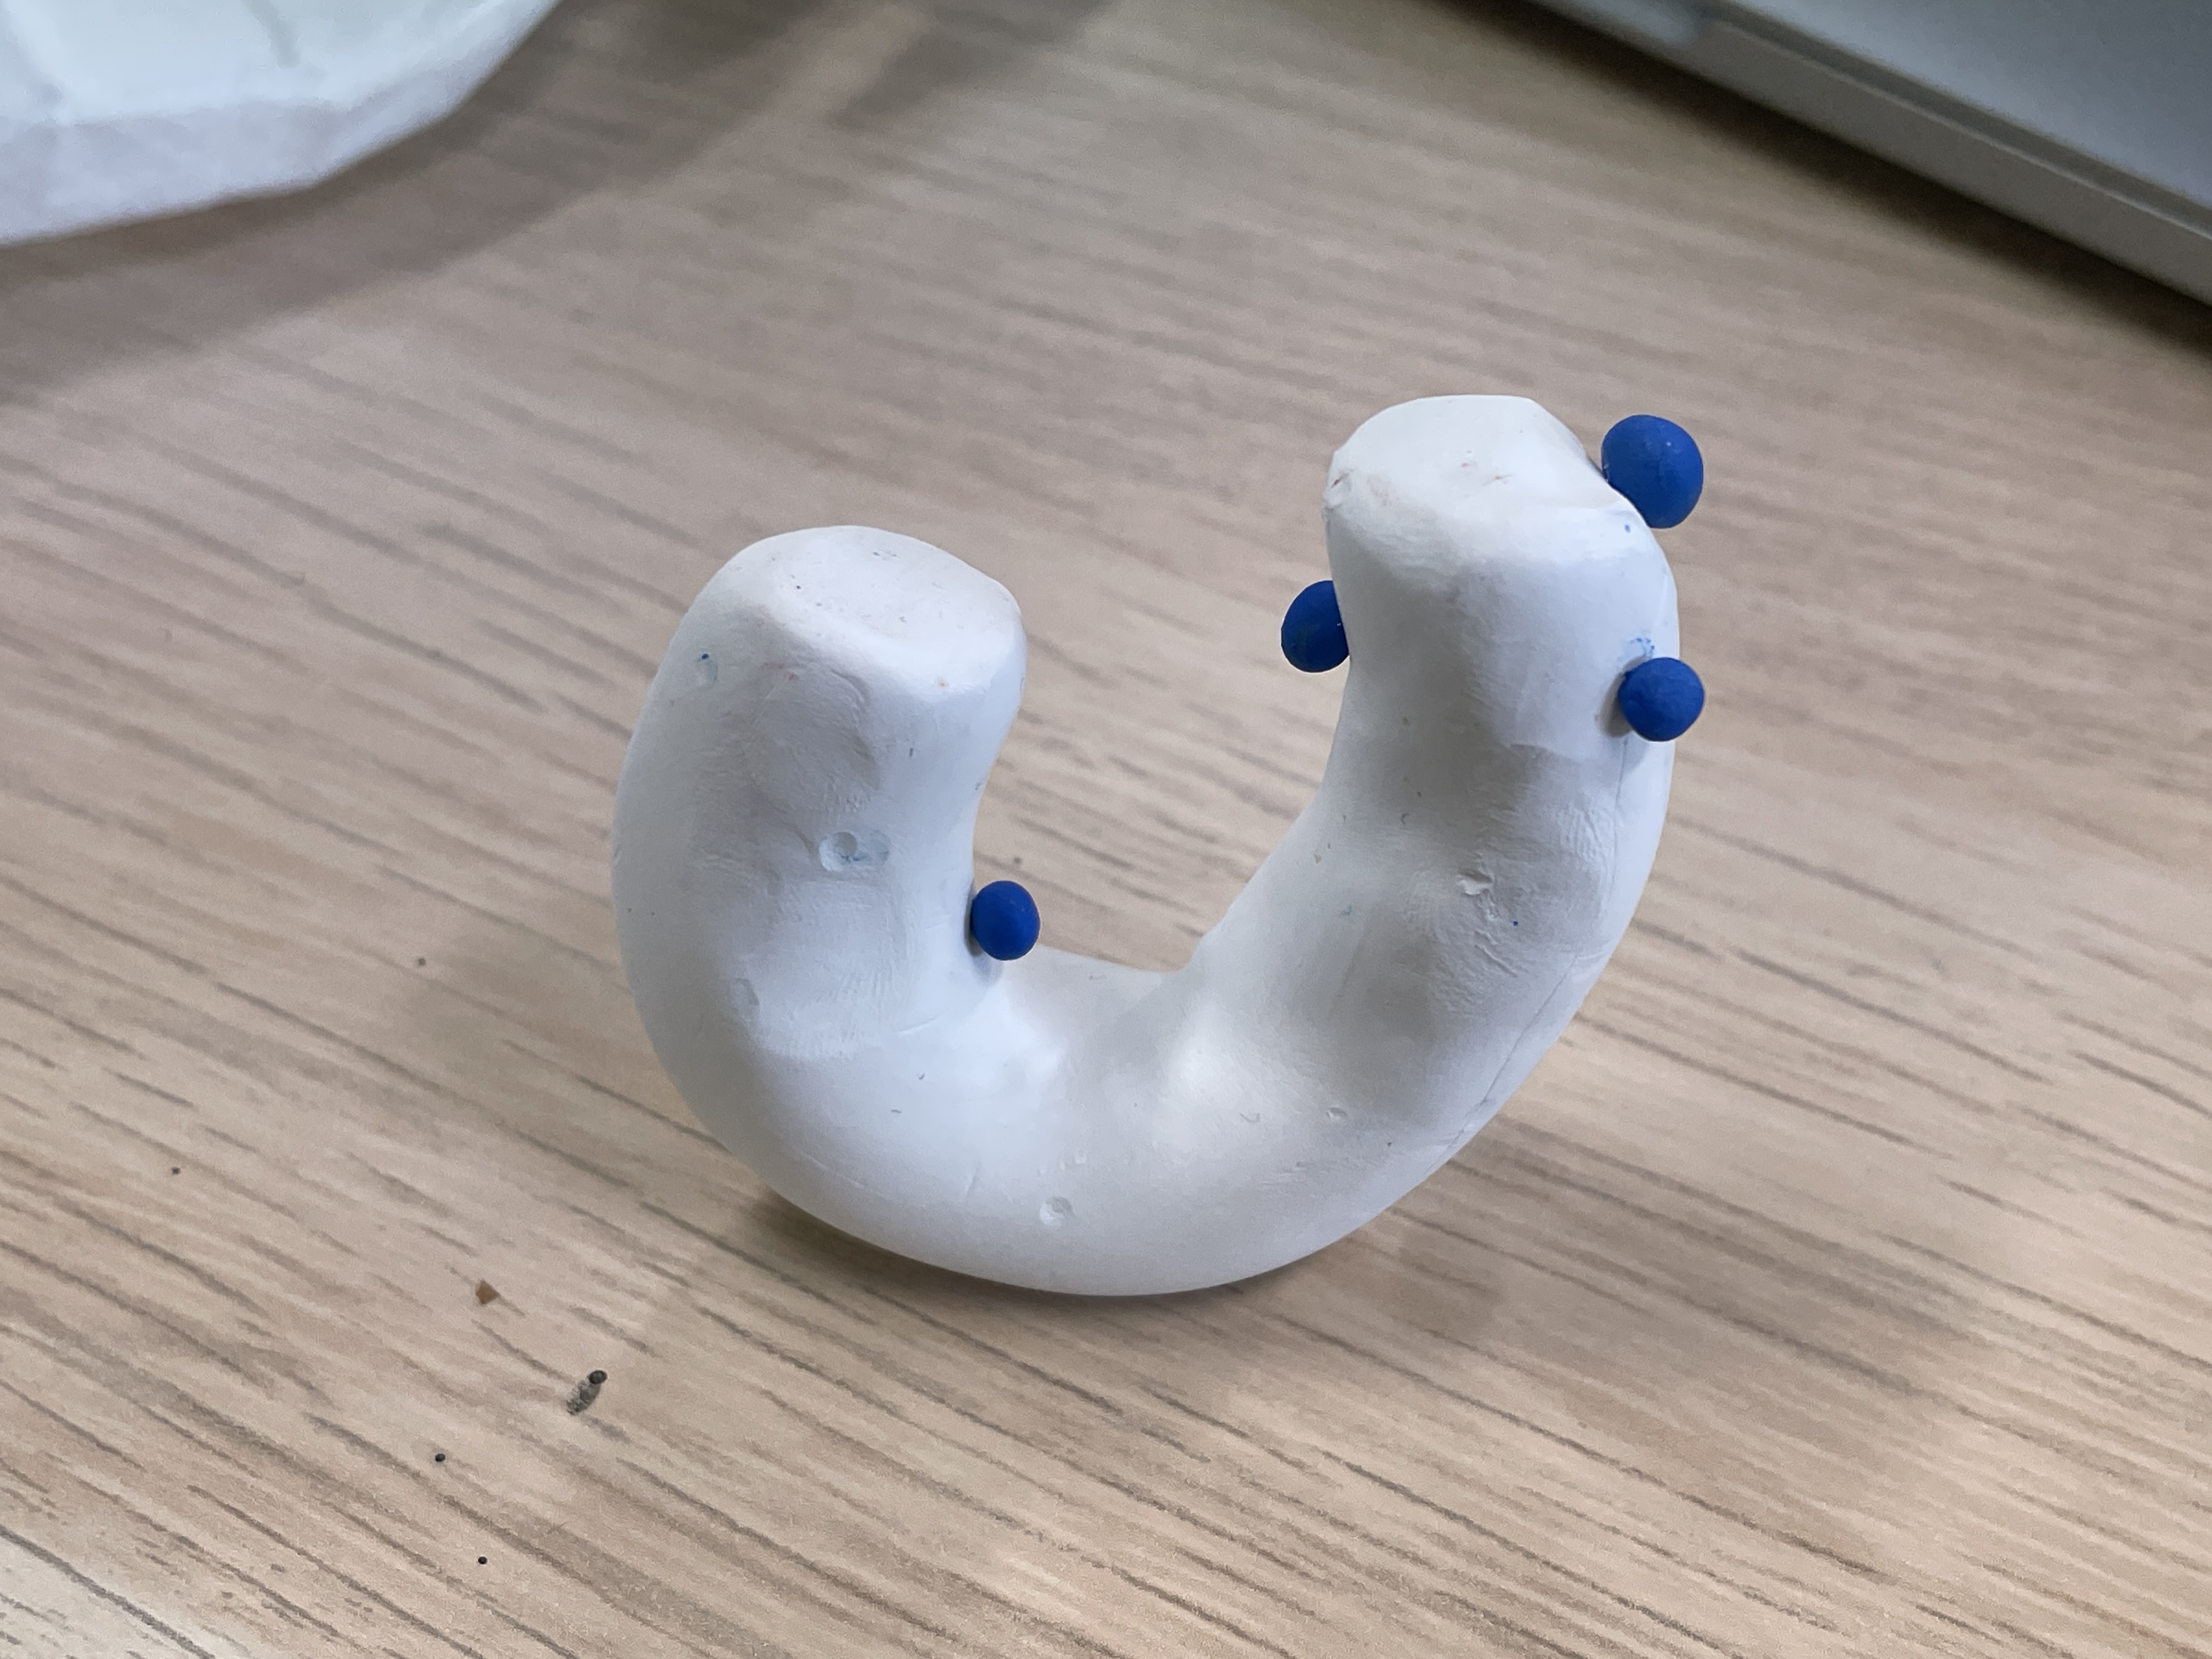
To see if the conductivity would actually work, I made a small figure of clay, baked it, and painted
the conductive paint on top. To seal the conductive paint, I used an acrylic varnish spray and sprayed
five layers. After letting it rest for two hours, I painted over with a coloured acrylic paint. It
worked.
To make sure the conductivity would work, I made a small figure of clay, baked it, and painted over
with conductive paint. I then sealed the conductive paint using an acrylic varnish spray, in which I
applied five layers to it. After allowing it to fully dry for two hours, I painted over with red
acrylic paint. The conductivity successfully worked.
1.
-
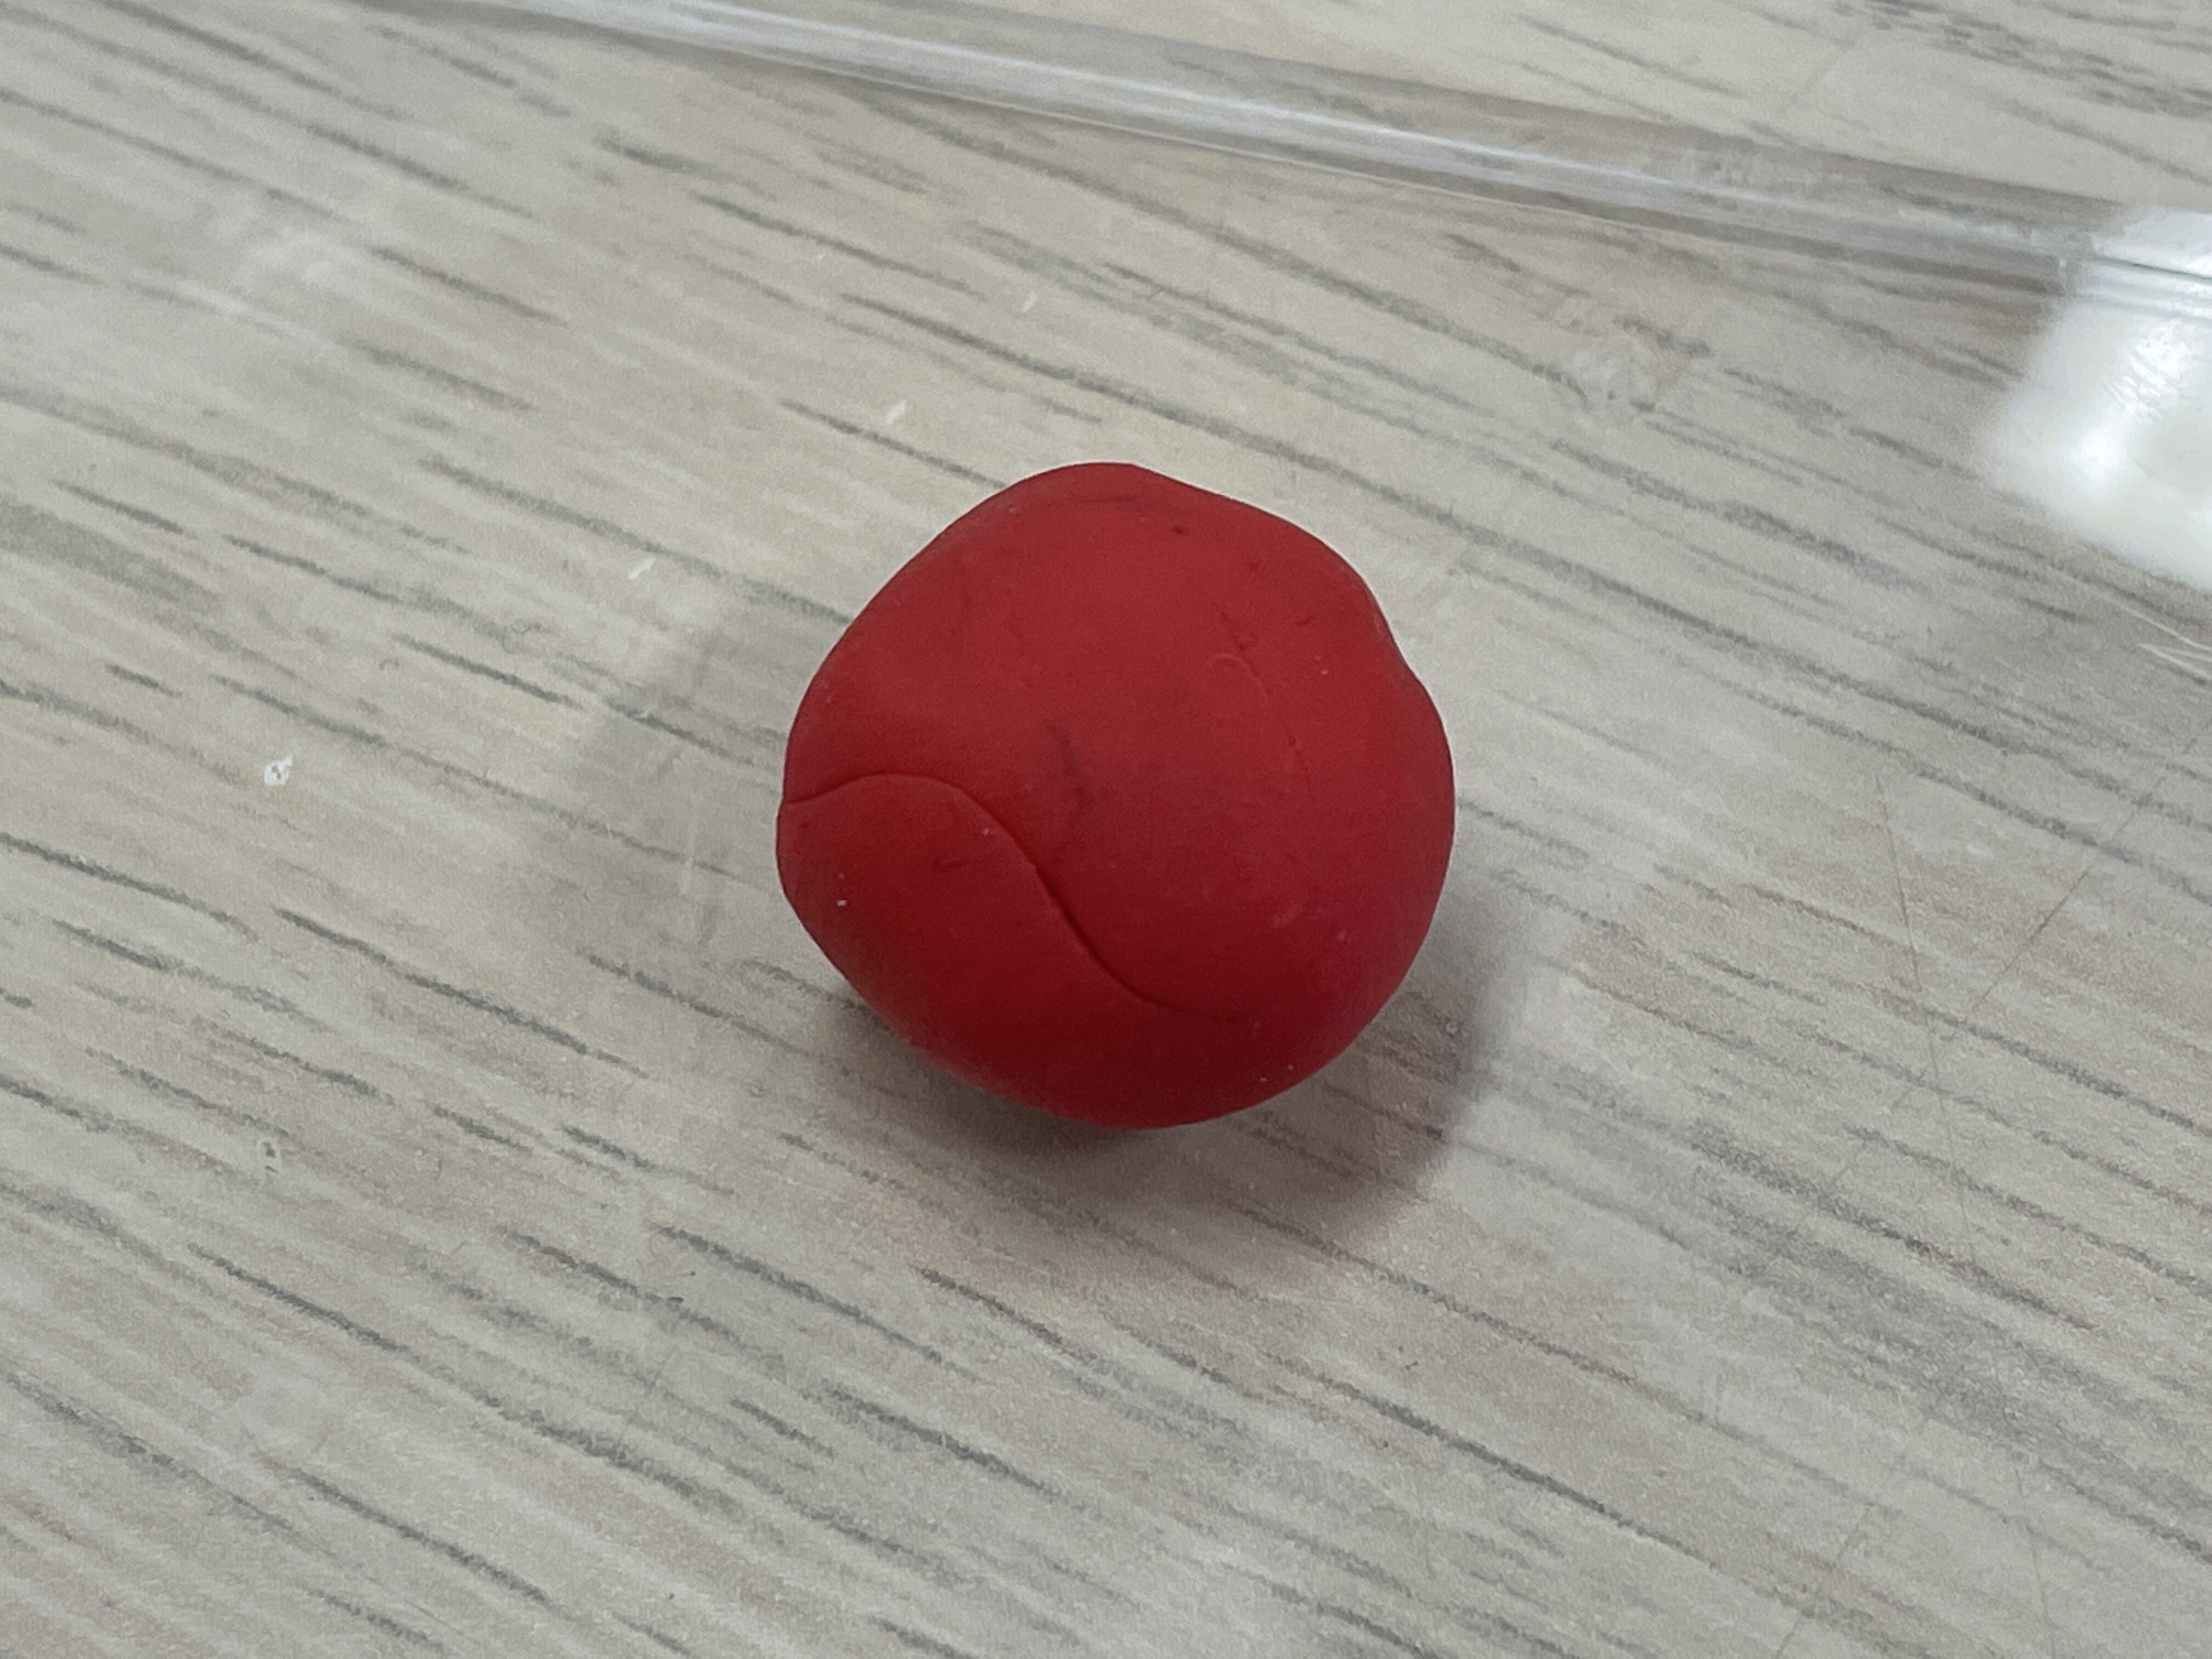
Forming a ball with the clay to test its conductivity.
-
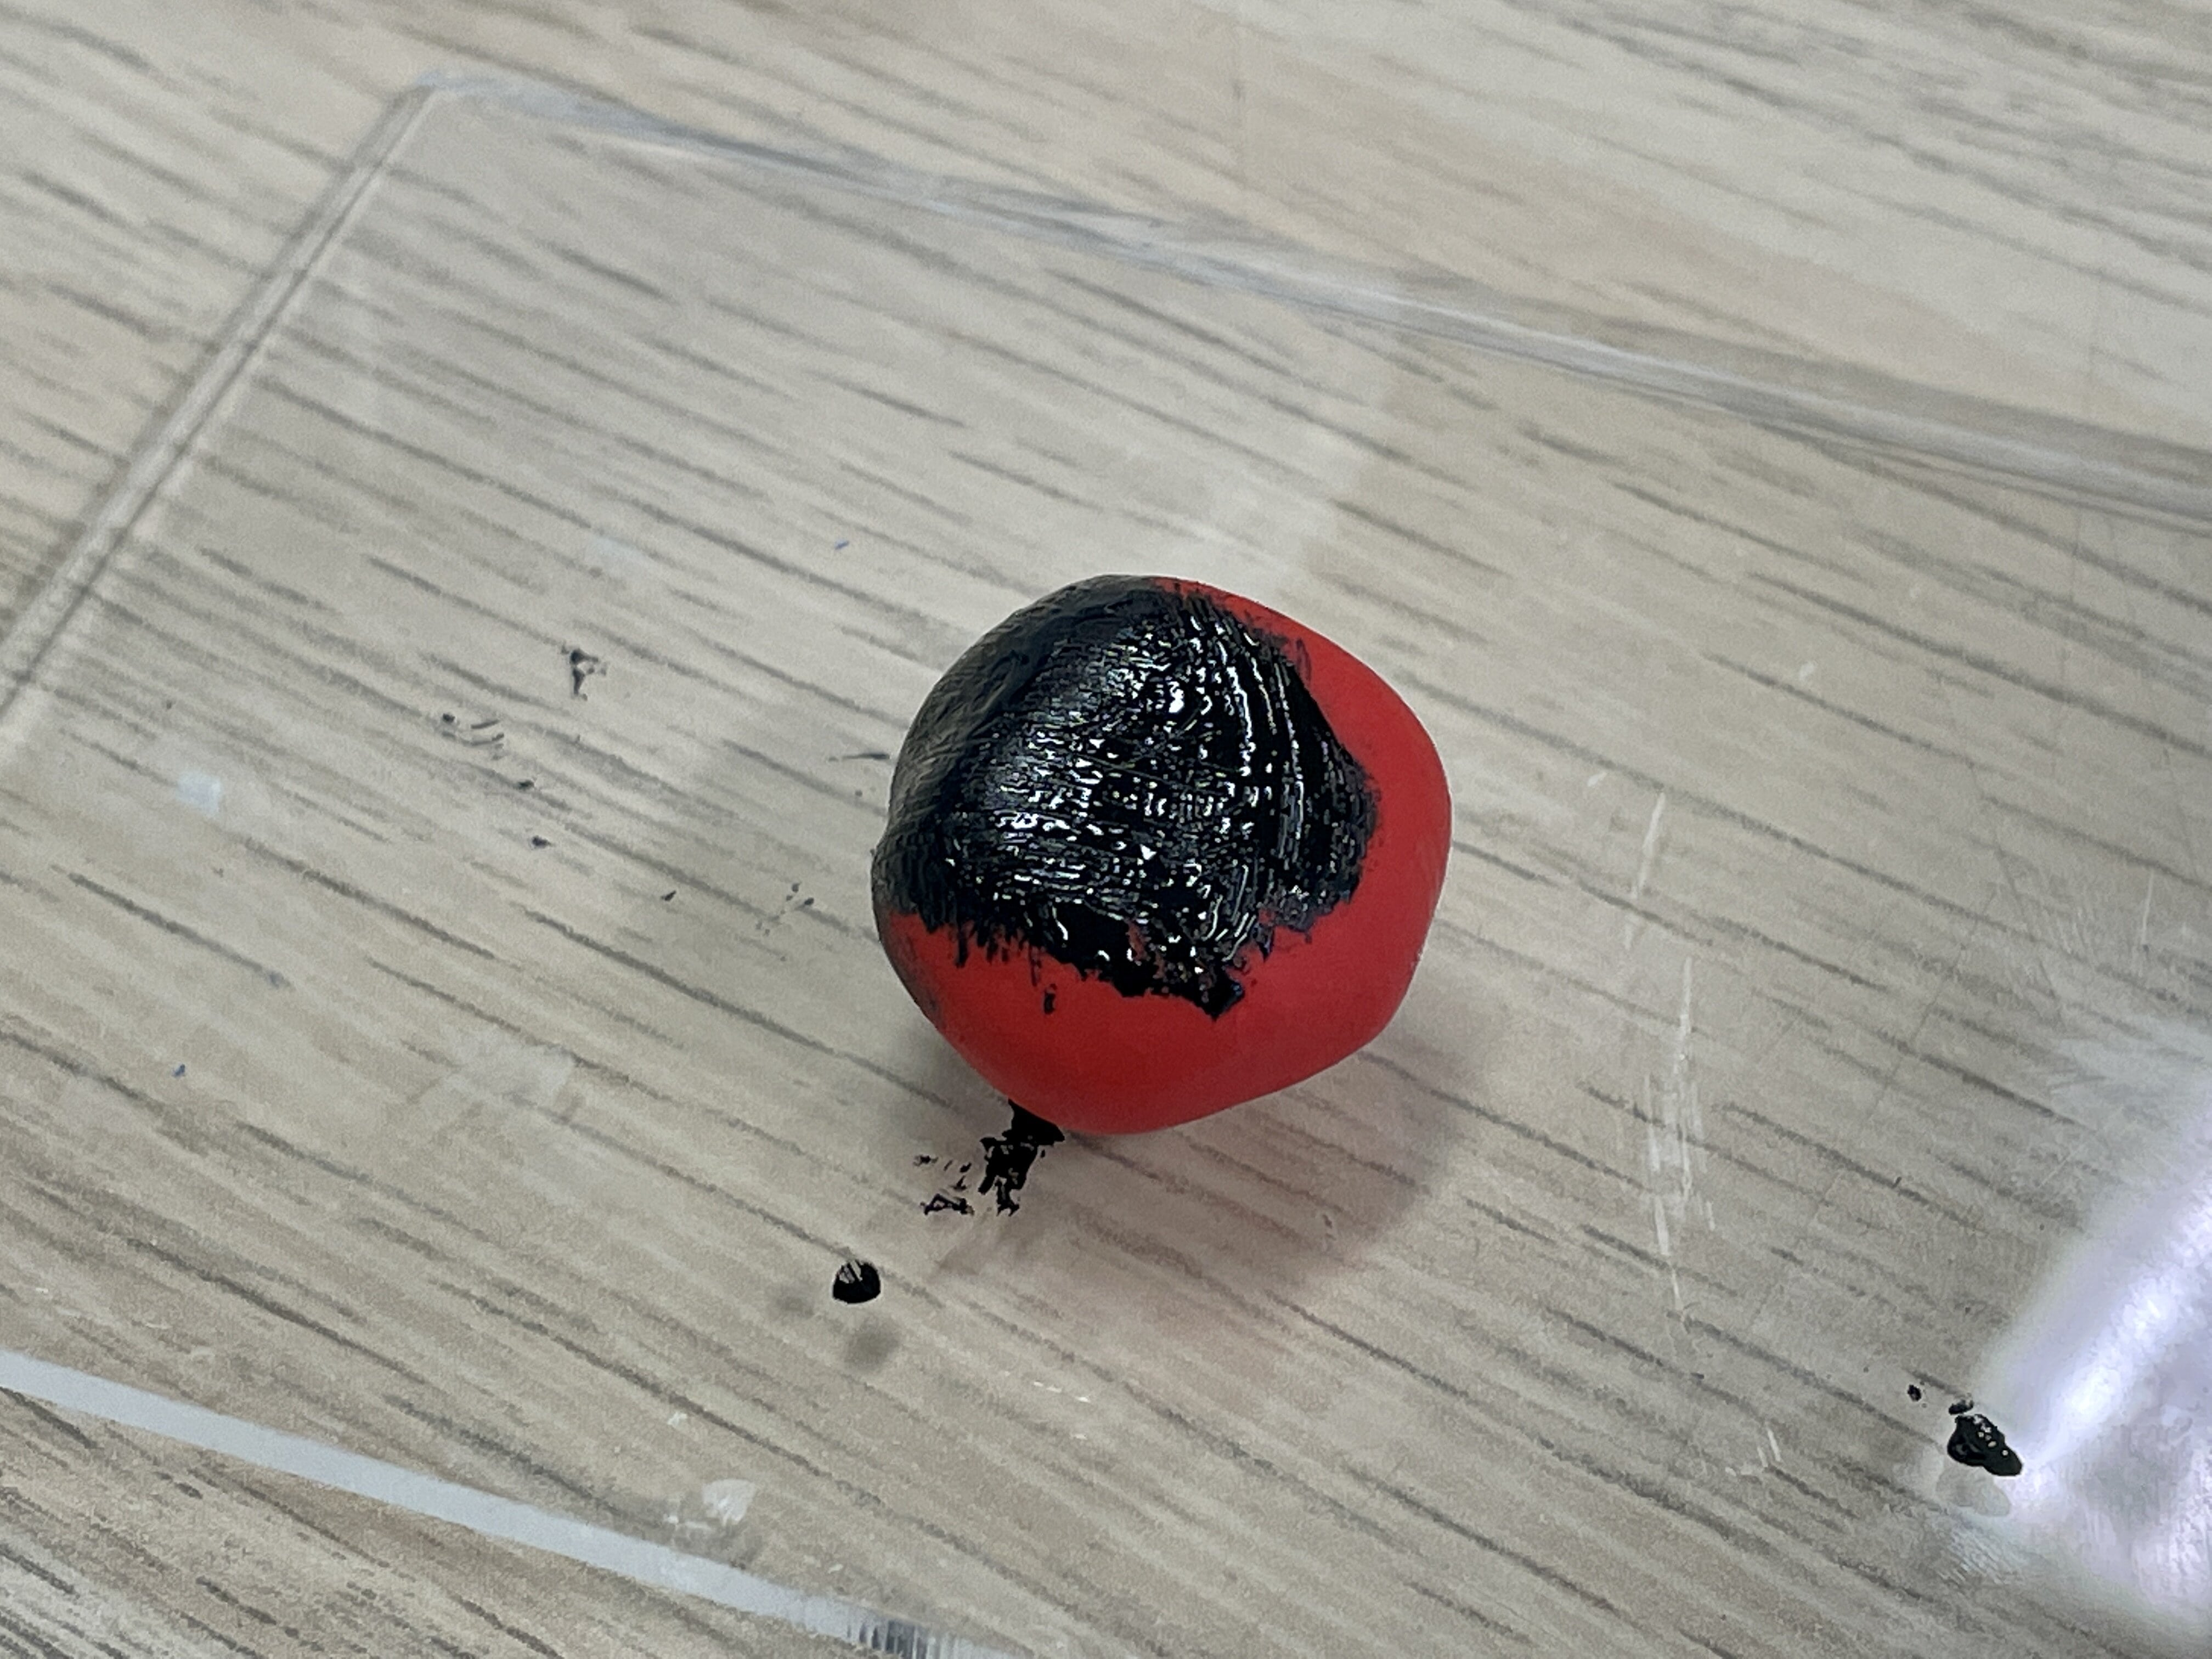
Conductive paint on the clay.
-
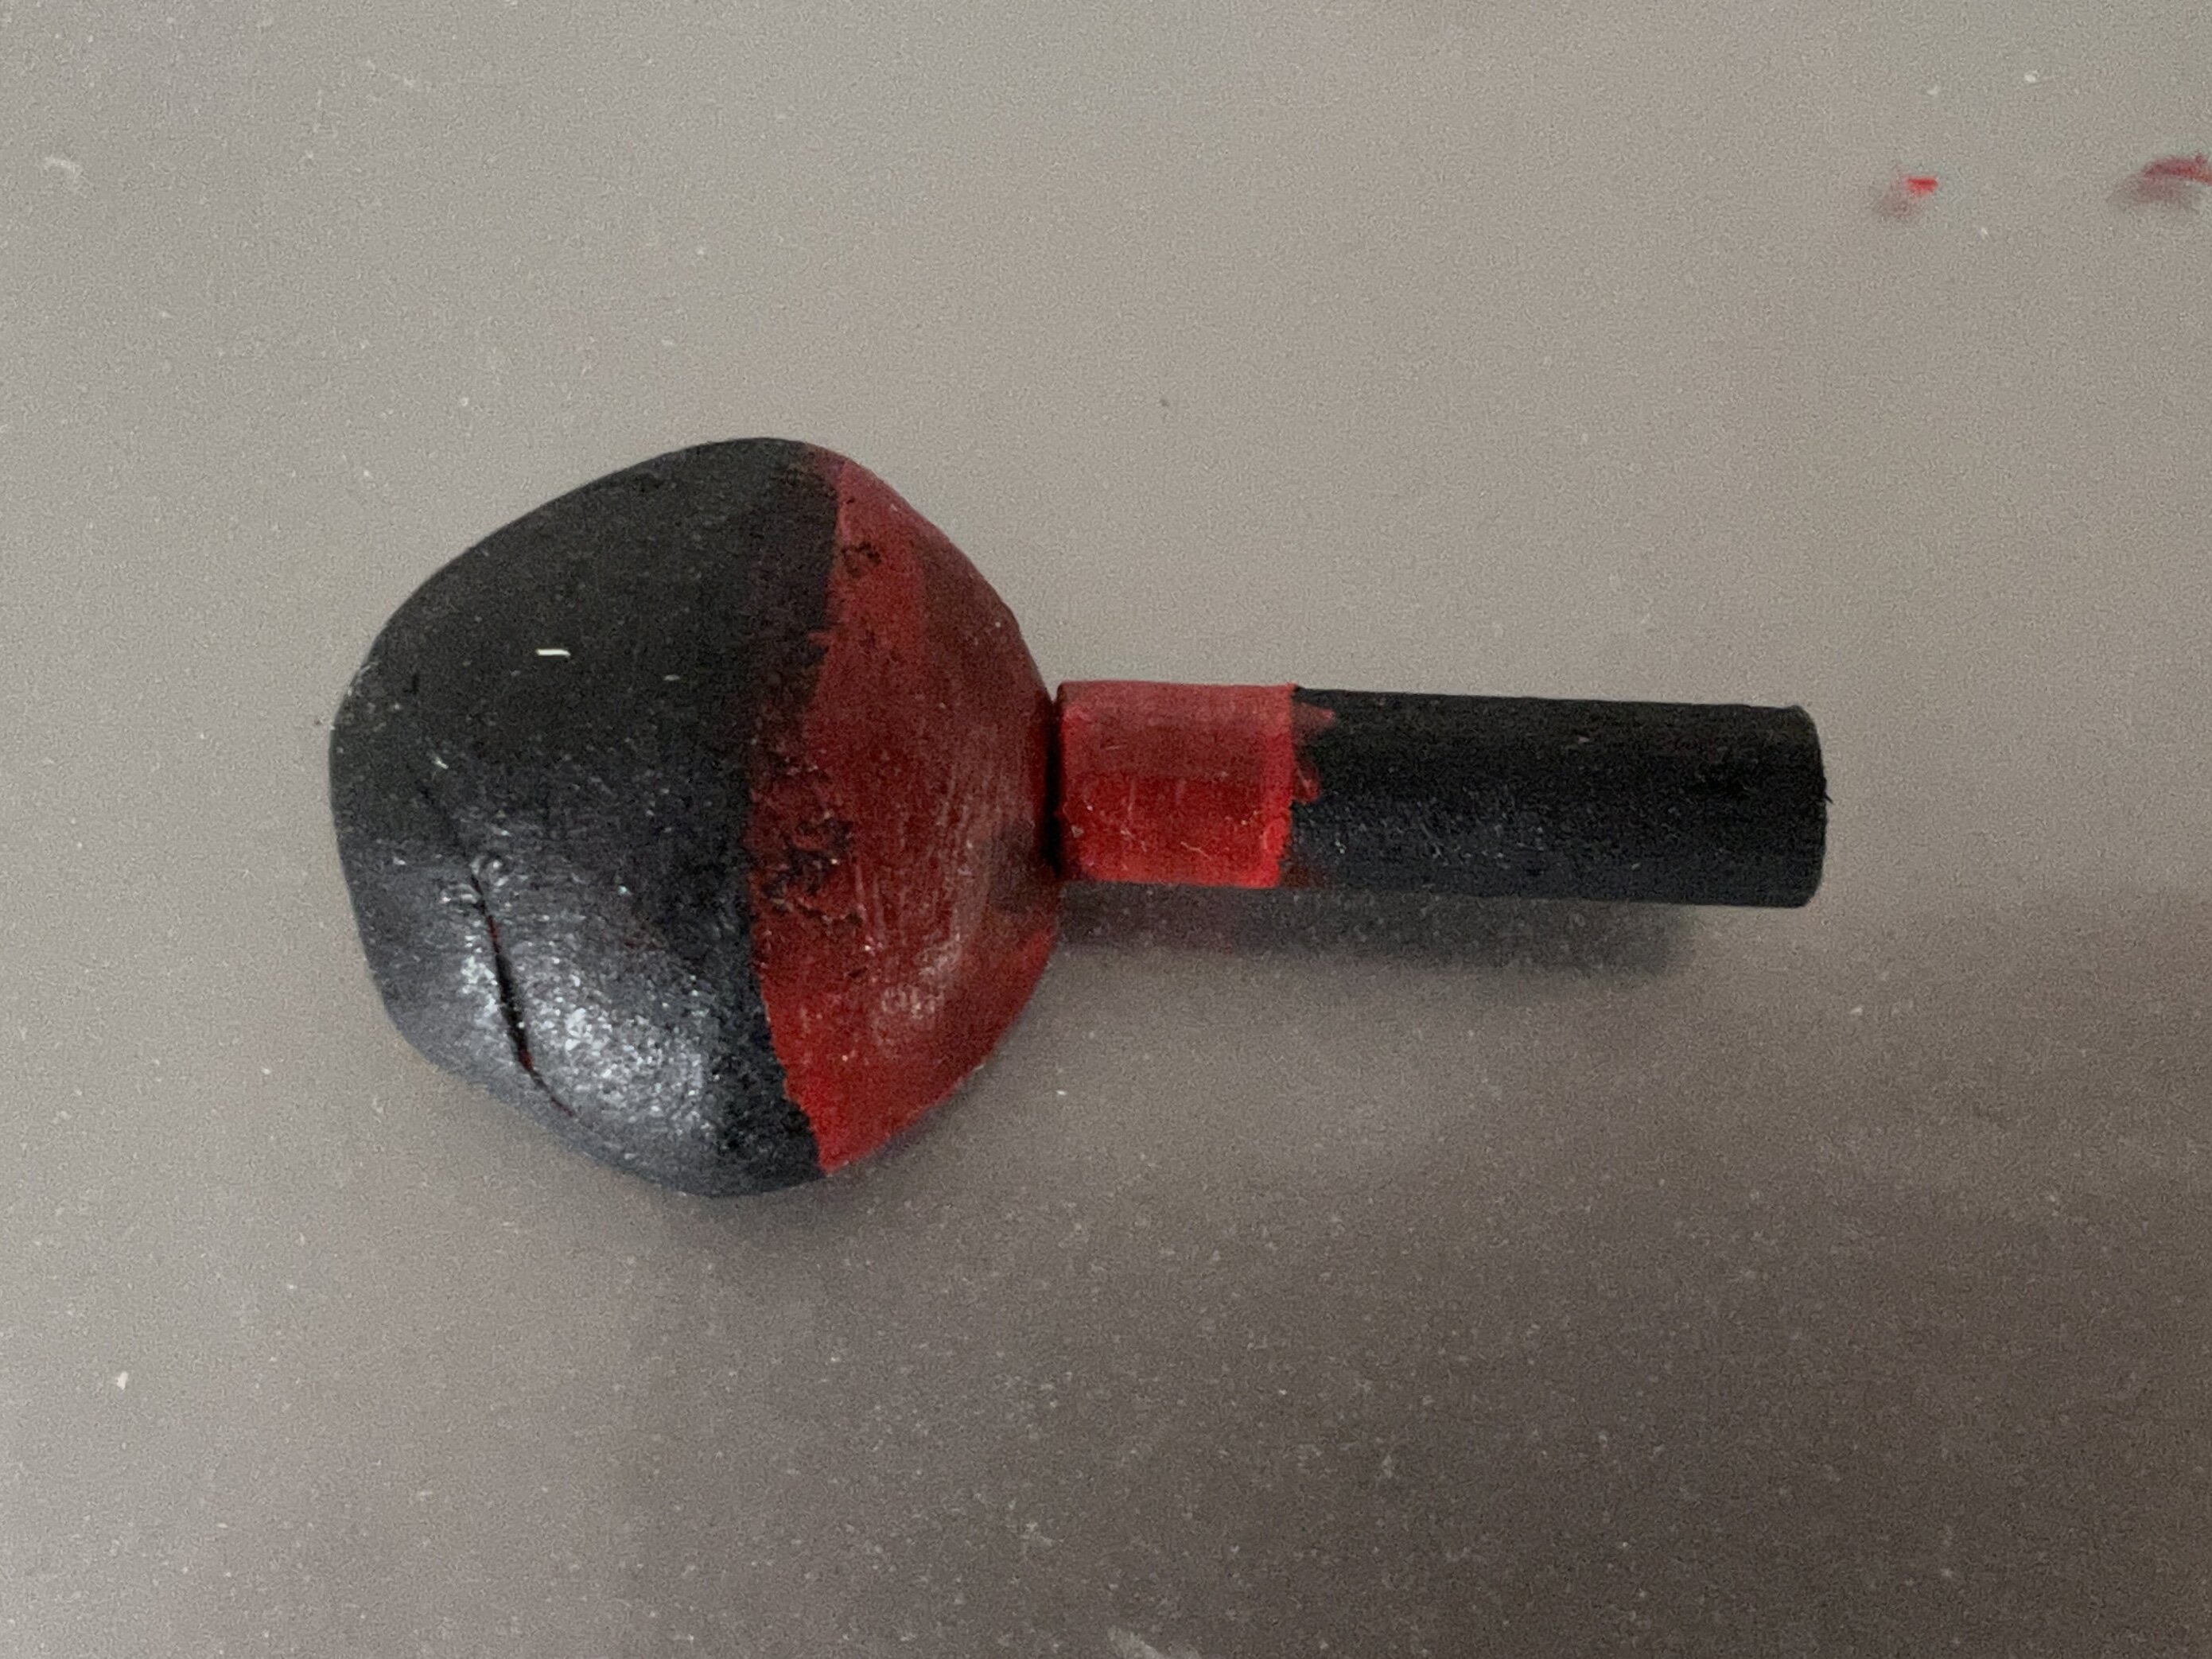
Connecting the clay to a wooden stick, also covered in conductive paint and acrylics.
-
Testing if the clay will work with the circuit. It does!
2.
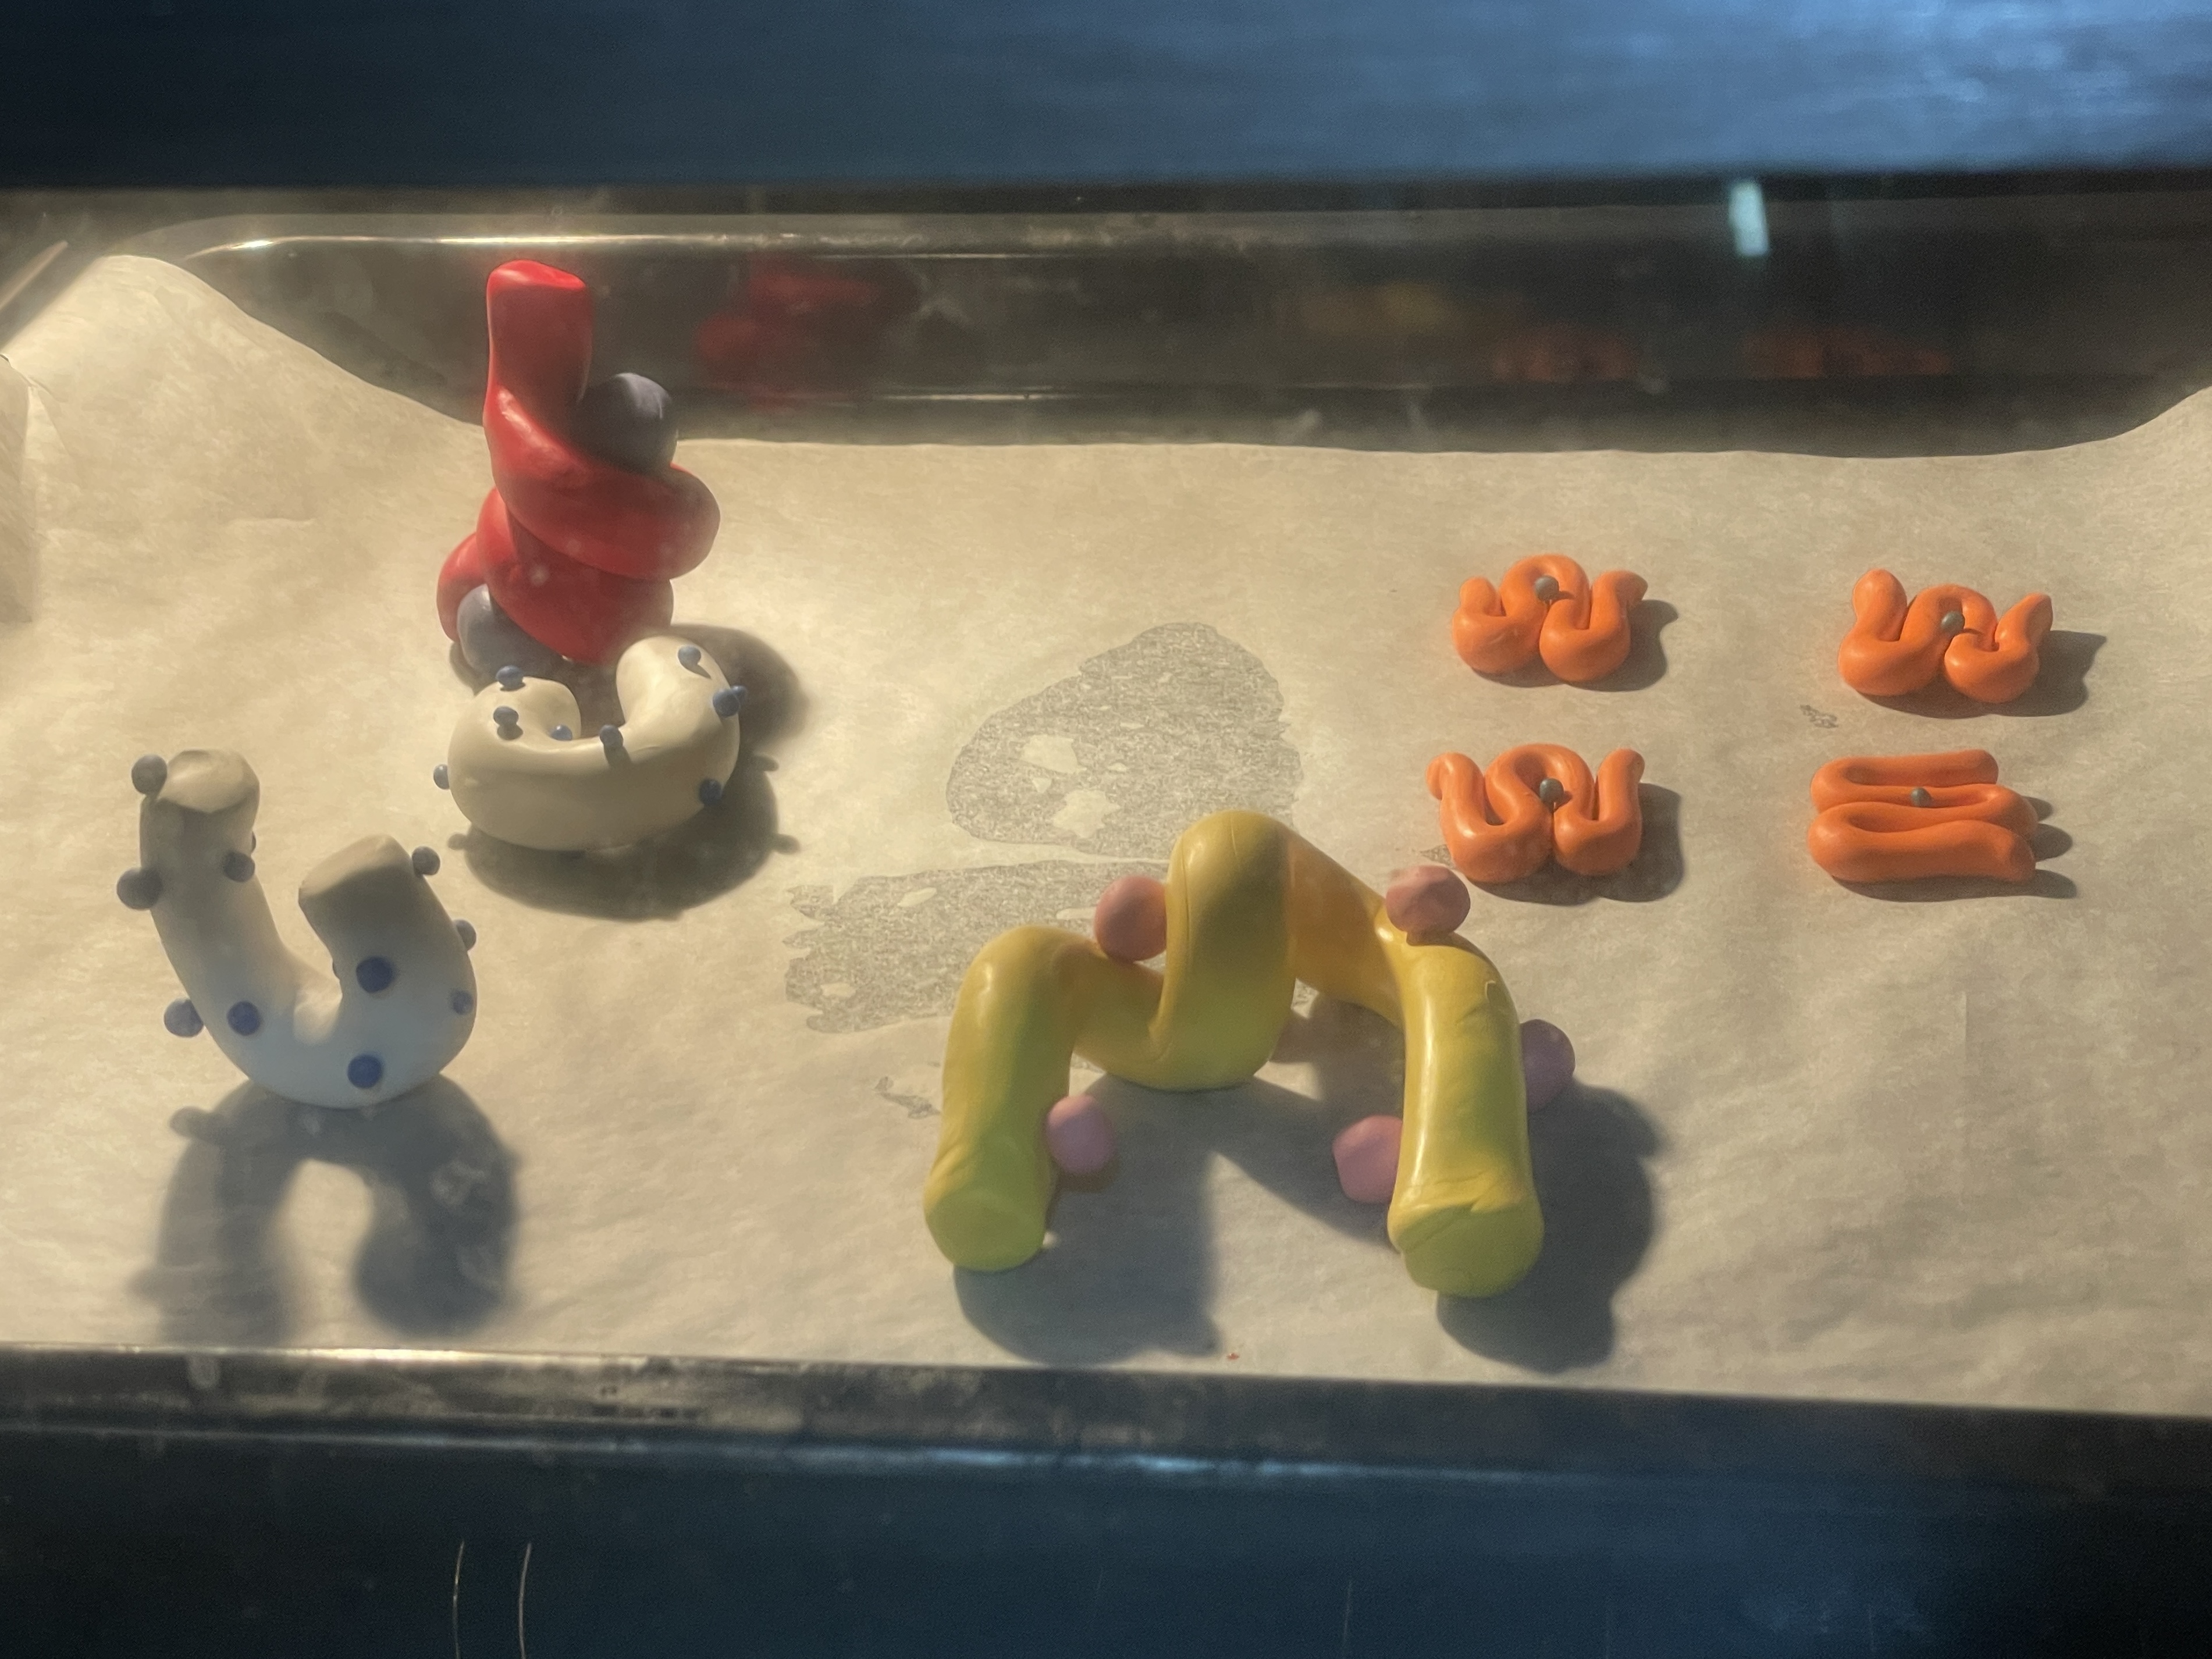
Baking the rest of the clay!
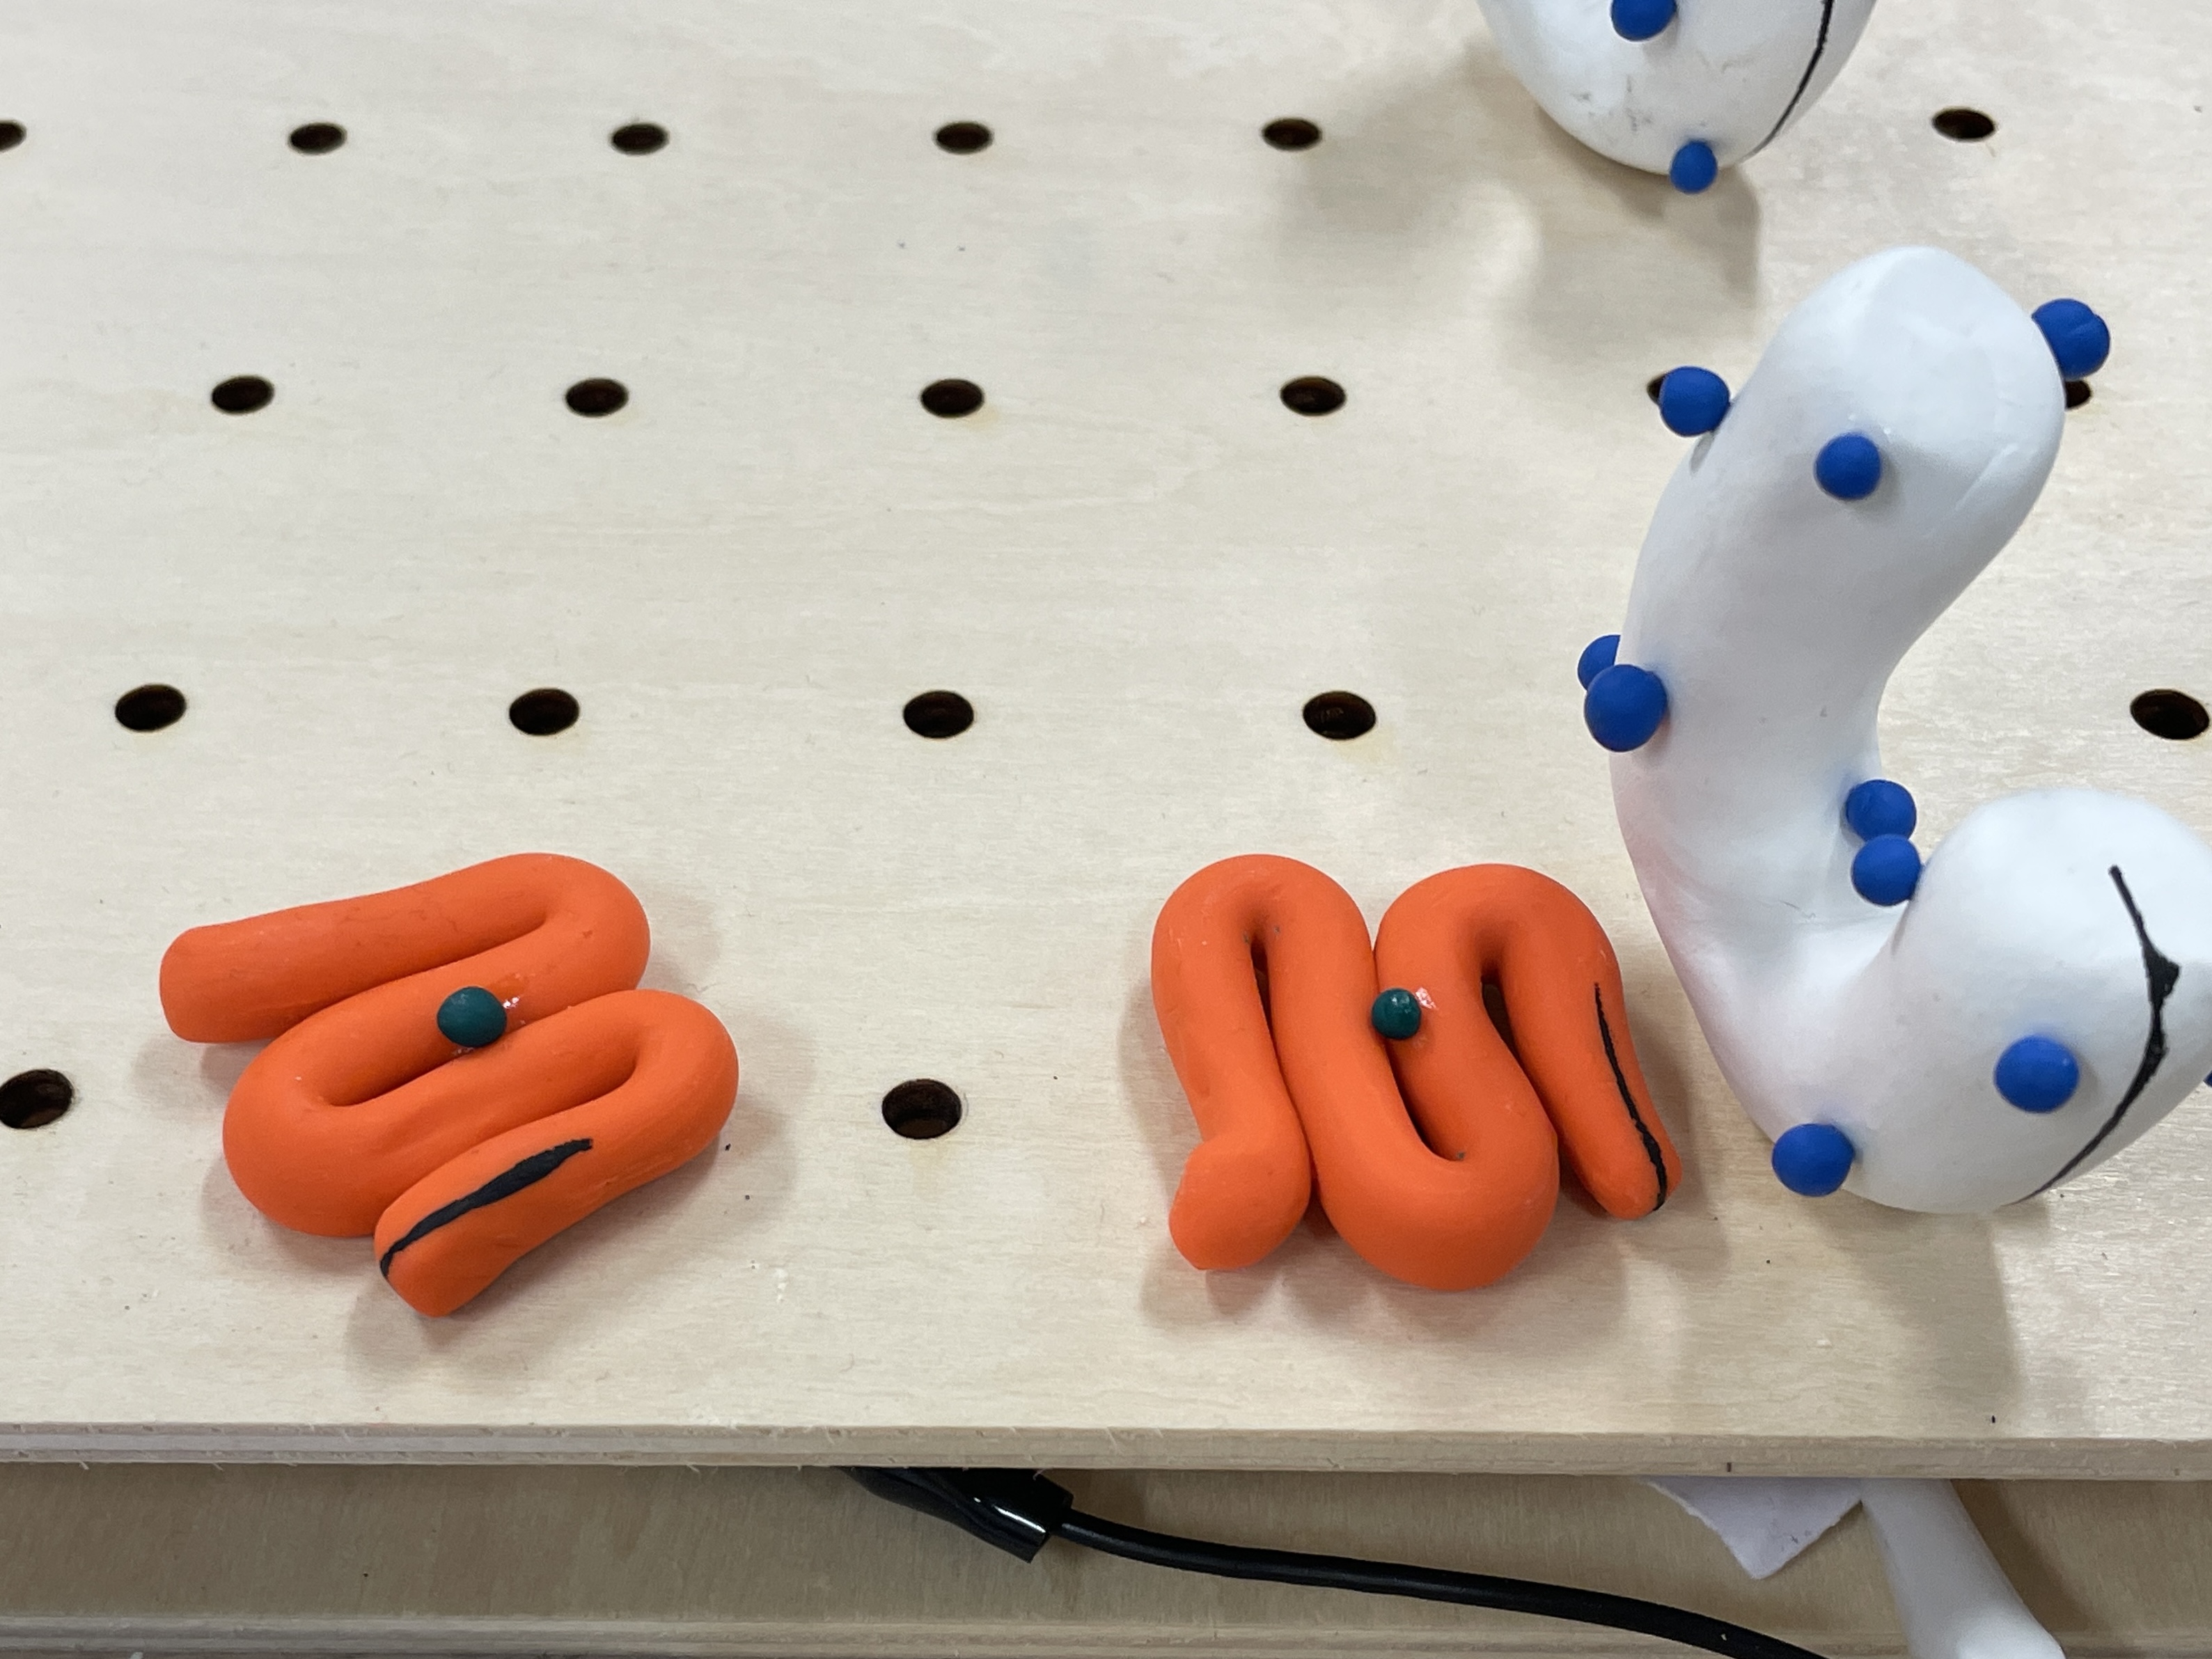
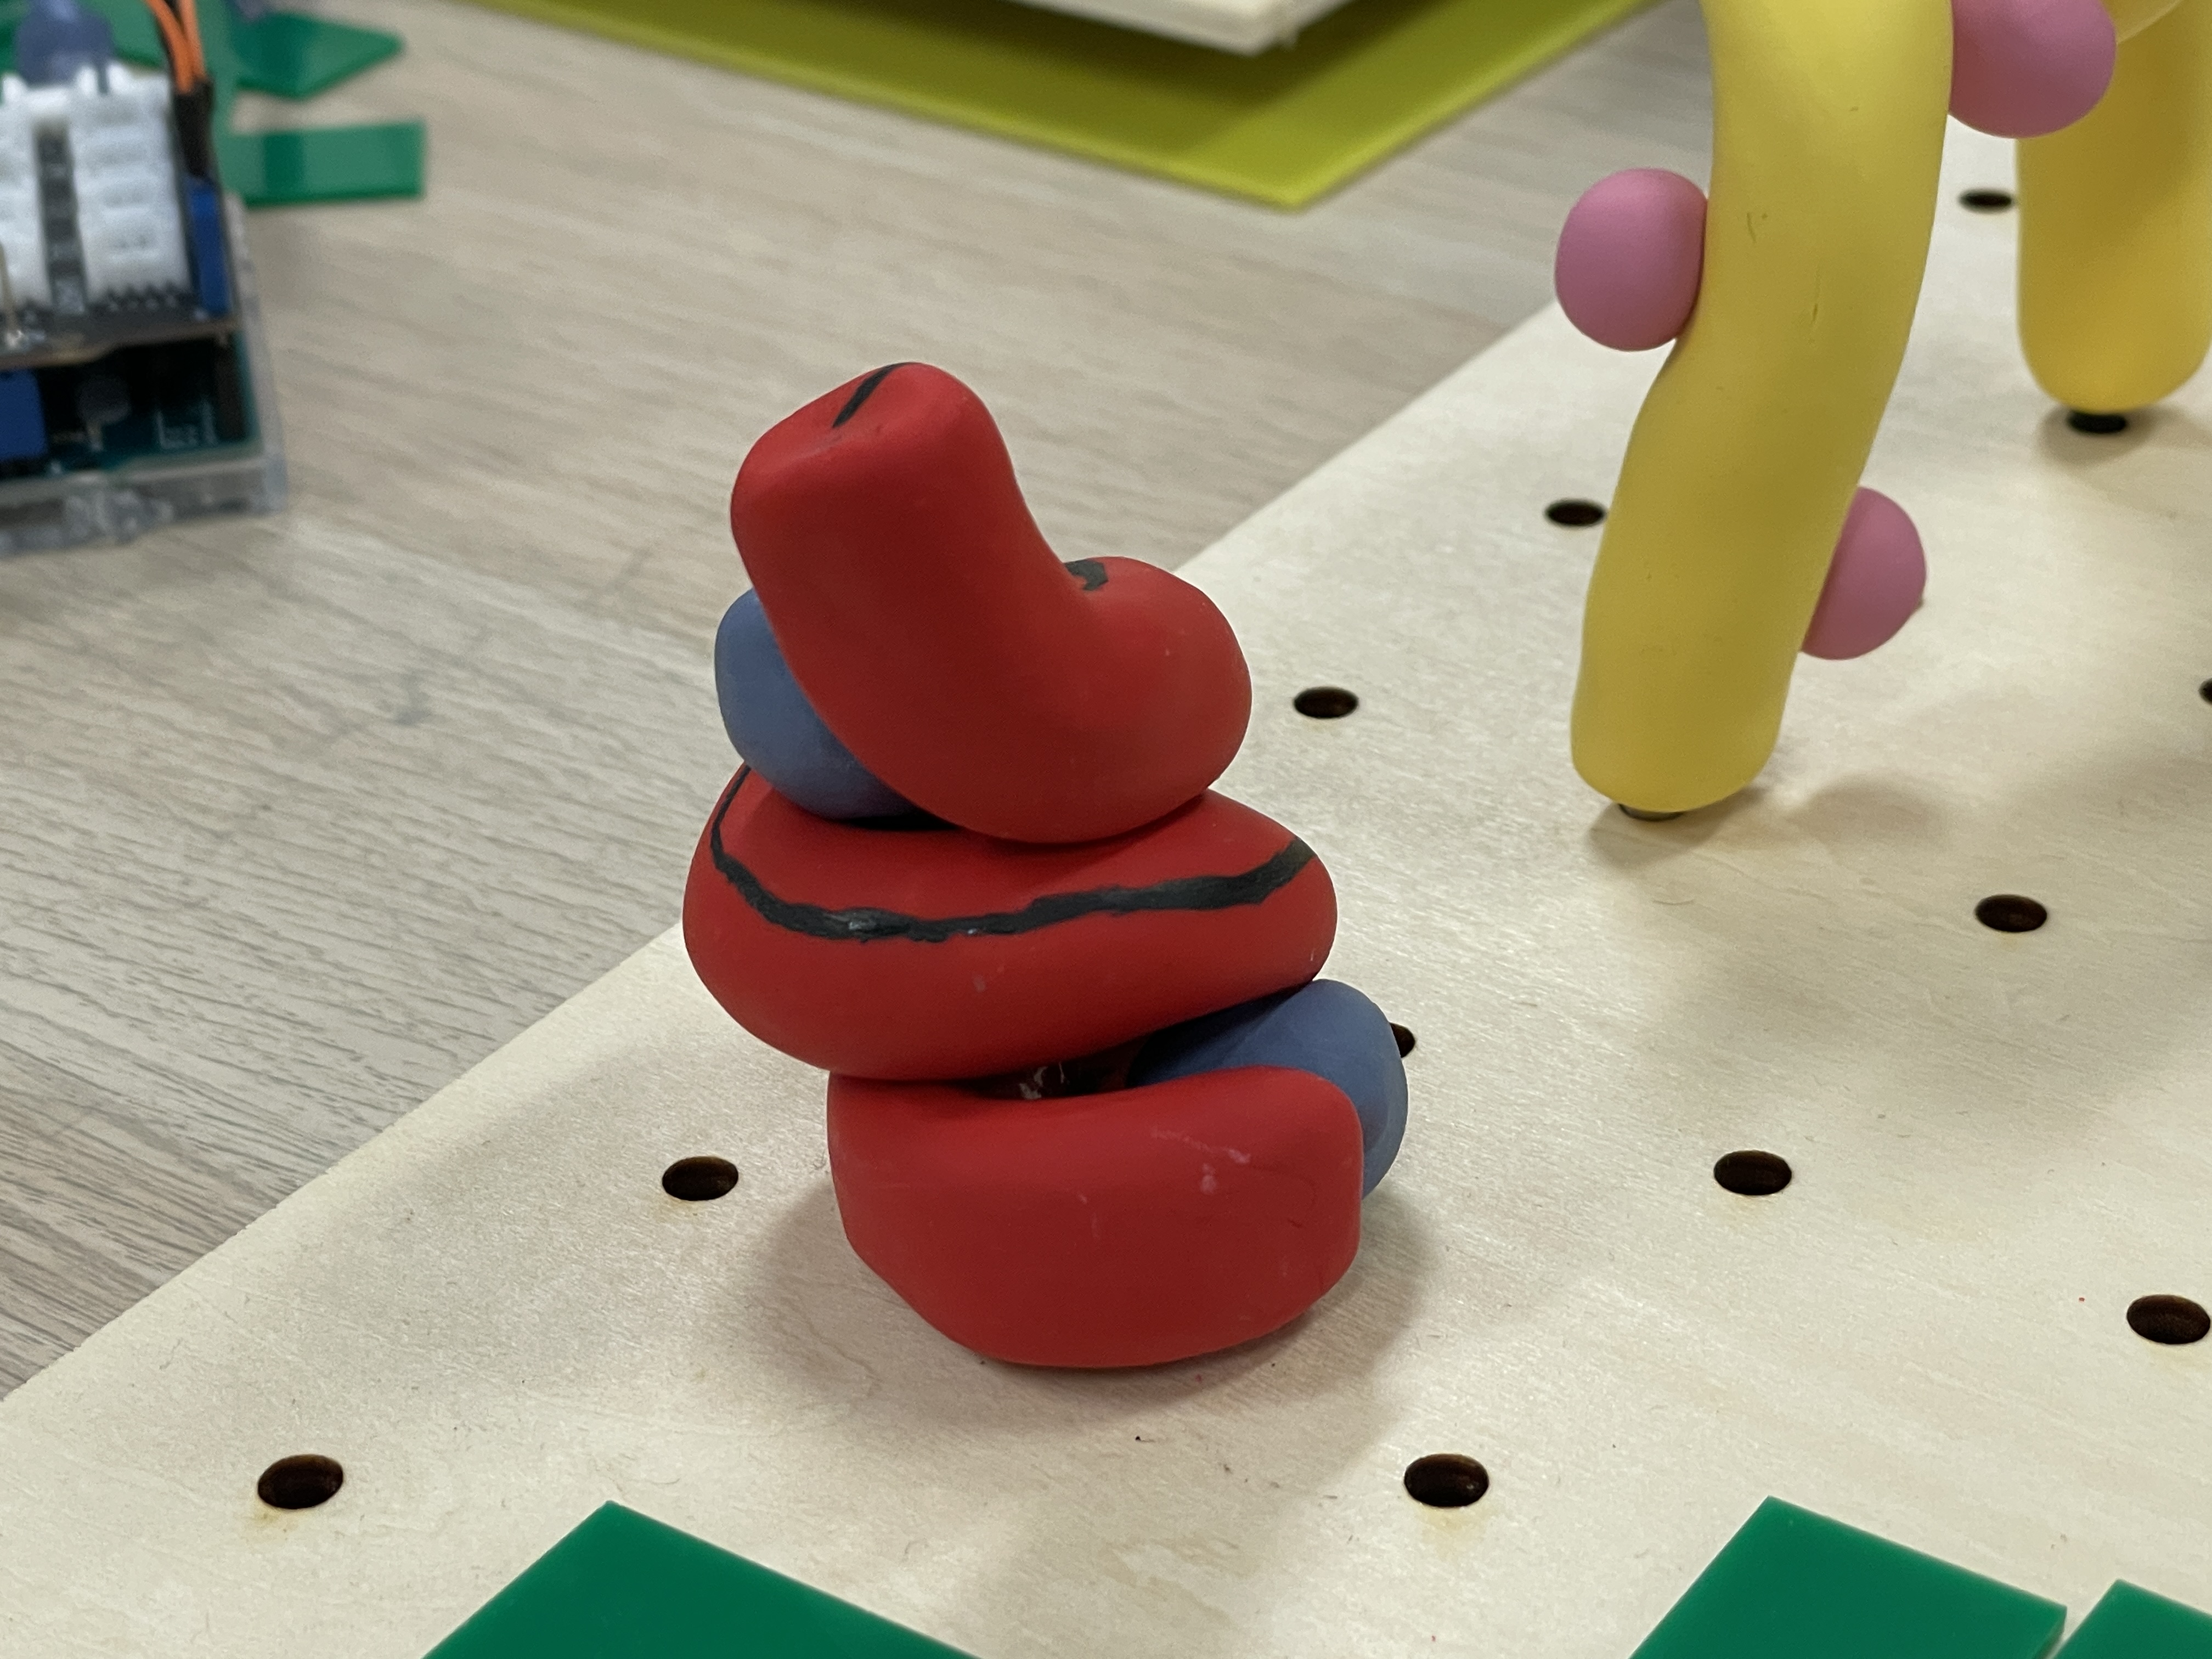
After baking the clay I had to think about how to include the conductive paint to the clay forms. I did not want the conductive to be prominent, which is why I though a thin black strip could be a good solution.
While the black colour is distinct and aids users in knowing where to touch, it does not blend well with the overall design. Additionally, the size of the strip is small.
Maybe applying conductive paint to a larger area would be more effective?
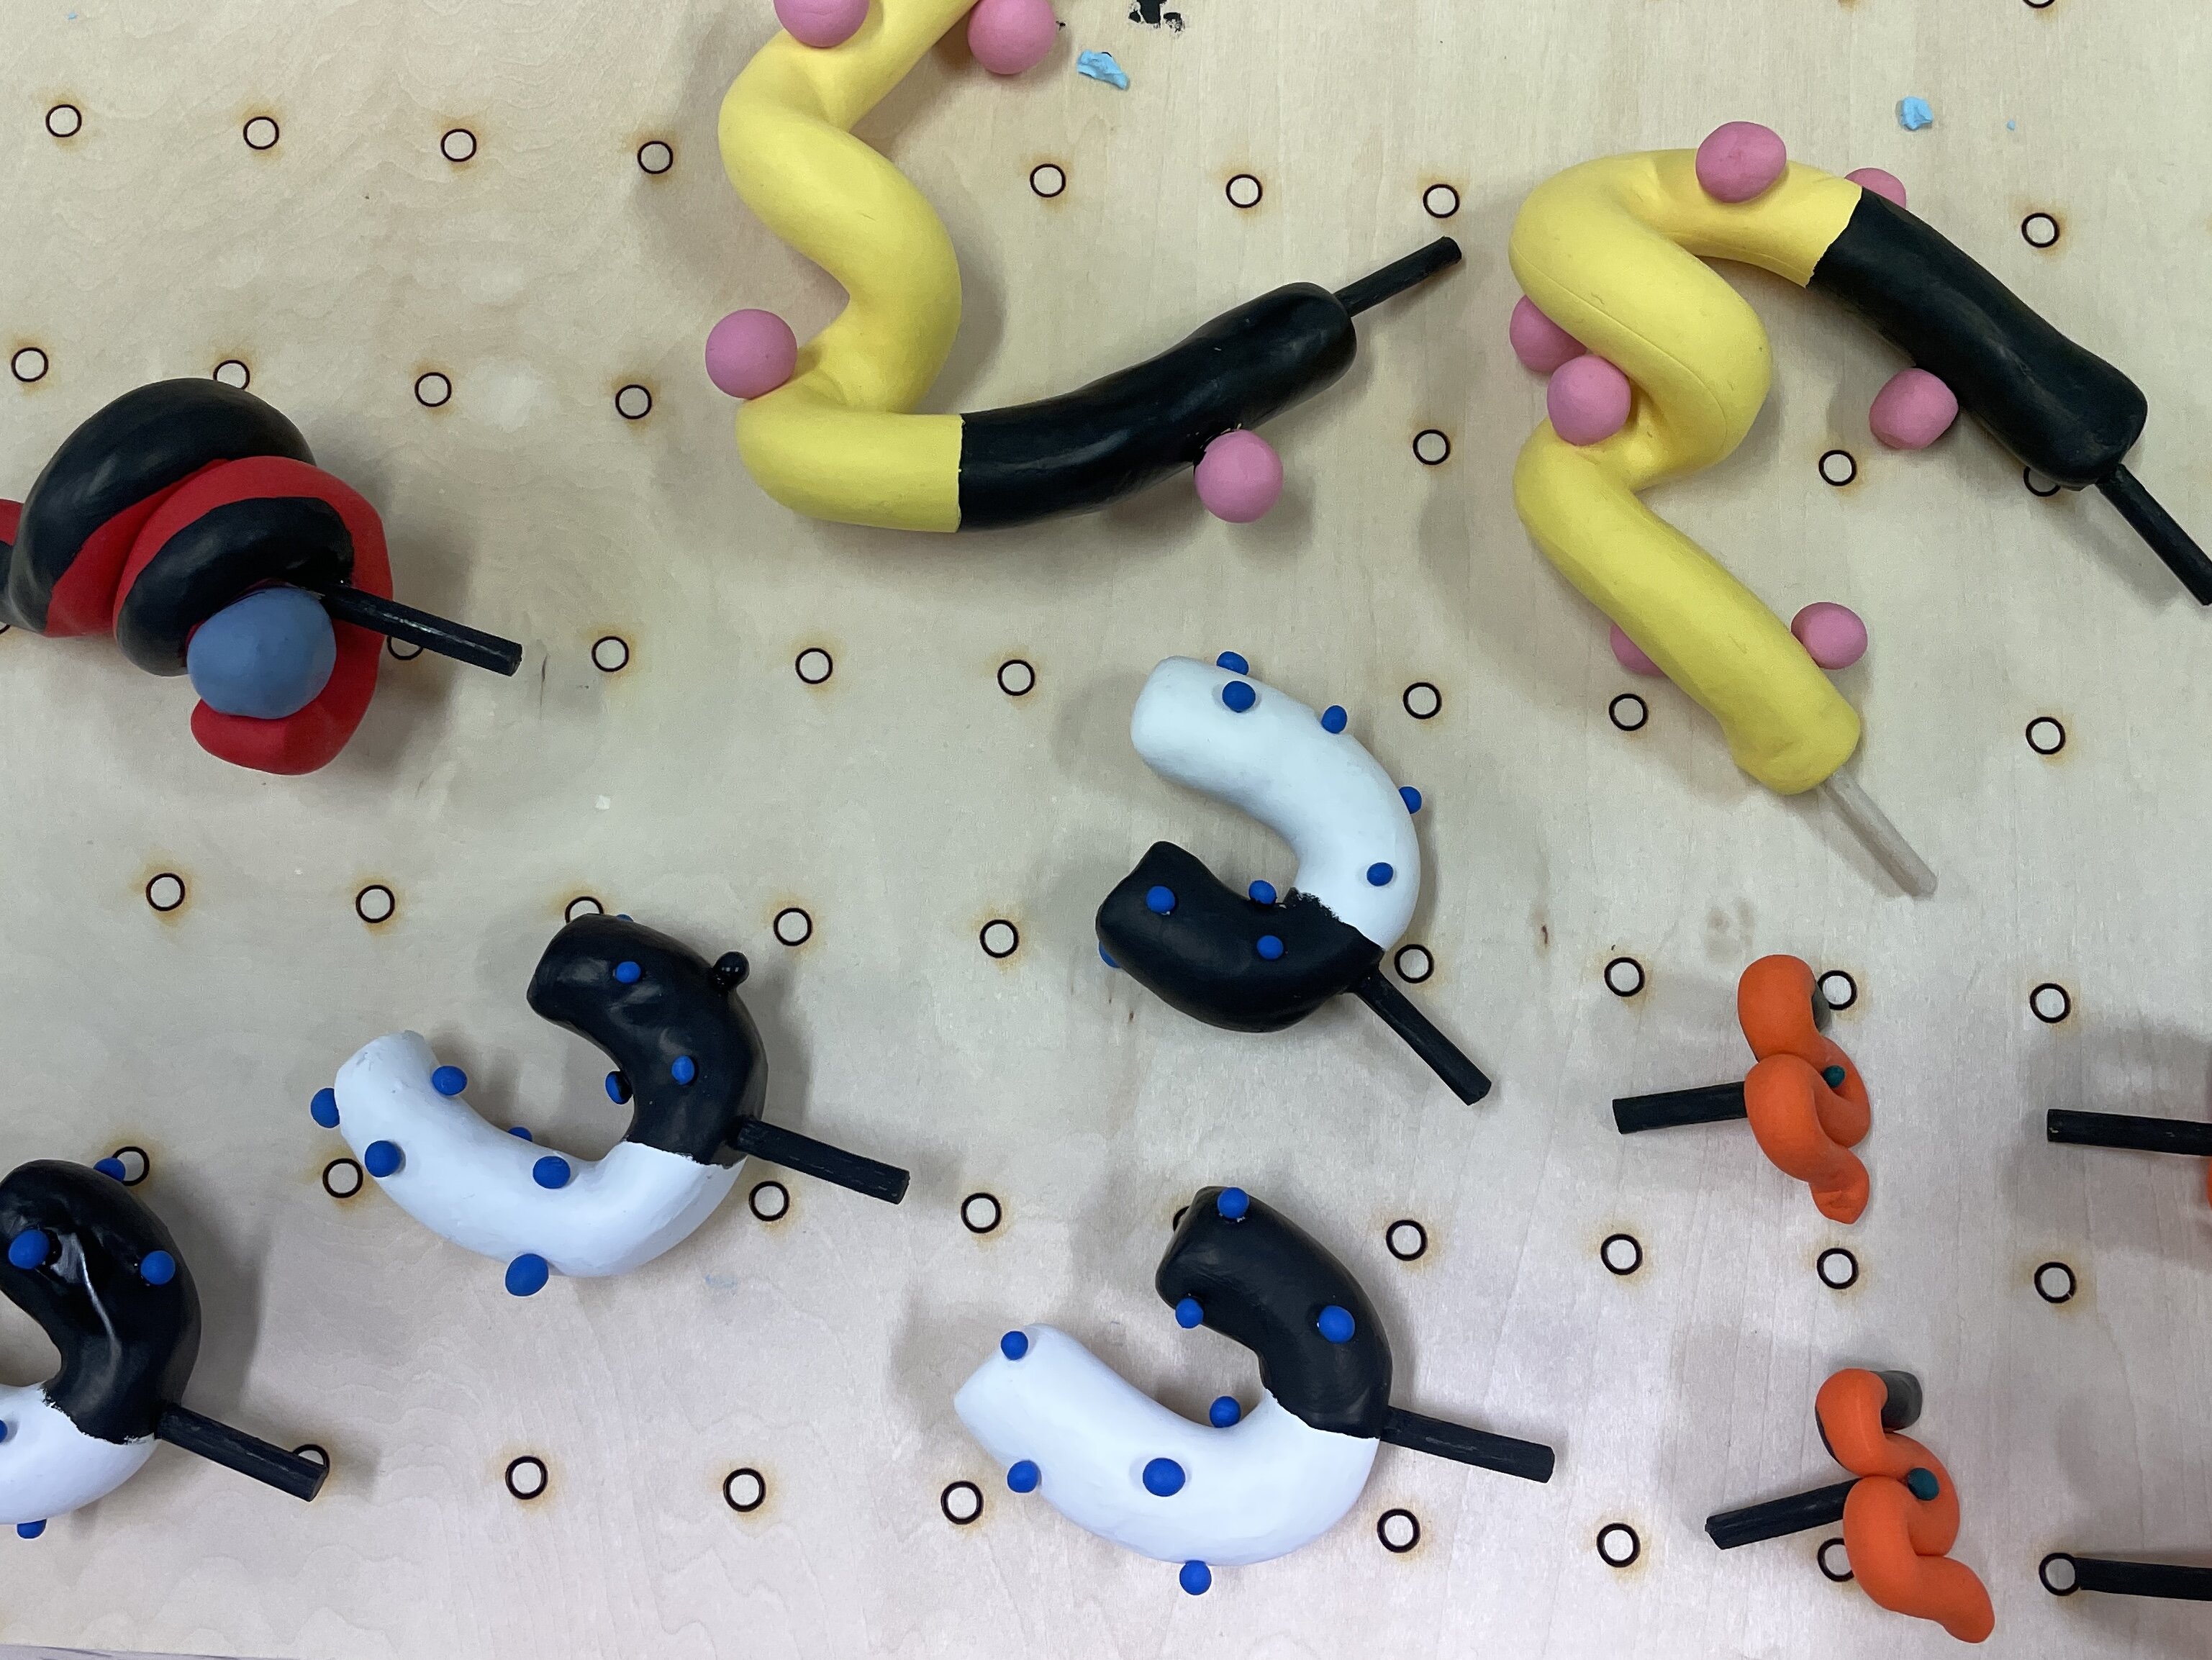
Process. Covering half of the objects in conductive paint.

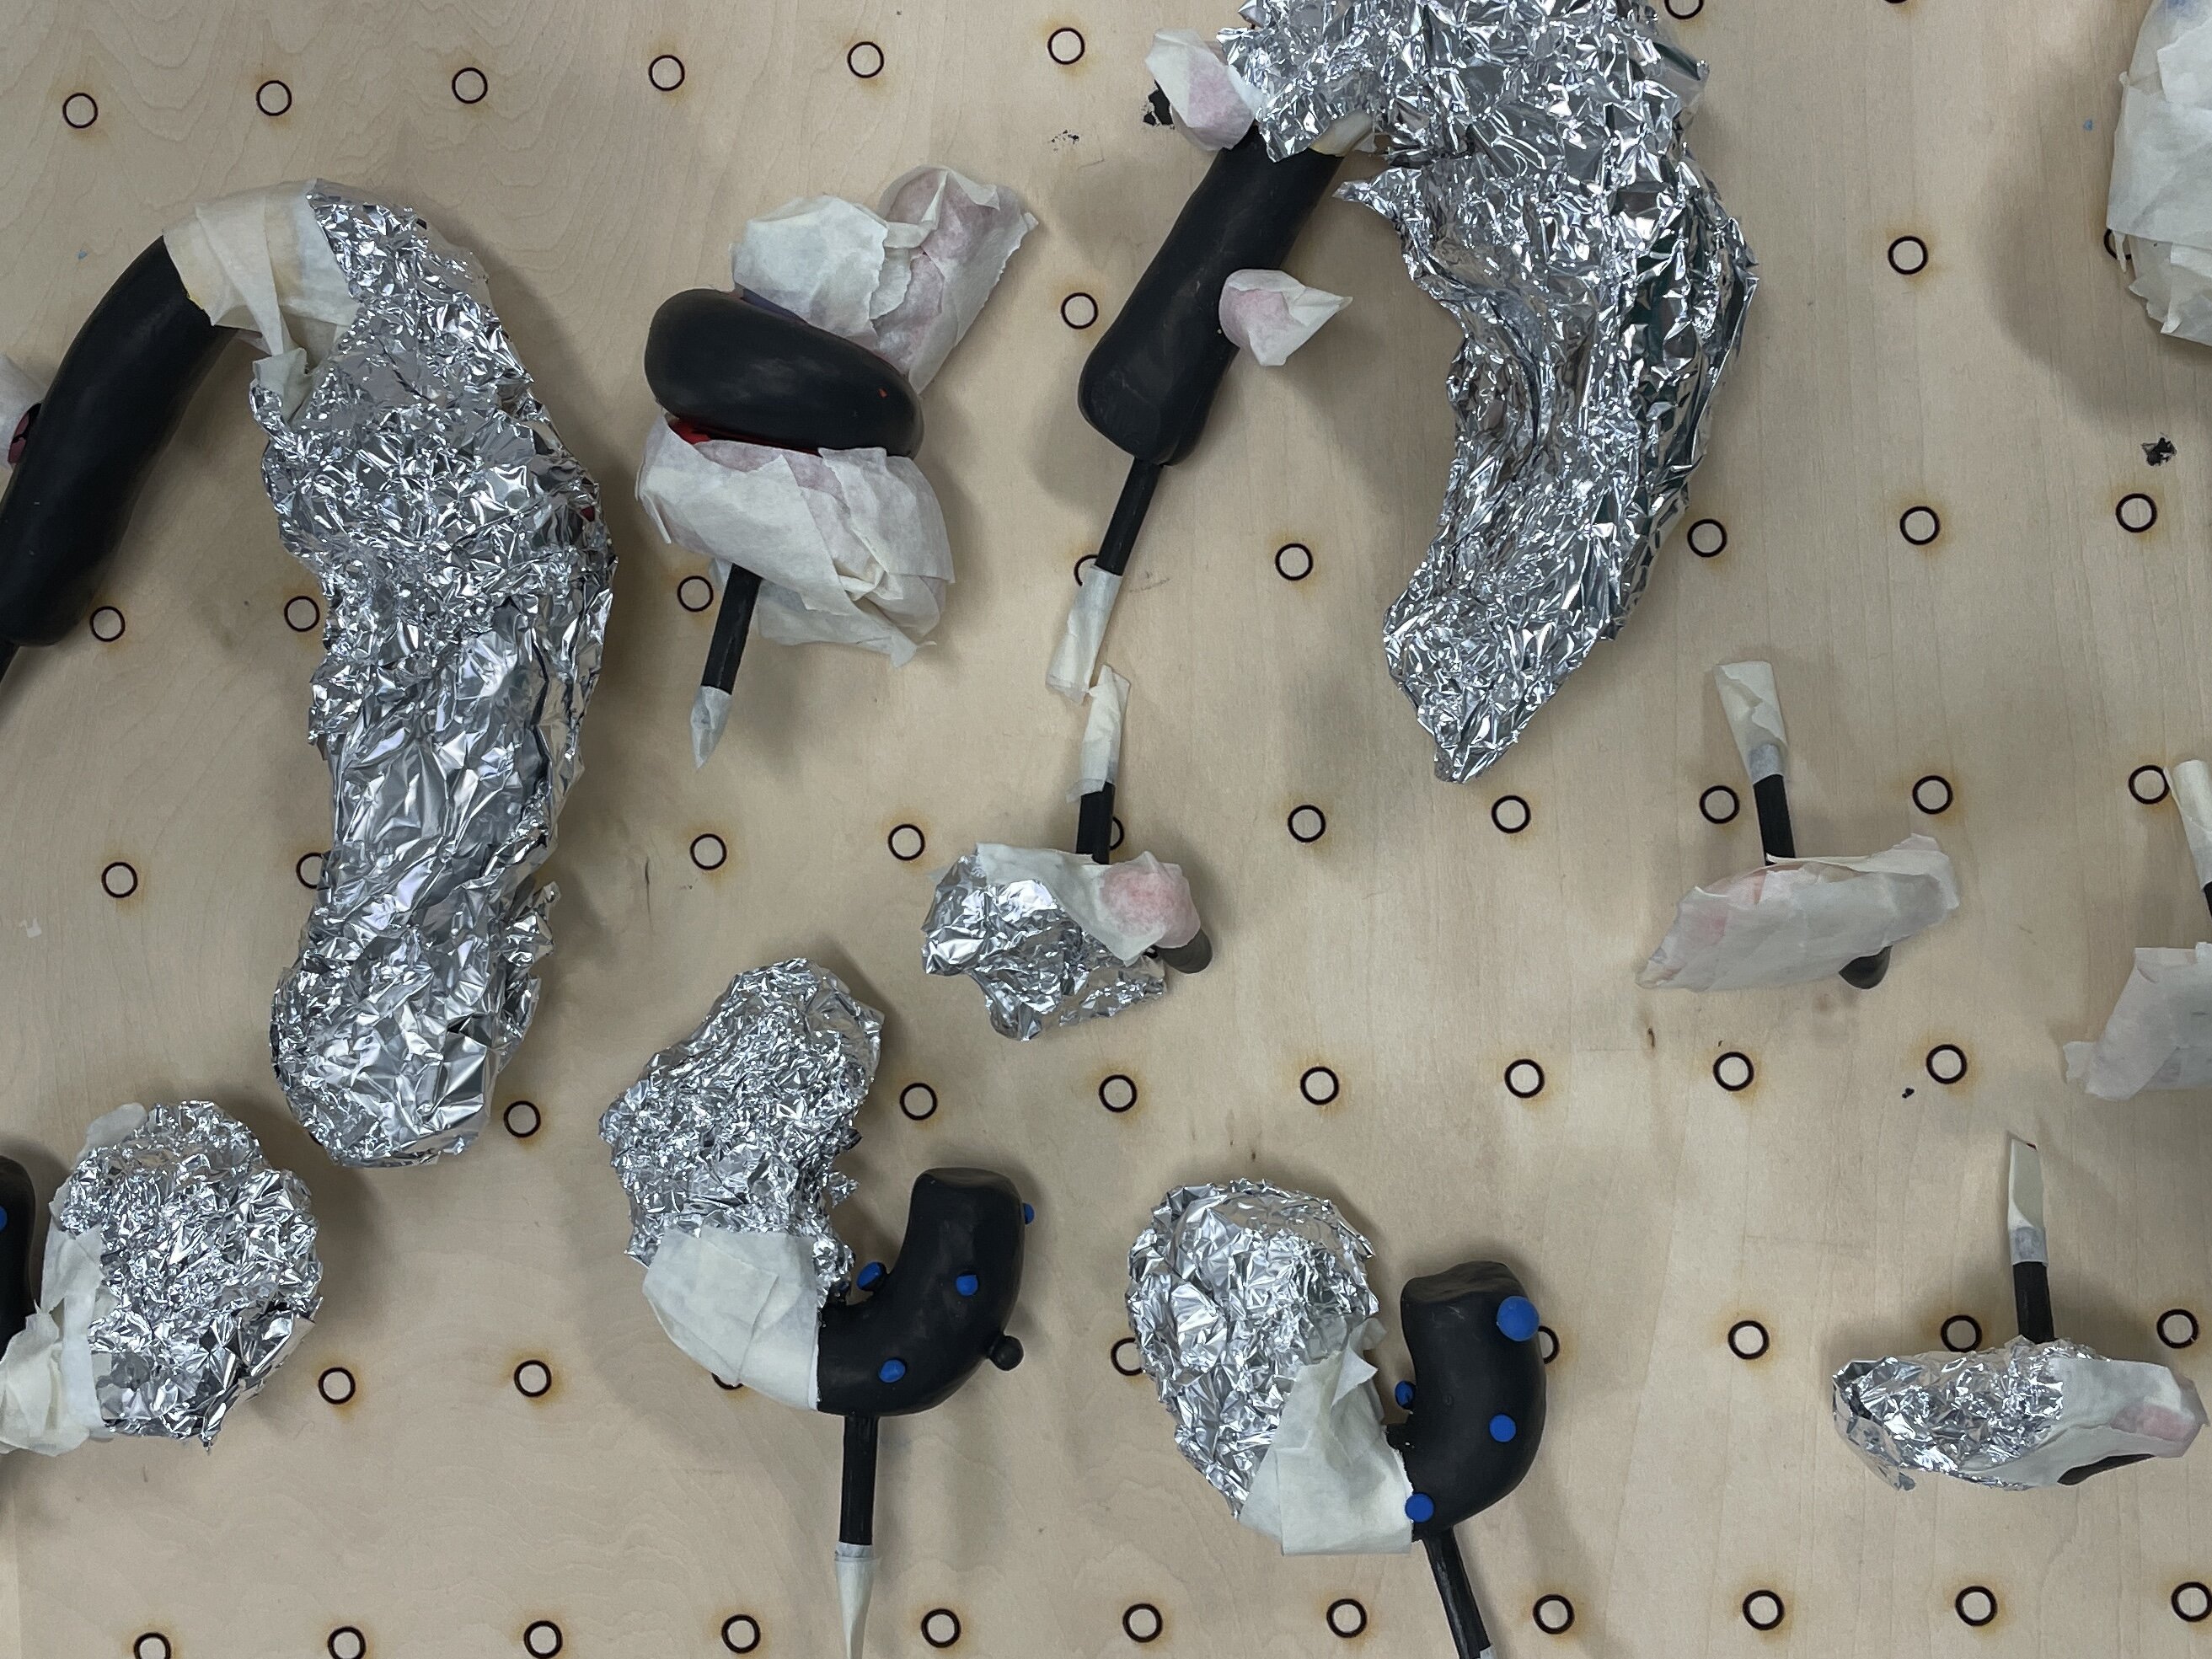
Process. Spraying the layer with conductive paint with acrylic varnish spray to seal it.

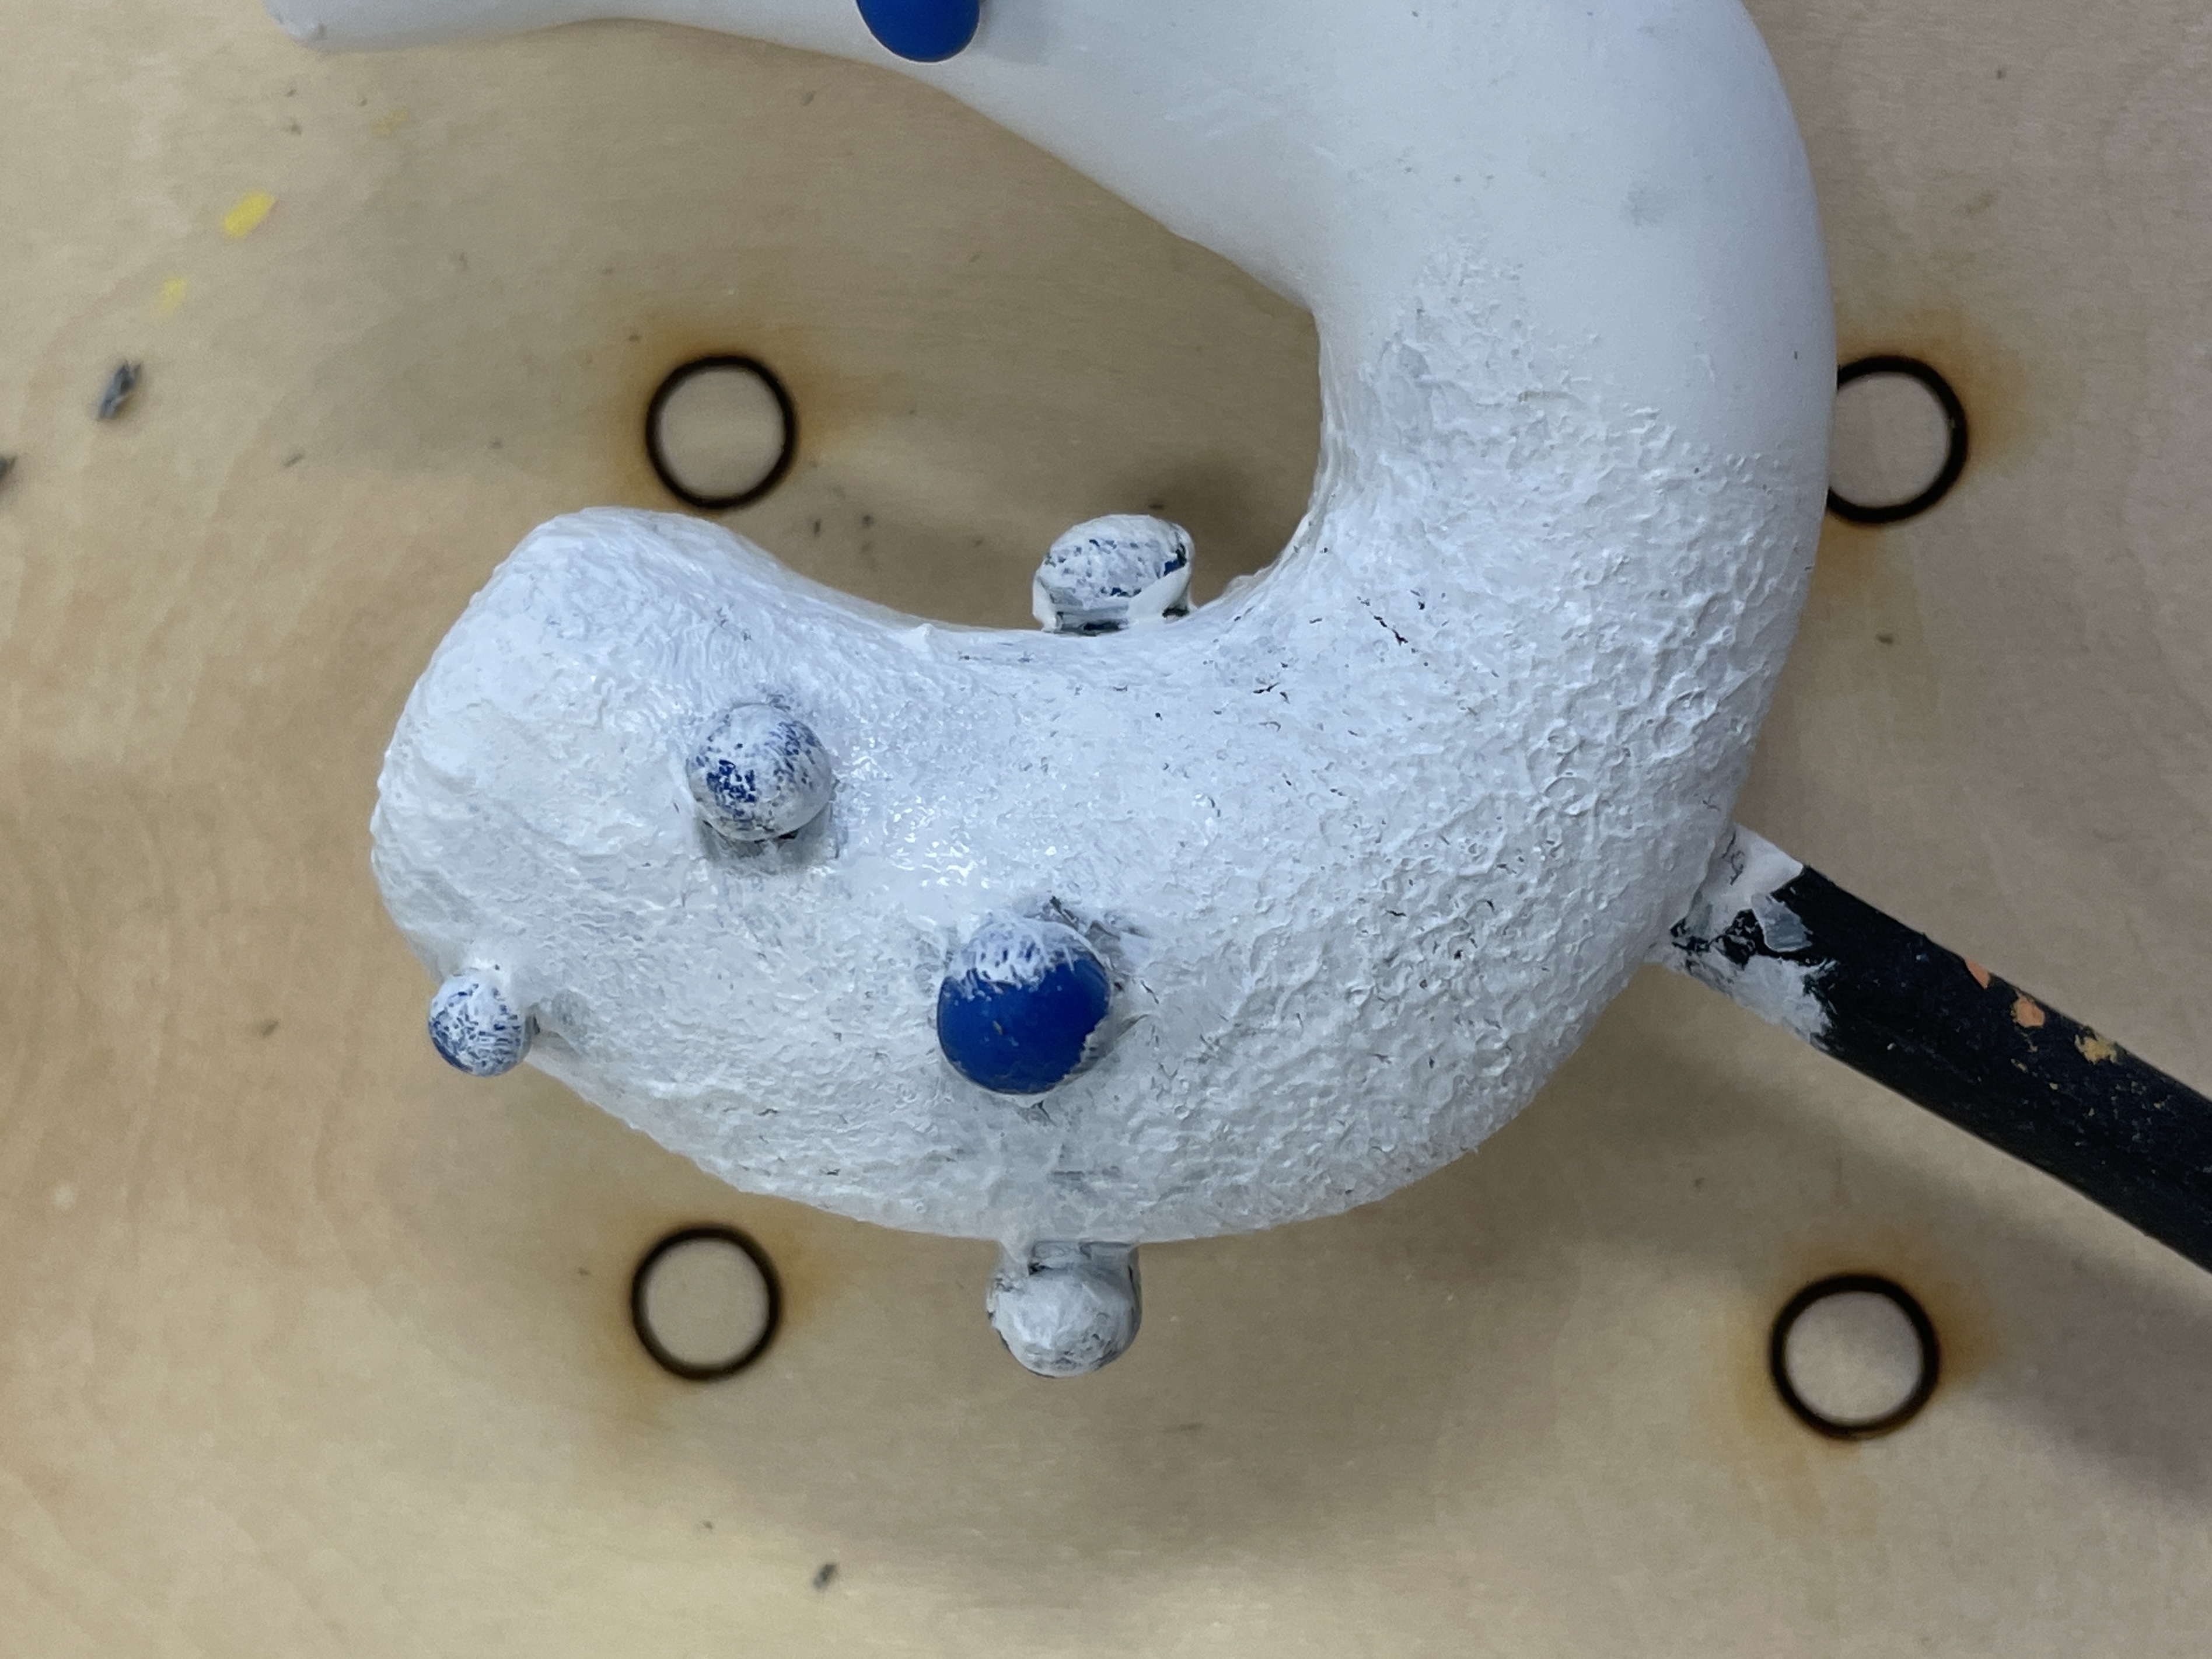
Process. Three layers of acrylic paint painted on top of the conductive paint and acrylic varnish spray.
A challenge was, despite using the acrylic varnish spray, the conductive
paint would mix together with the acrylic paint. This was frustrating, as I thought the objects would
turn out black, and potentially affect the conductivity as well. After allowing the acrylic paint to
dry, I added more layers until the black would not show.
Another challenge with this method is the presence of cracks on the objects. However, it is fortunate
that despite this issue, the objects work properly with the board and respond to touch.
-
The balls also fall of easily...
-
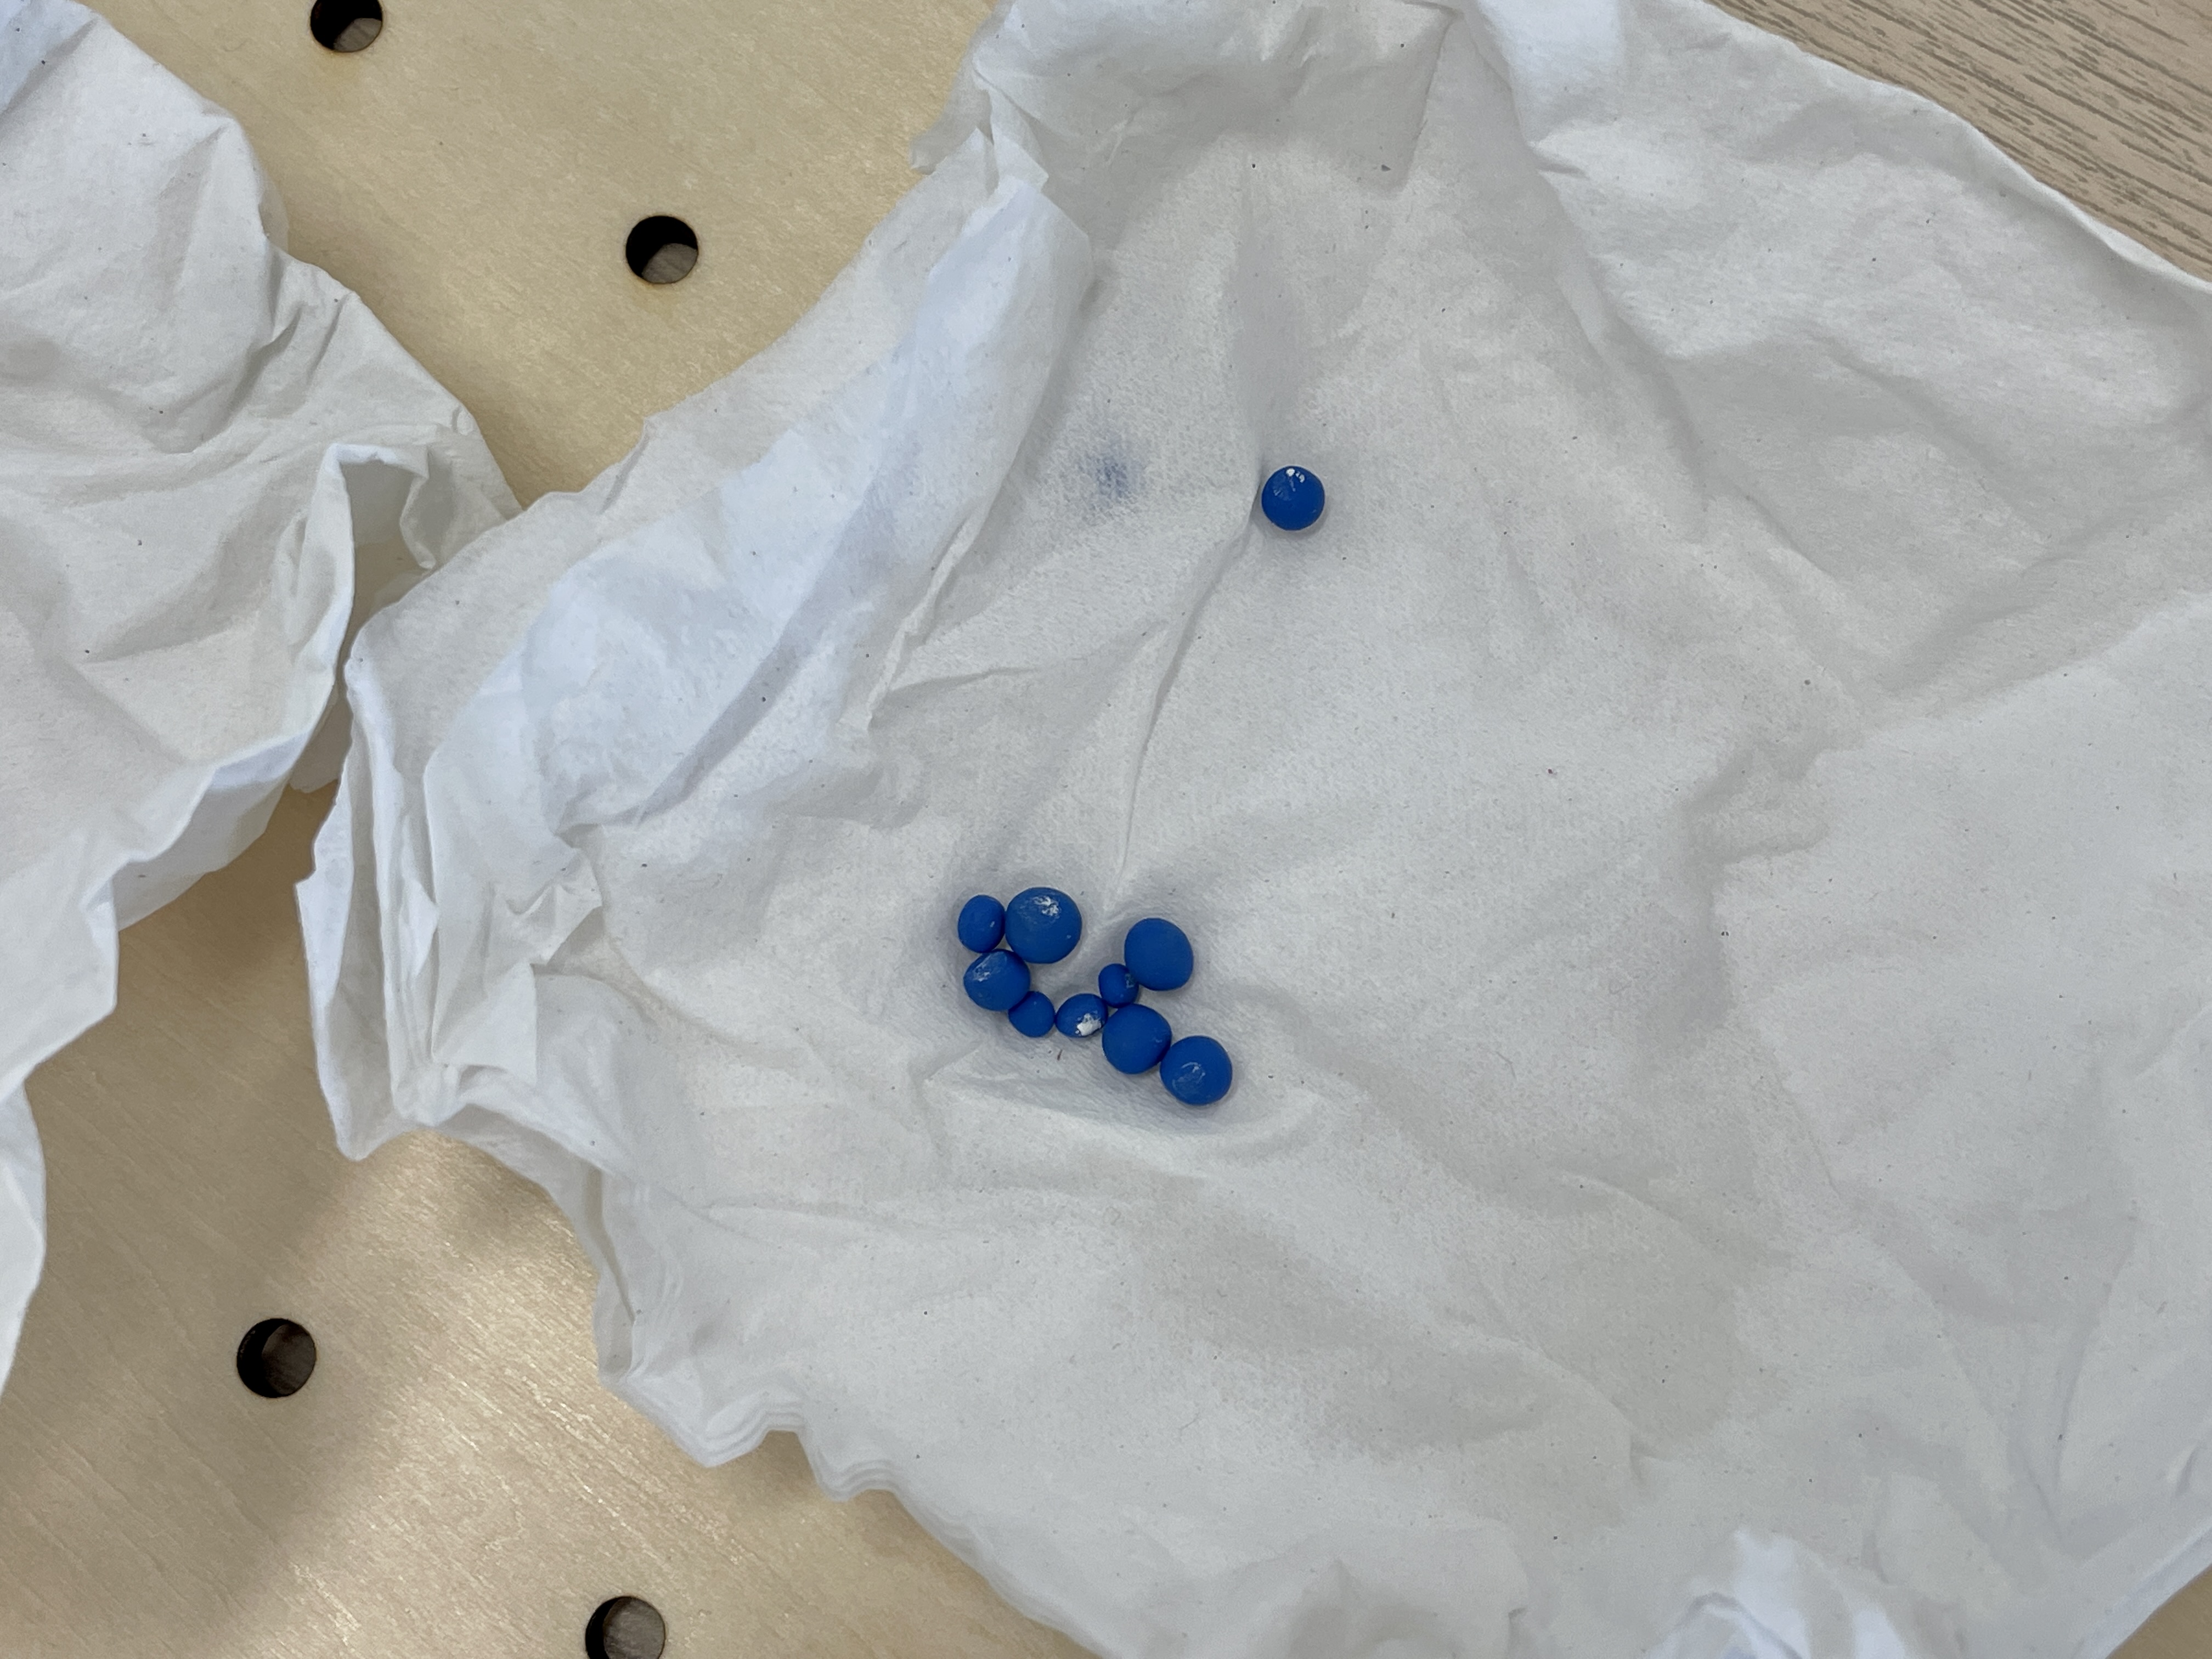
However, the texture where the conductivity is applied differs from that of the clay, which may help users identify where to touch on the objects. I will observe this during Open Studio.
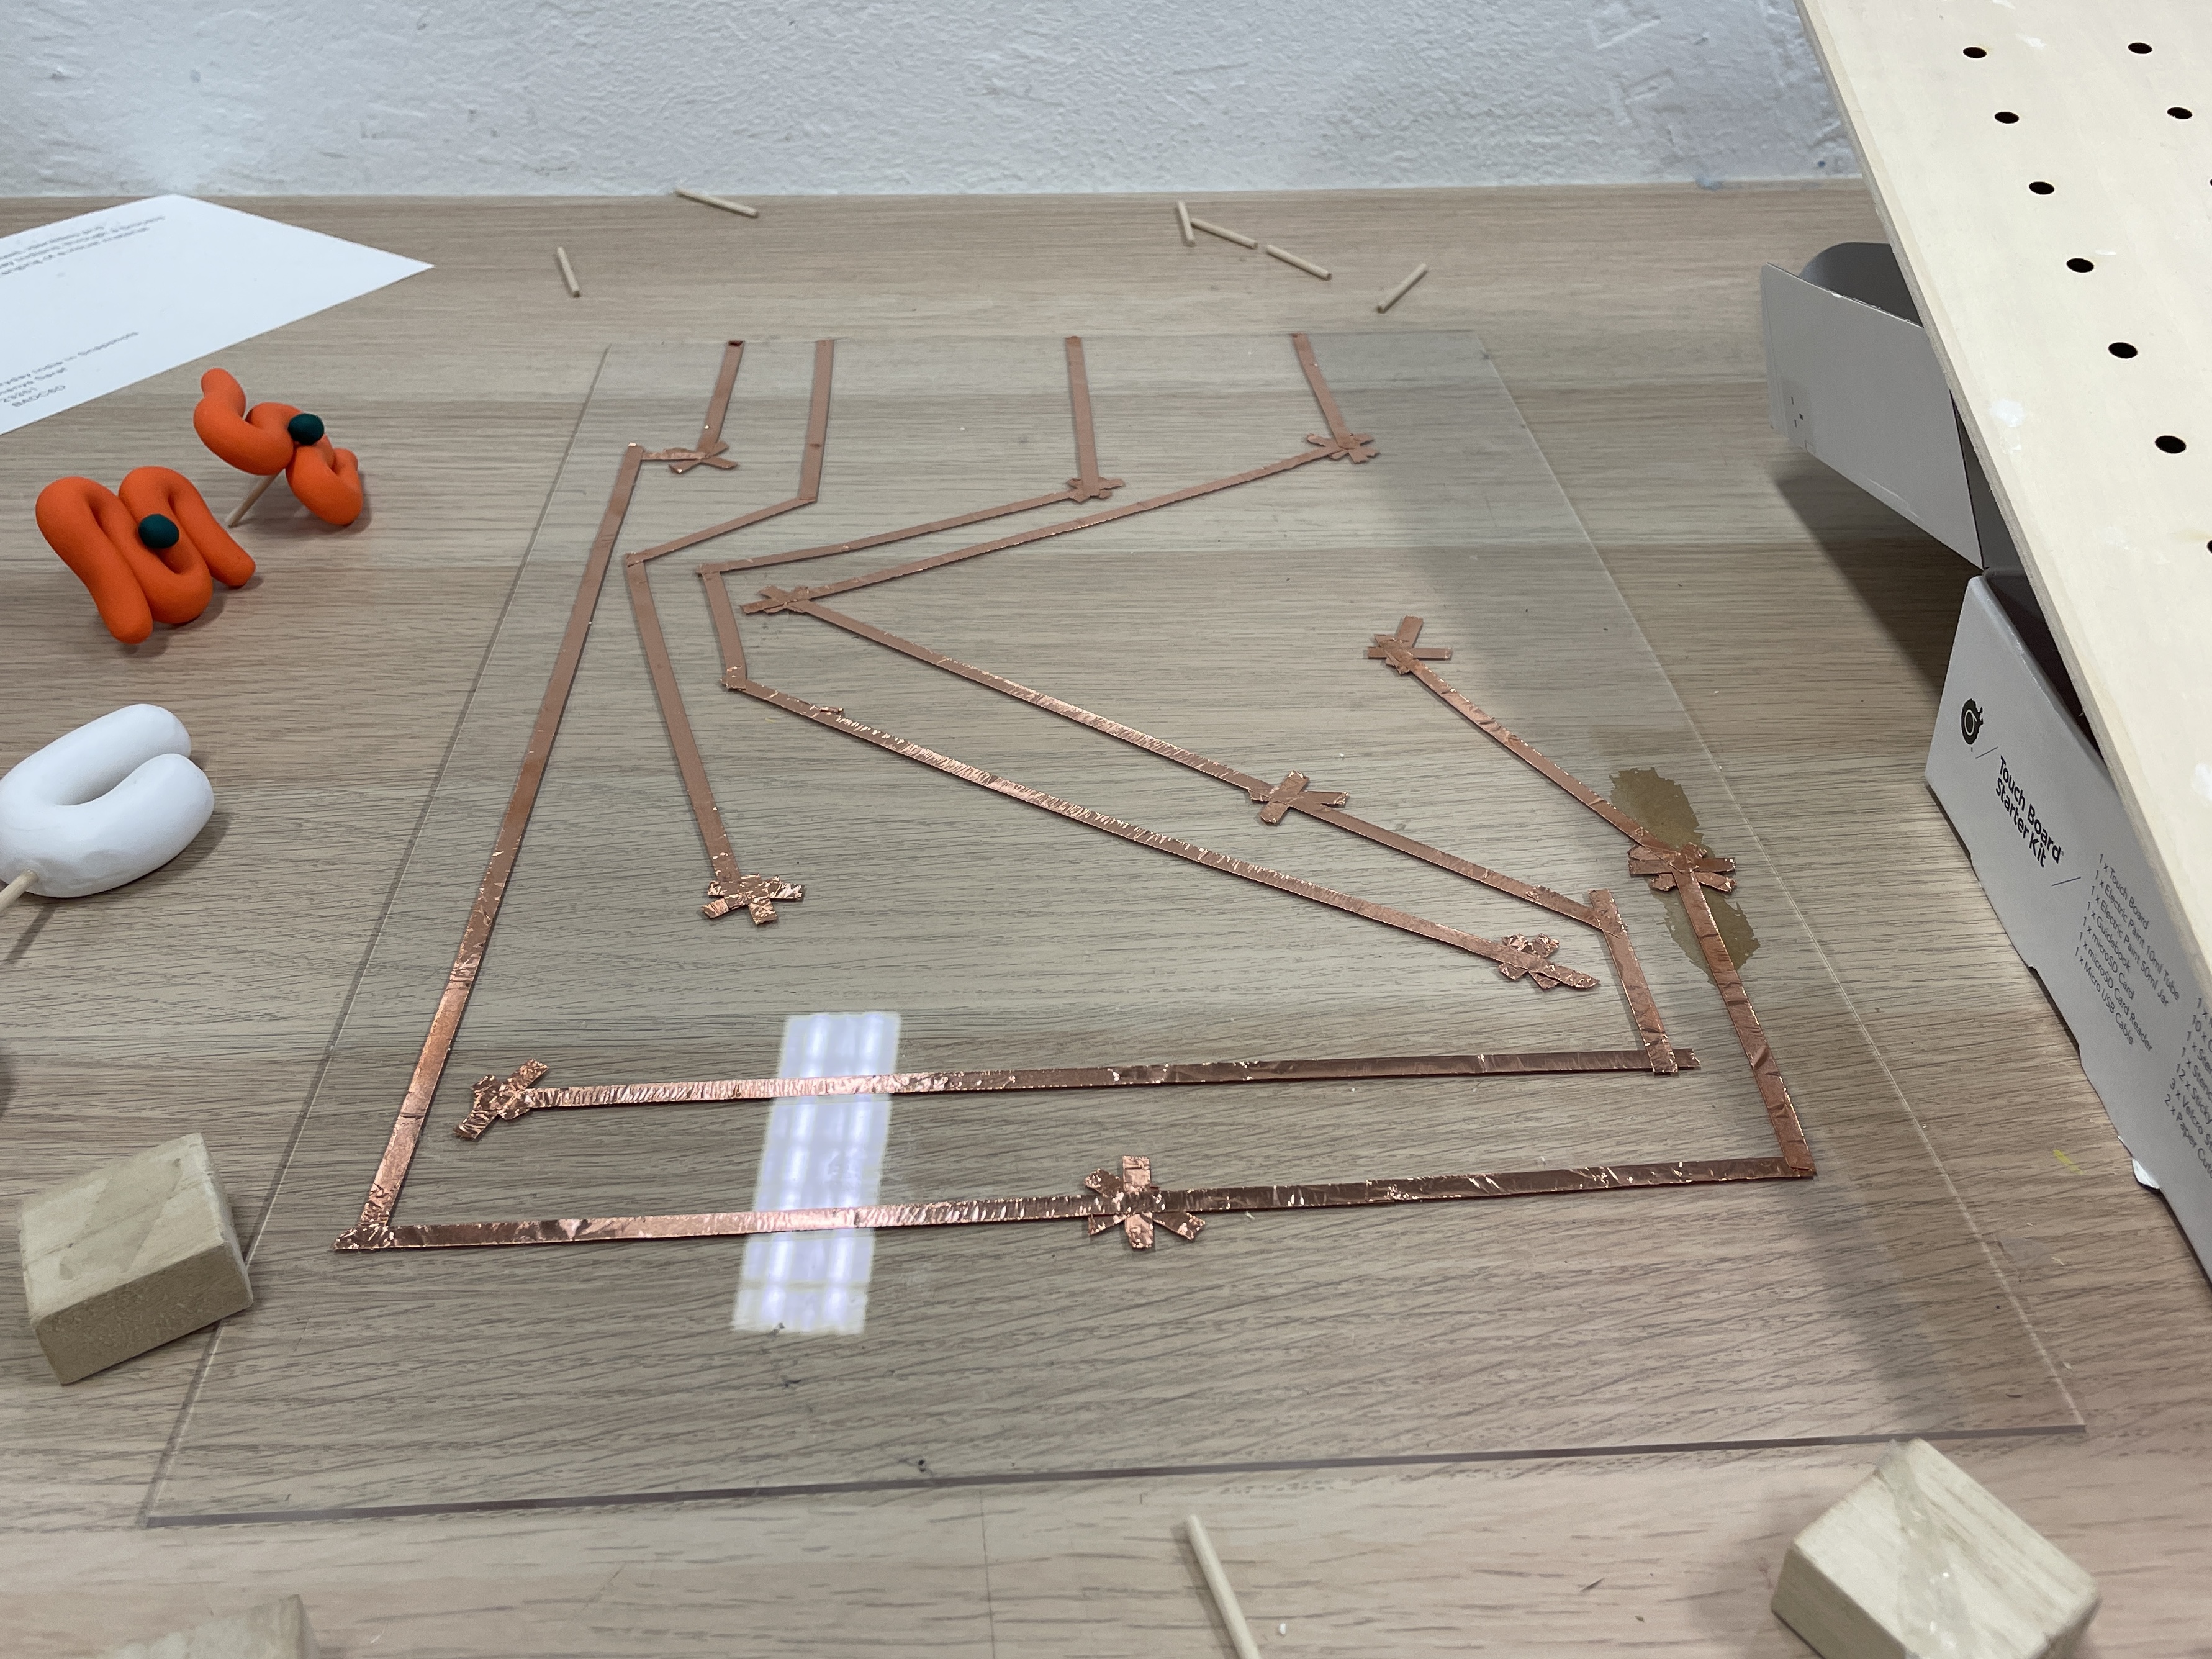
The circuit for the Tactile Playgrounds board.
WEEKLY ROUNDUP
This week went smoothly after all. I experienced a bit of stress while working with the clay because I
was unsure if it would work. Despite testing beforehand, there was still uncertainty regarding the
outcome, especially considering the size of objects and the amount of acrylic paint used is different
from the one I tested with. However, once it proved successful, I felt a huge sense of relief.
In addition to having the instructional cards, brochure, and video, somewhat ready, I am pleased to see
a big portion of the project coming together. Each component looks good on its own and in combination,
aligning perfectly with the vision I had for the toolkit—fun, colourful, and playful.
